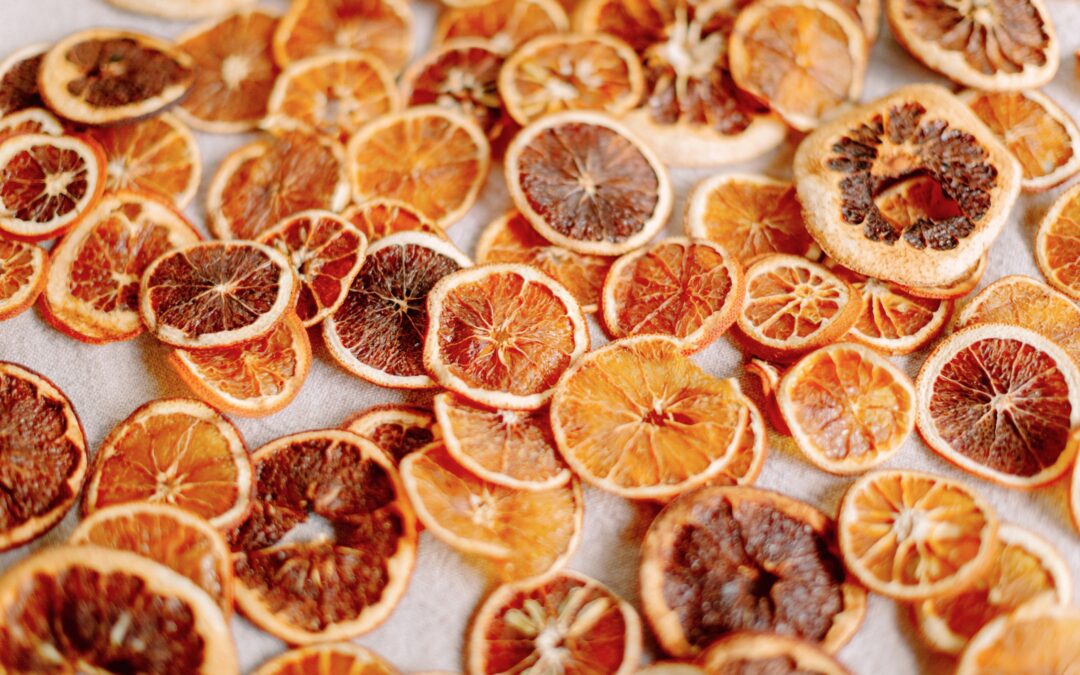

Drying oranges is truly one of the cheapest and easiest craft projects to accomplish. It requires oranges, a decent knife, an oven and zero artistic ability. Now that is not to say you can’t royally f*** them up. You can cut them unevenly and burn the shit out of them, which we have done on a few occasions. But for the most part, this is a fairly easy project that anyone can do with a little patience.


WHAT YOU NEED
- variety of oranges (grapefruit works too!)
- knife
- baking sheet
- parchment paper


The Process
1. Preheat your oven to 250 degrees.
2. Take out your baking sheet(s) and line with parchment paper.
3. Cut oranges into ¼ slices. (This is the most difficult part. You need to make sure the oranges are sliced evenly from top to bottom, otherwise they can burn.)
4. Place the orange slices on the parchment covered baking sheets. Make sure they don’t touch or overlap.
5. Place in the oven for about 2 hours, flipping them halfway through.
6. Depending on the size of your oranges you may need to bake them shorter or longer. After flipping them, we recommend checking them every 20 minutes or so.
7. Once they are dry, take them out of the oven and let them cool.


Then what?
Dried oranges can be used in a variety of decor projects. We used them on a fall wreath and in a fall garland. They are also great spread over a tablescape or pierced with a stick and placed into an arrangement. Although they will last for several months, they don’t last forever, so it’s best to find projects that are temporary or seasonal. Enjoy!
xo-
Liz
To see what I made with these dried oranges check out our other post Colorful Fall Botanical Inspiration.
Recent Comments