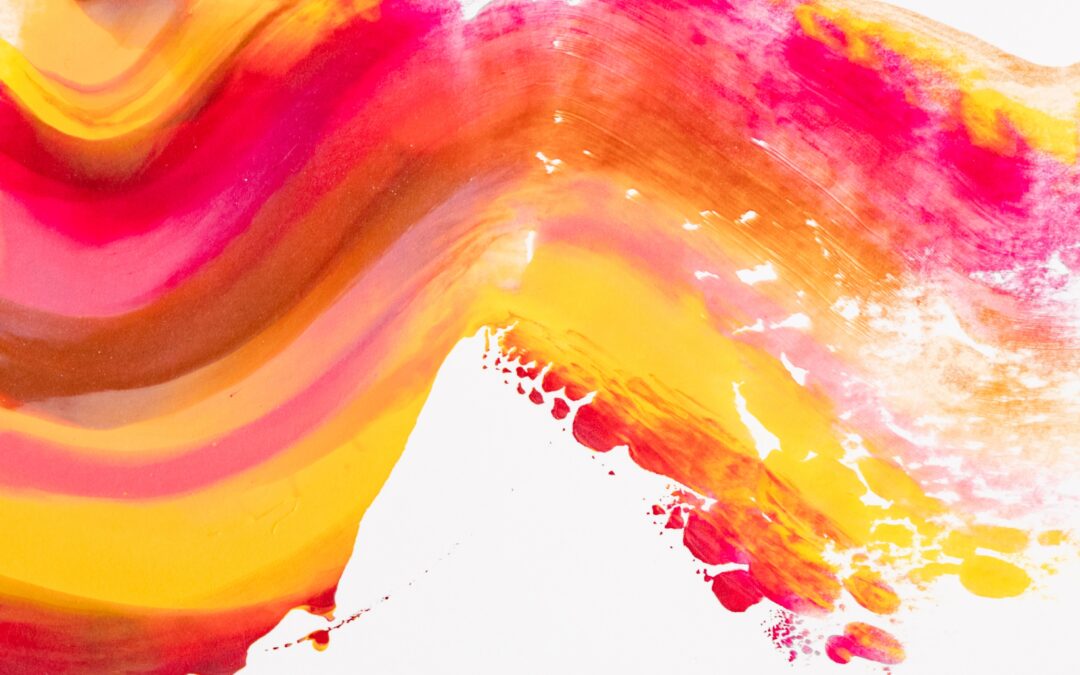
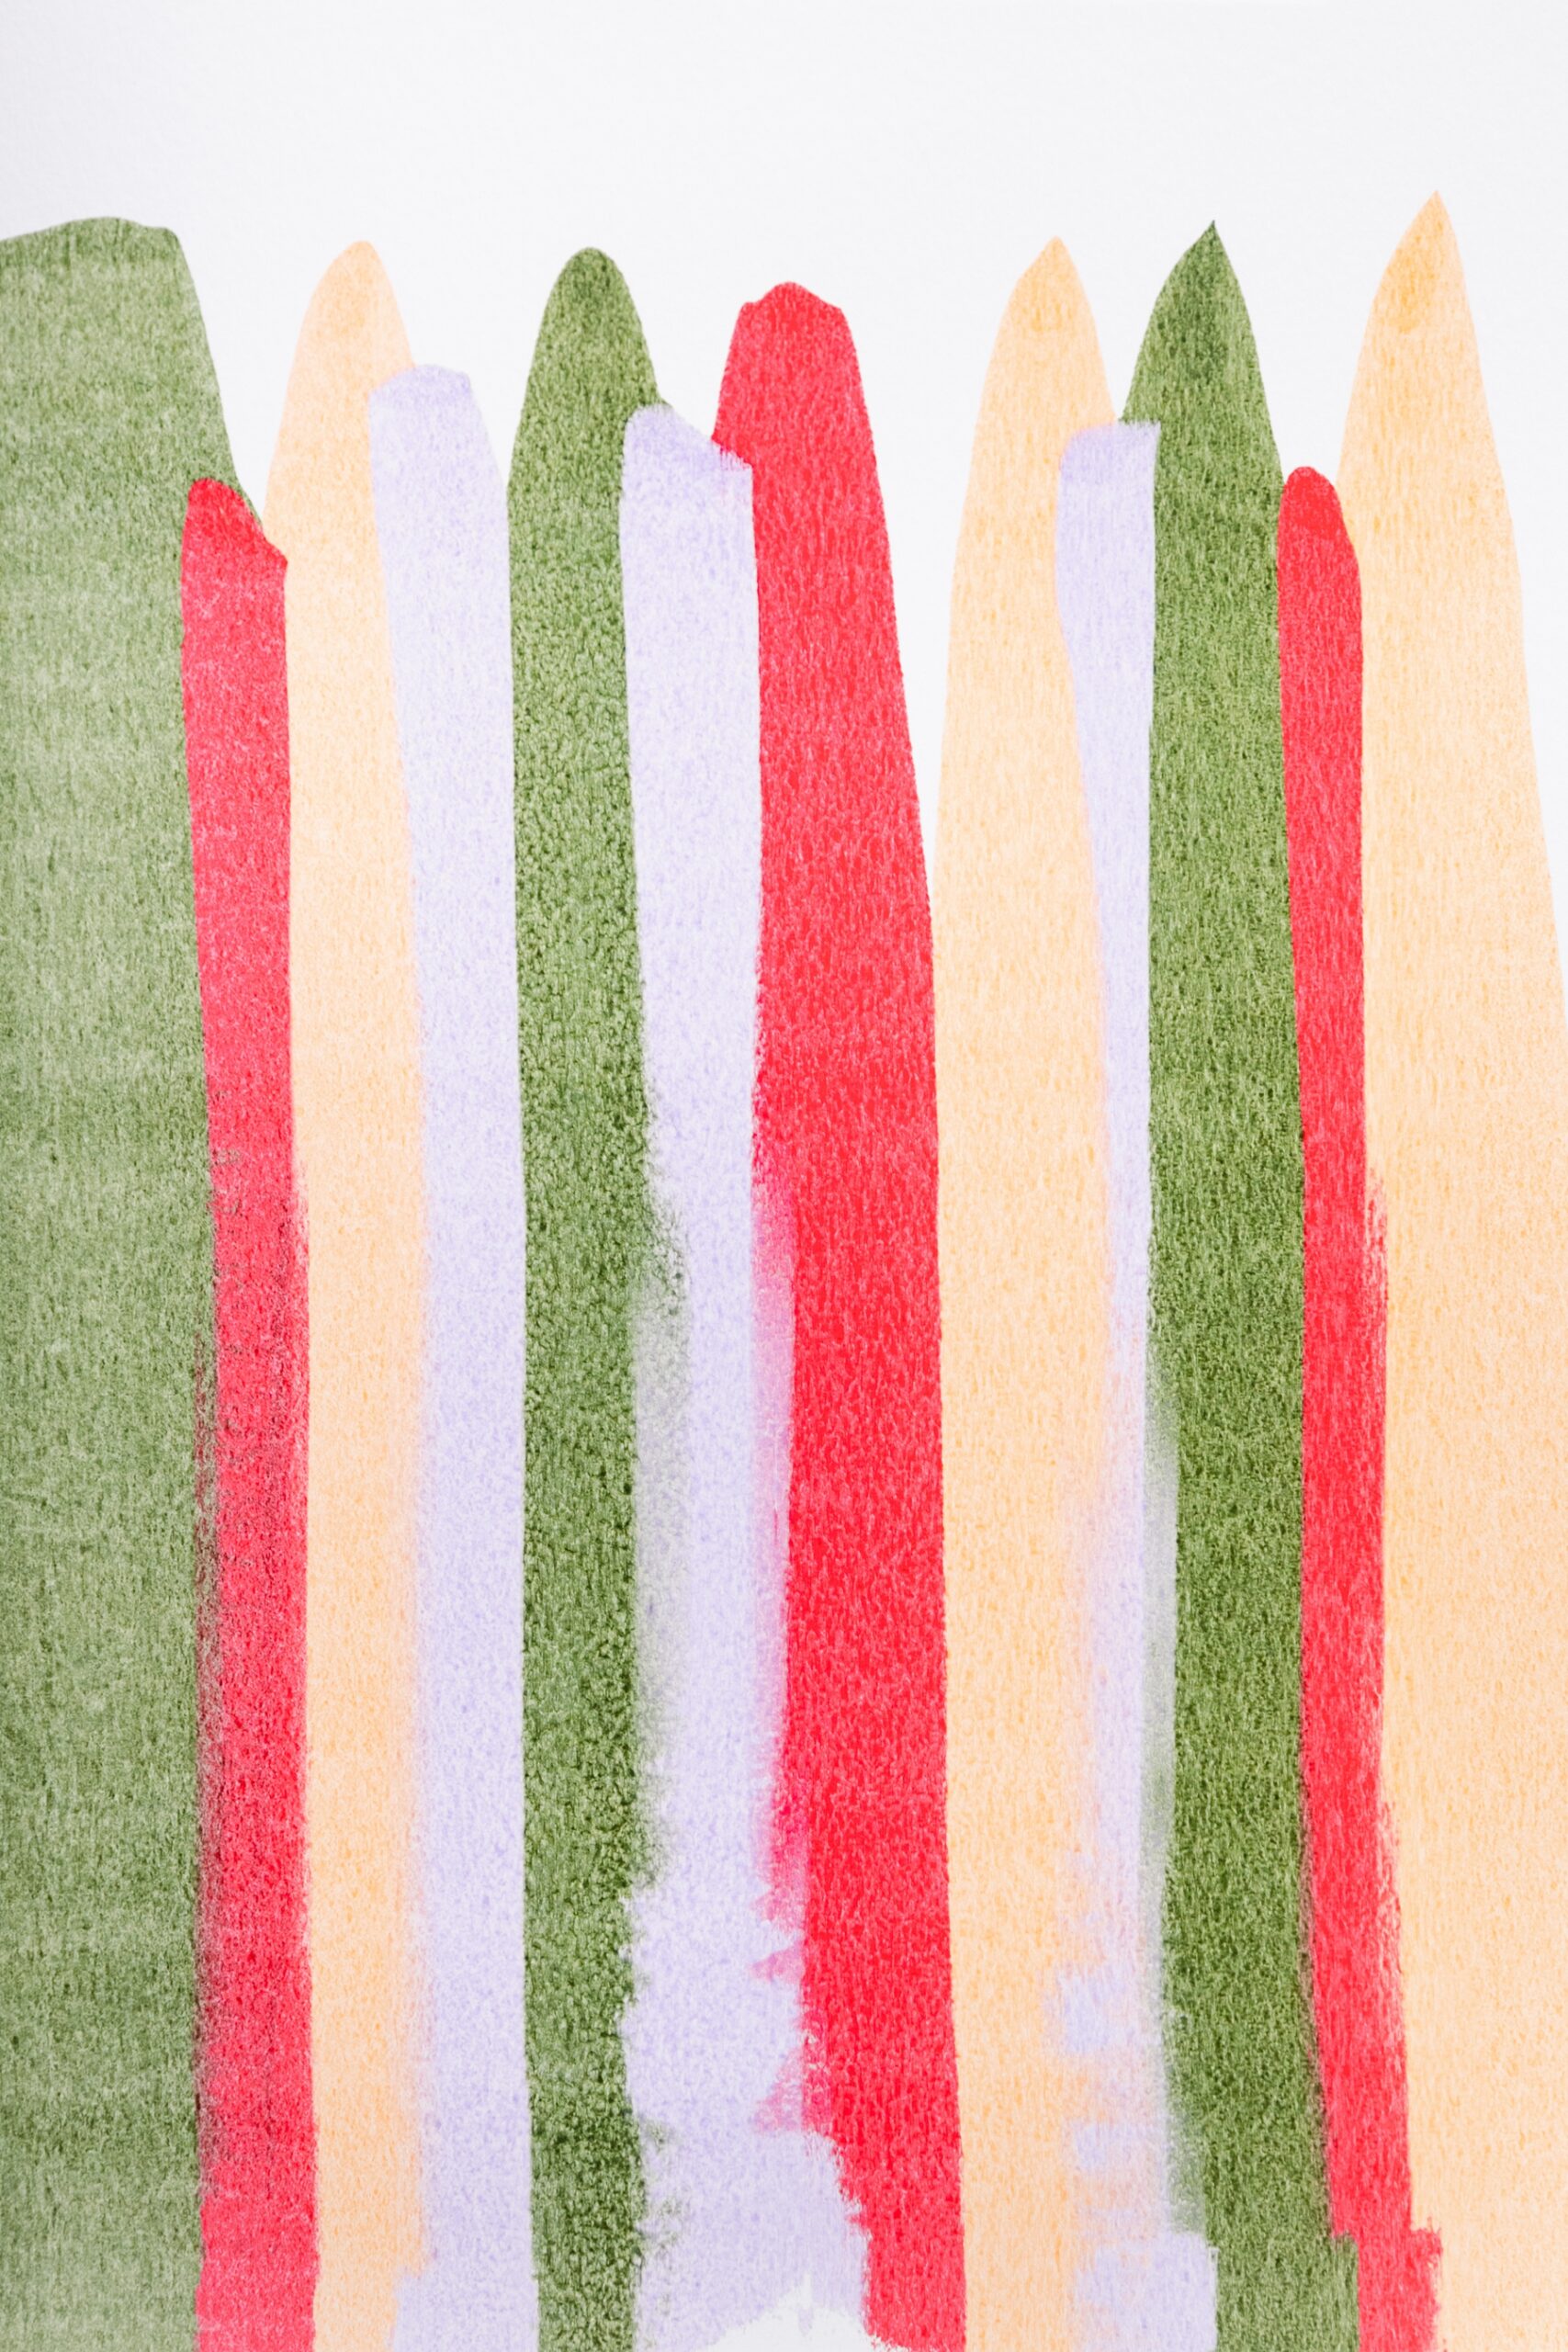
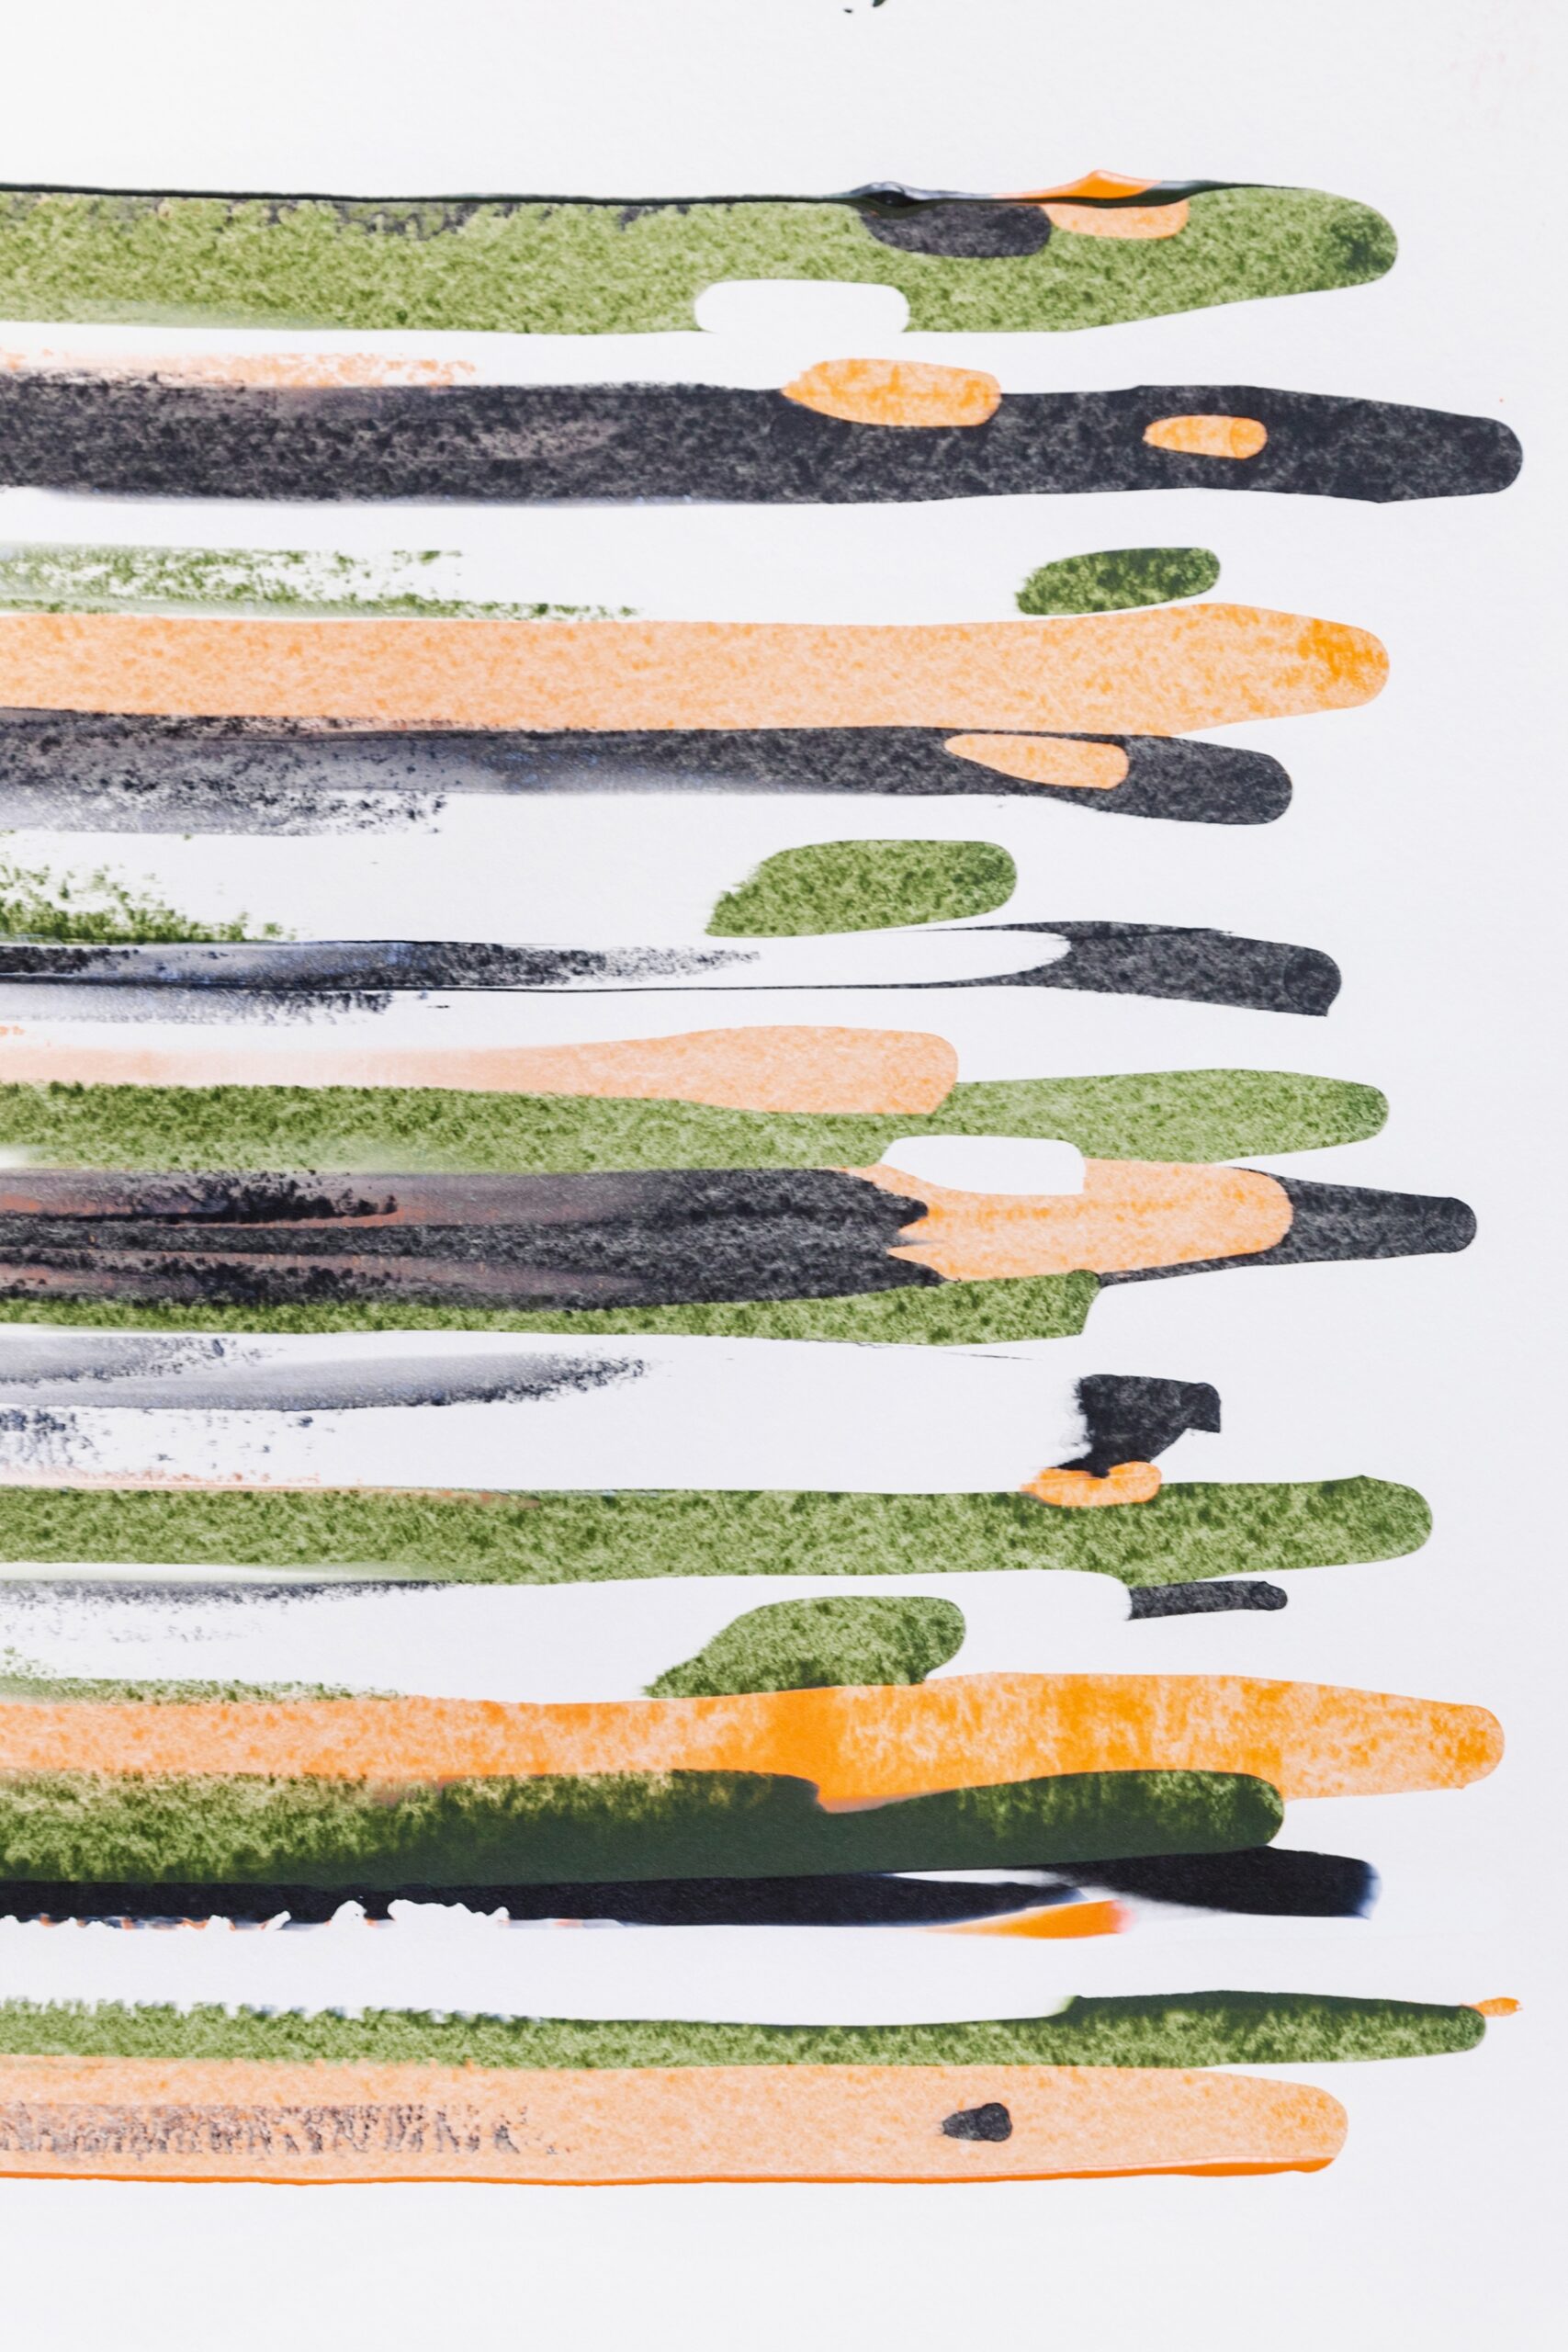
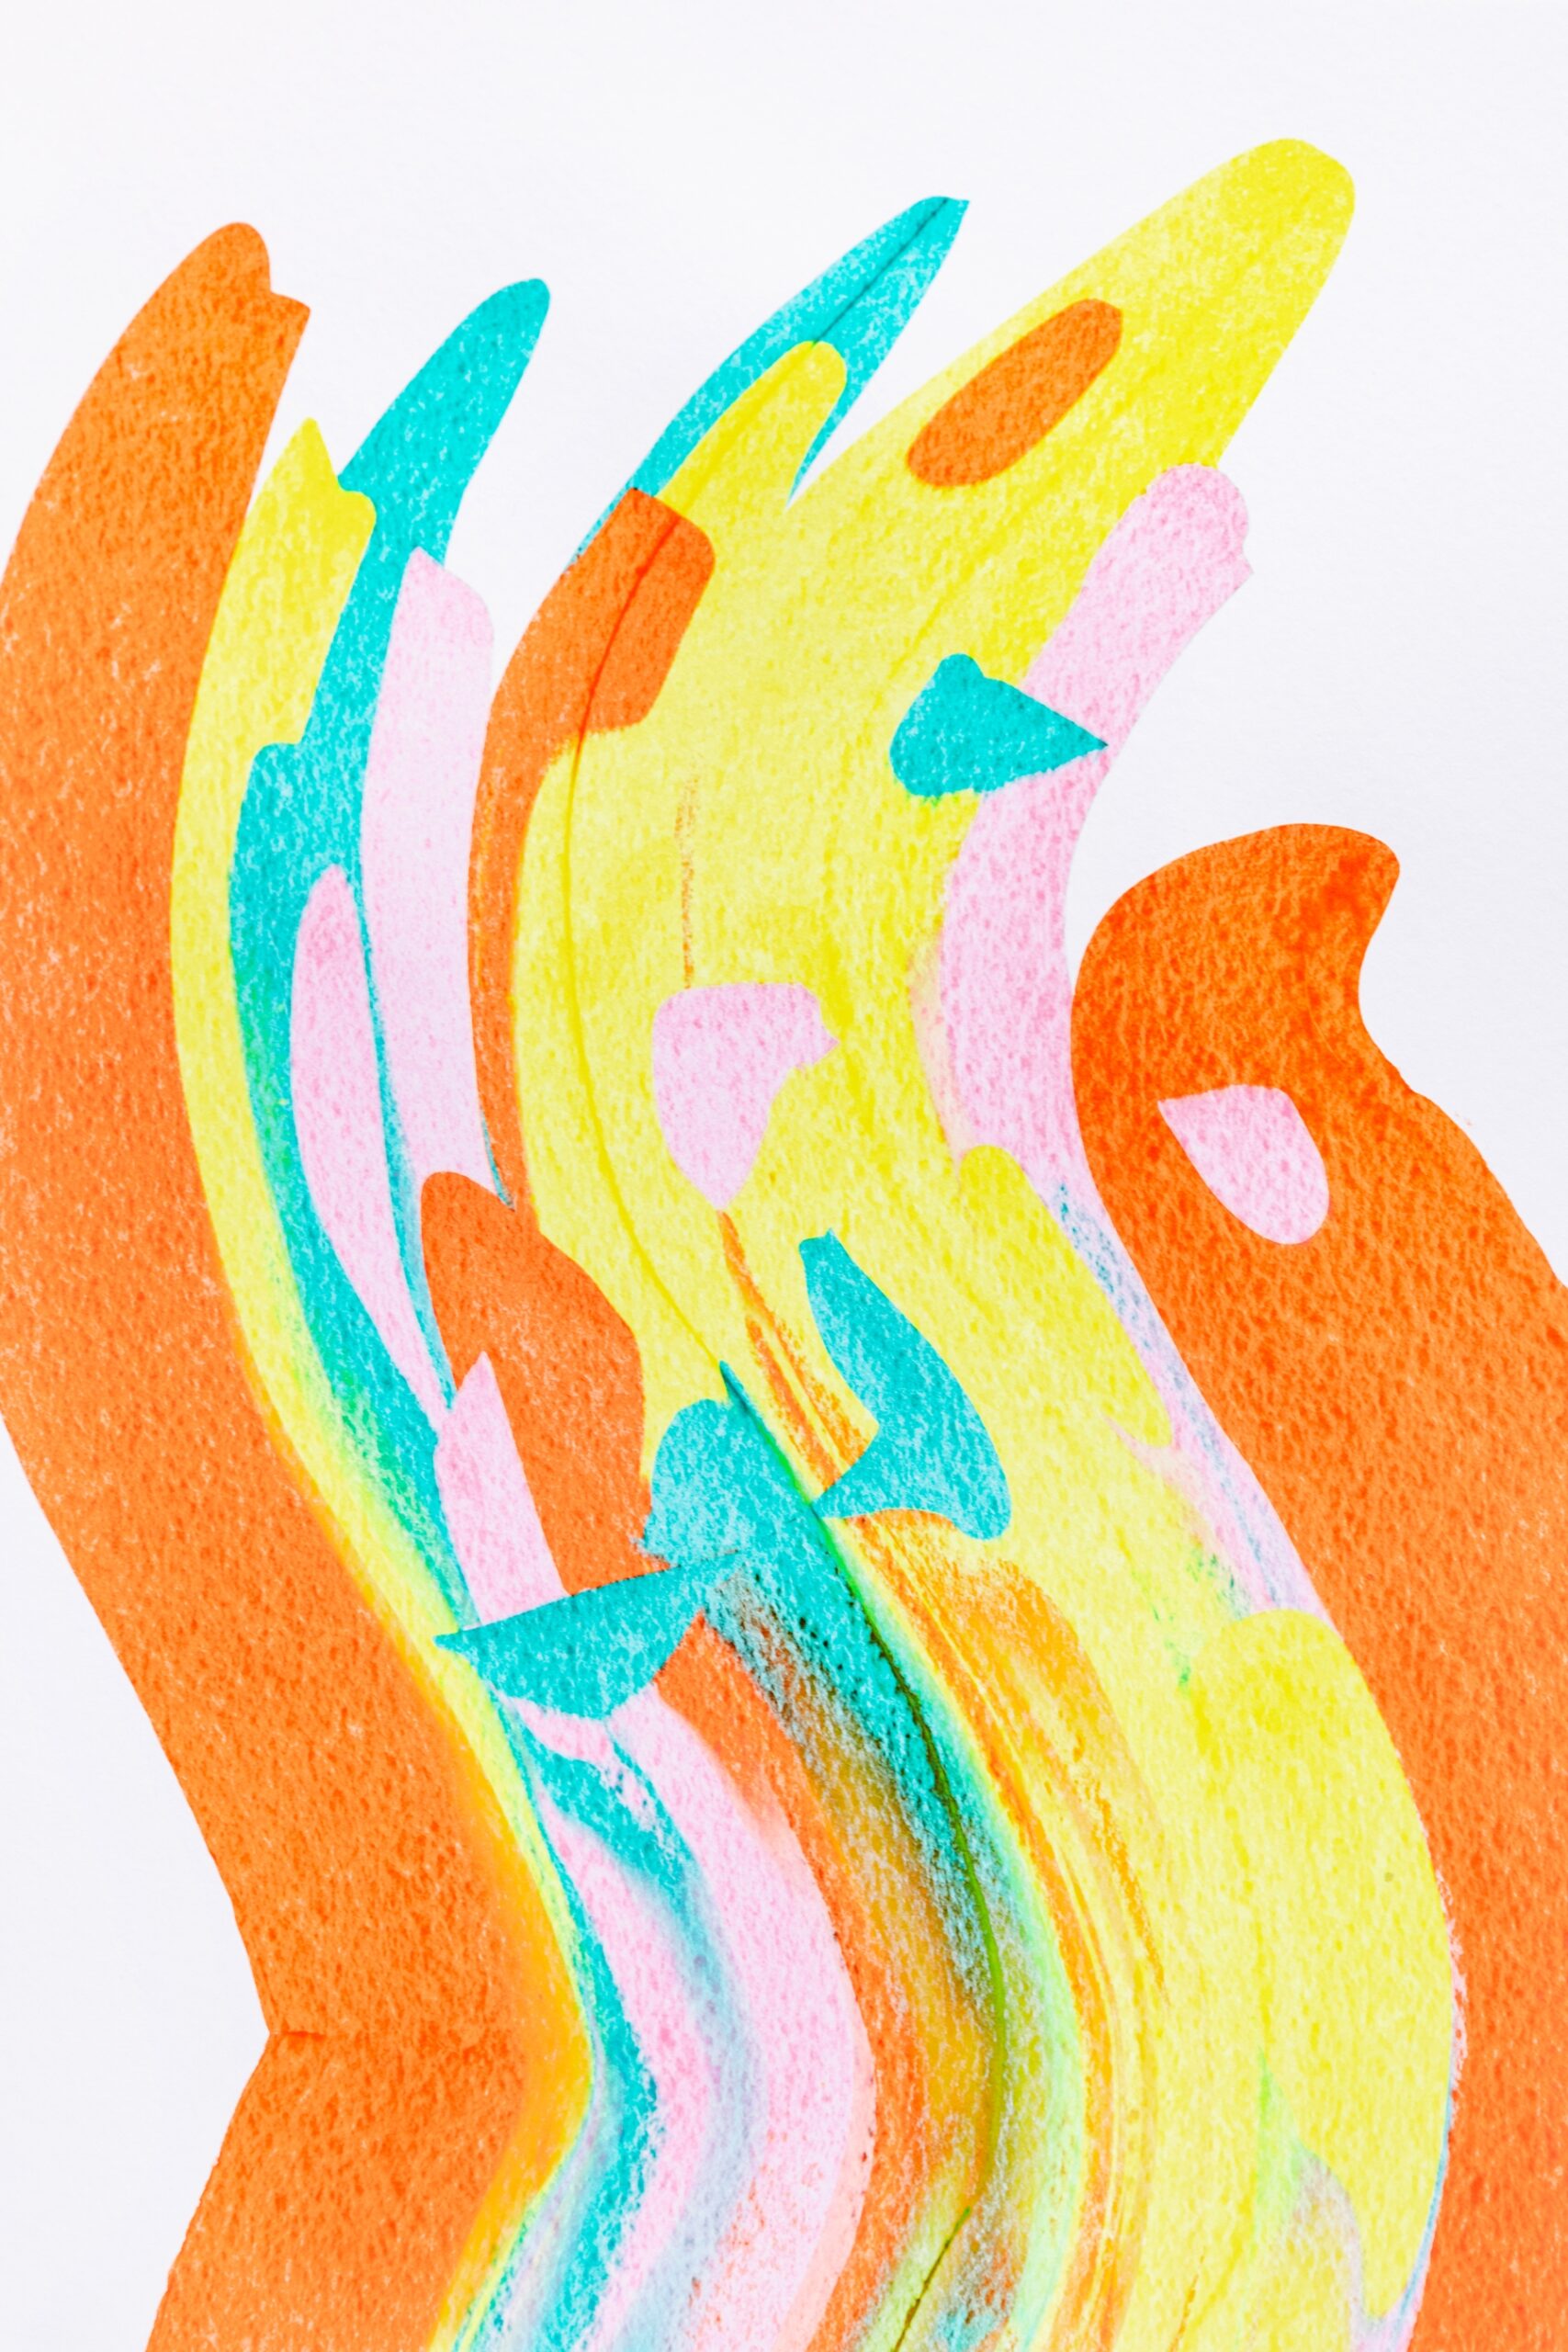
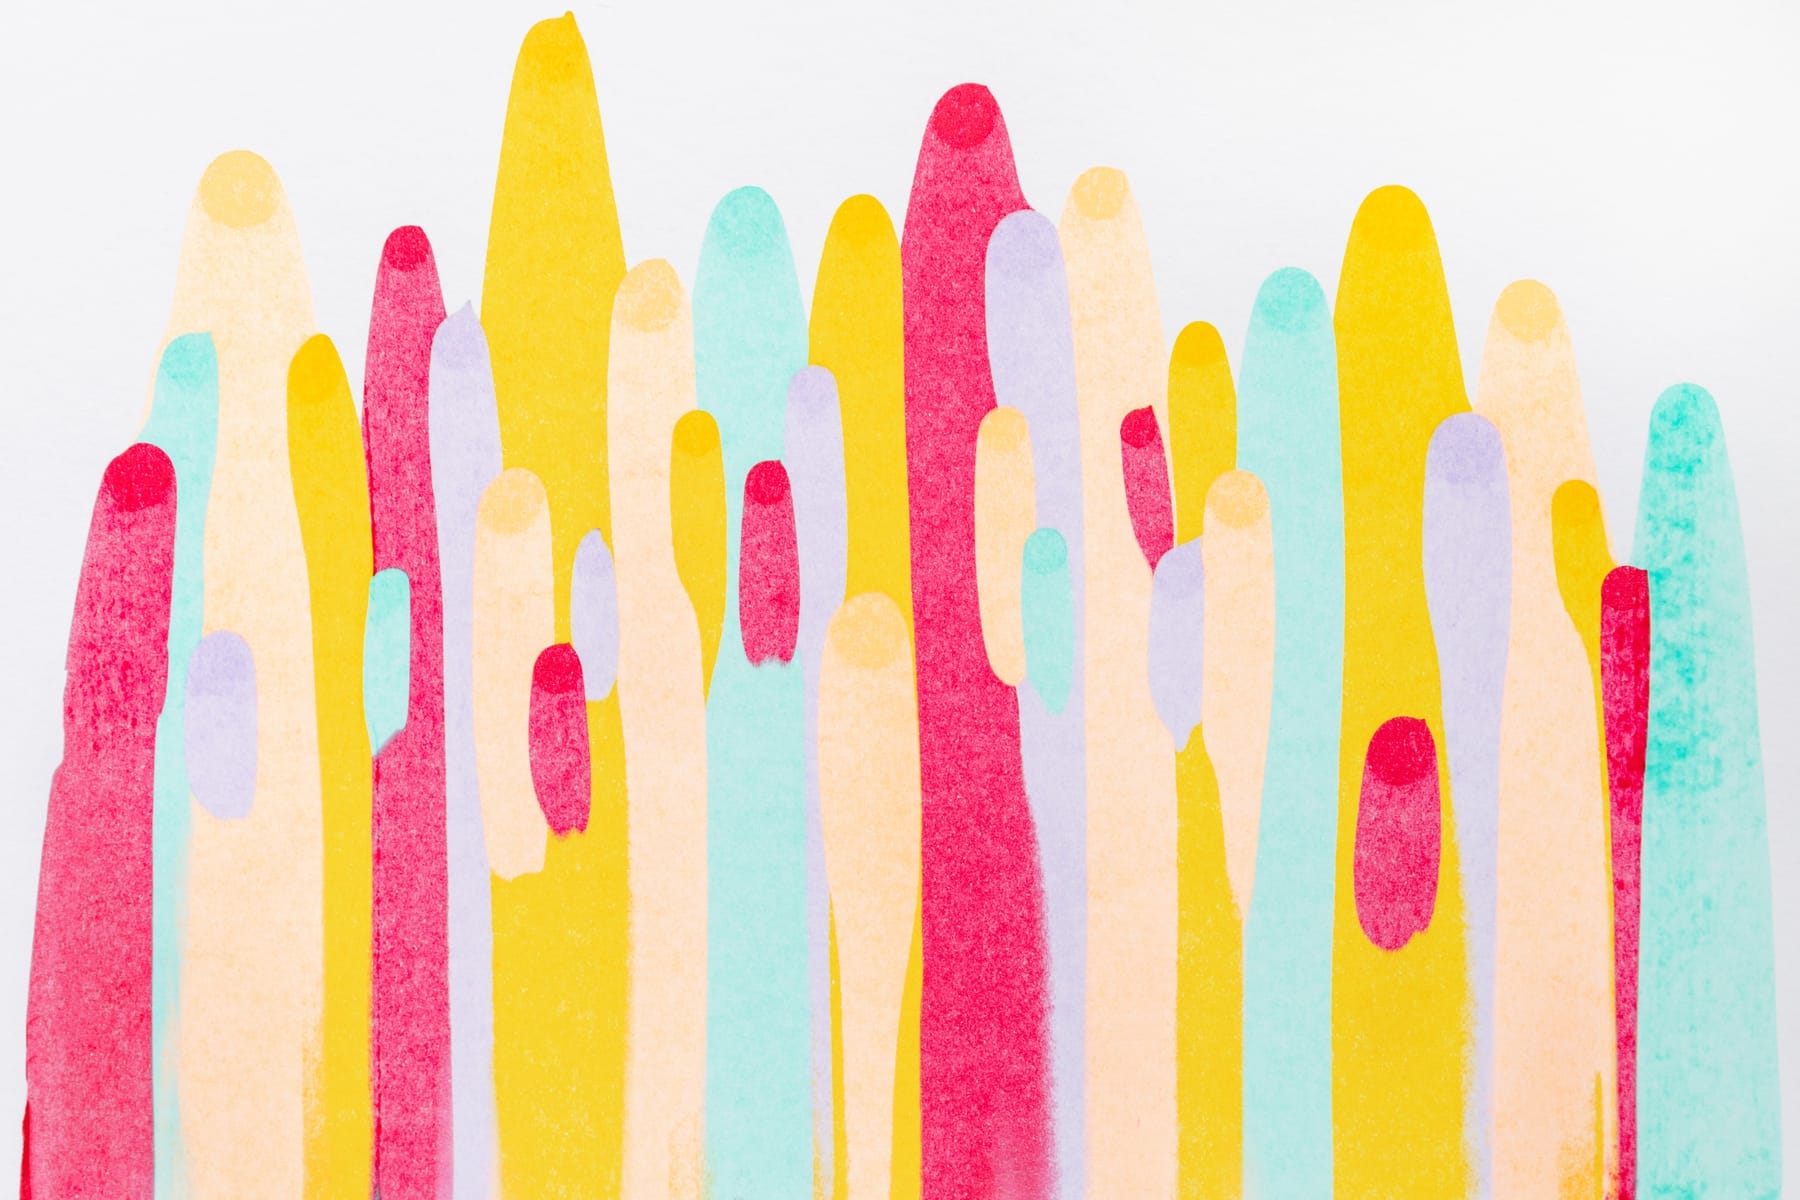
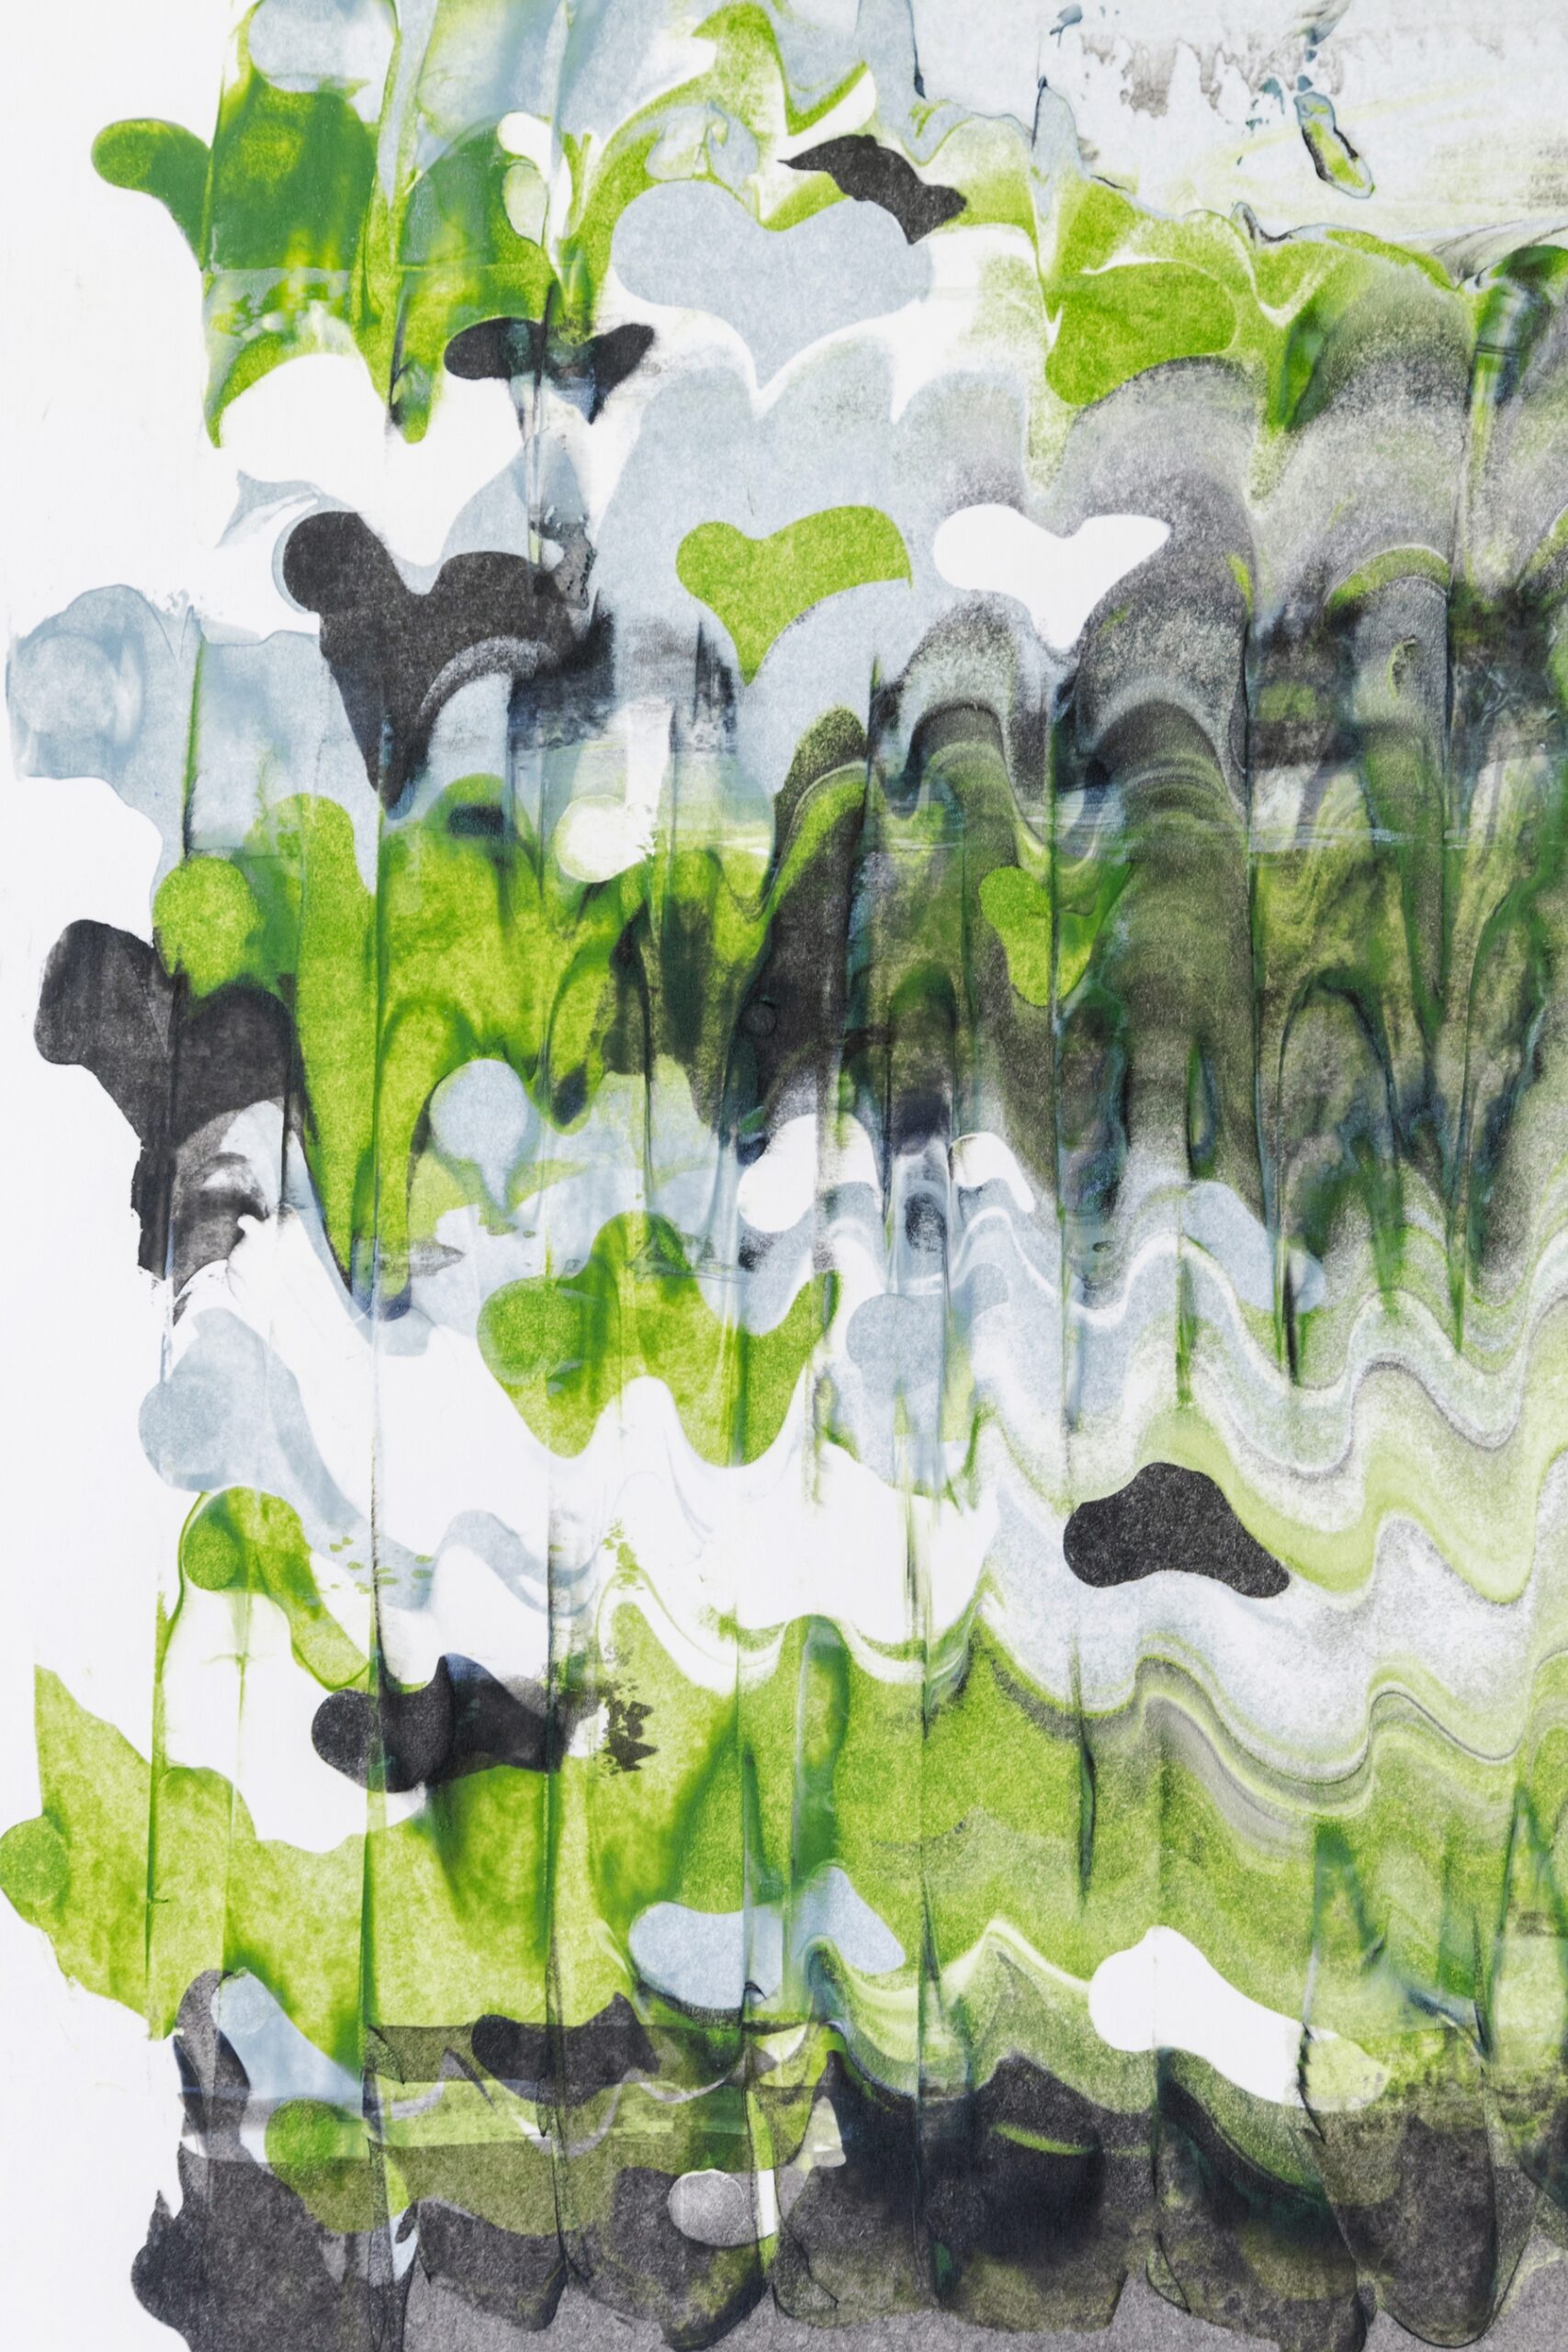
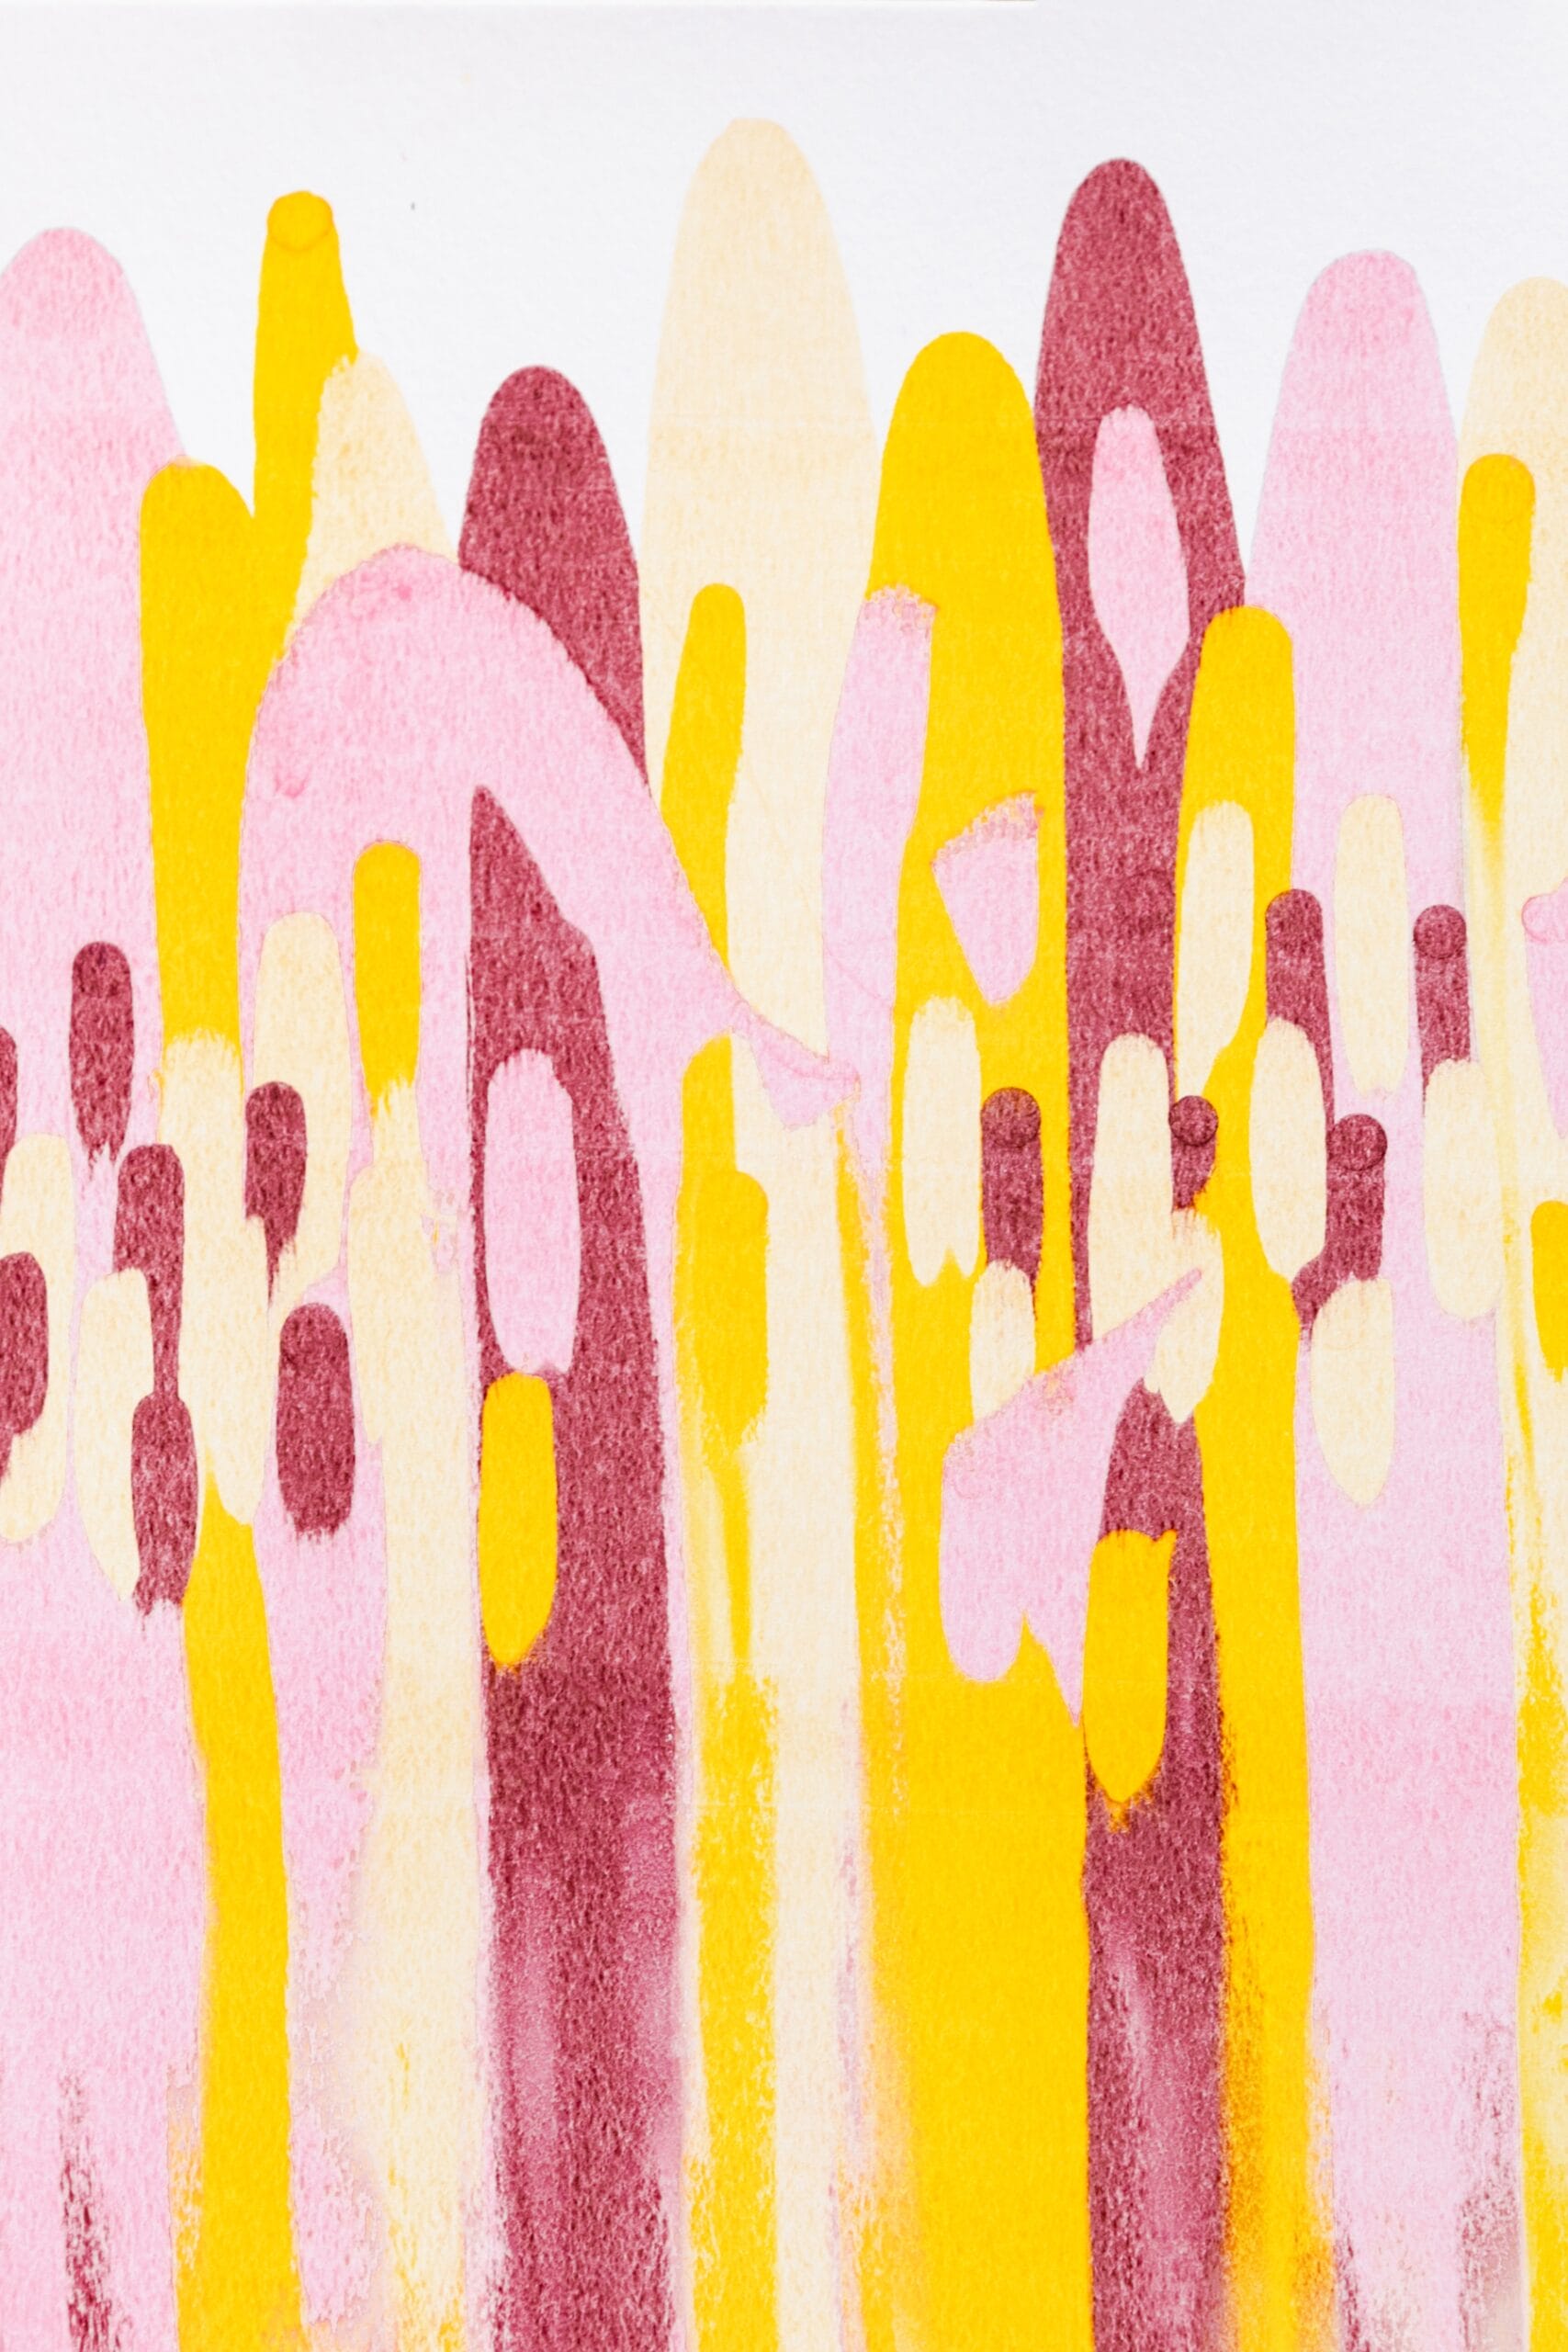
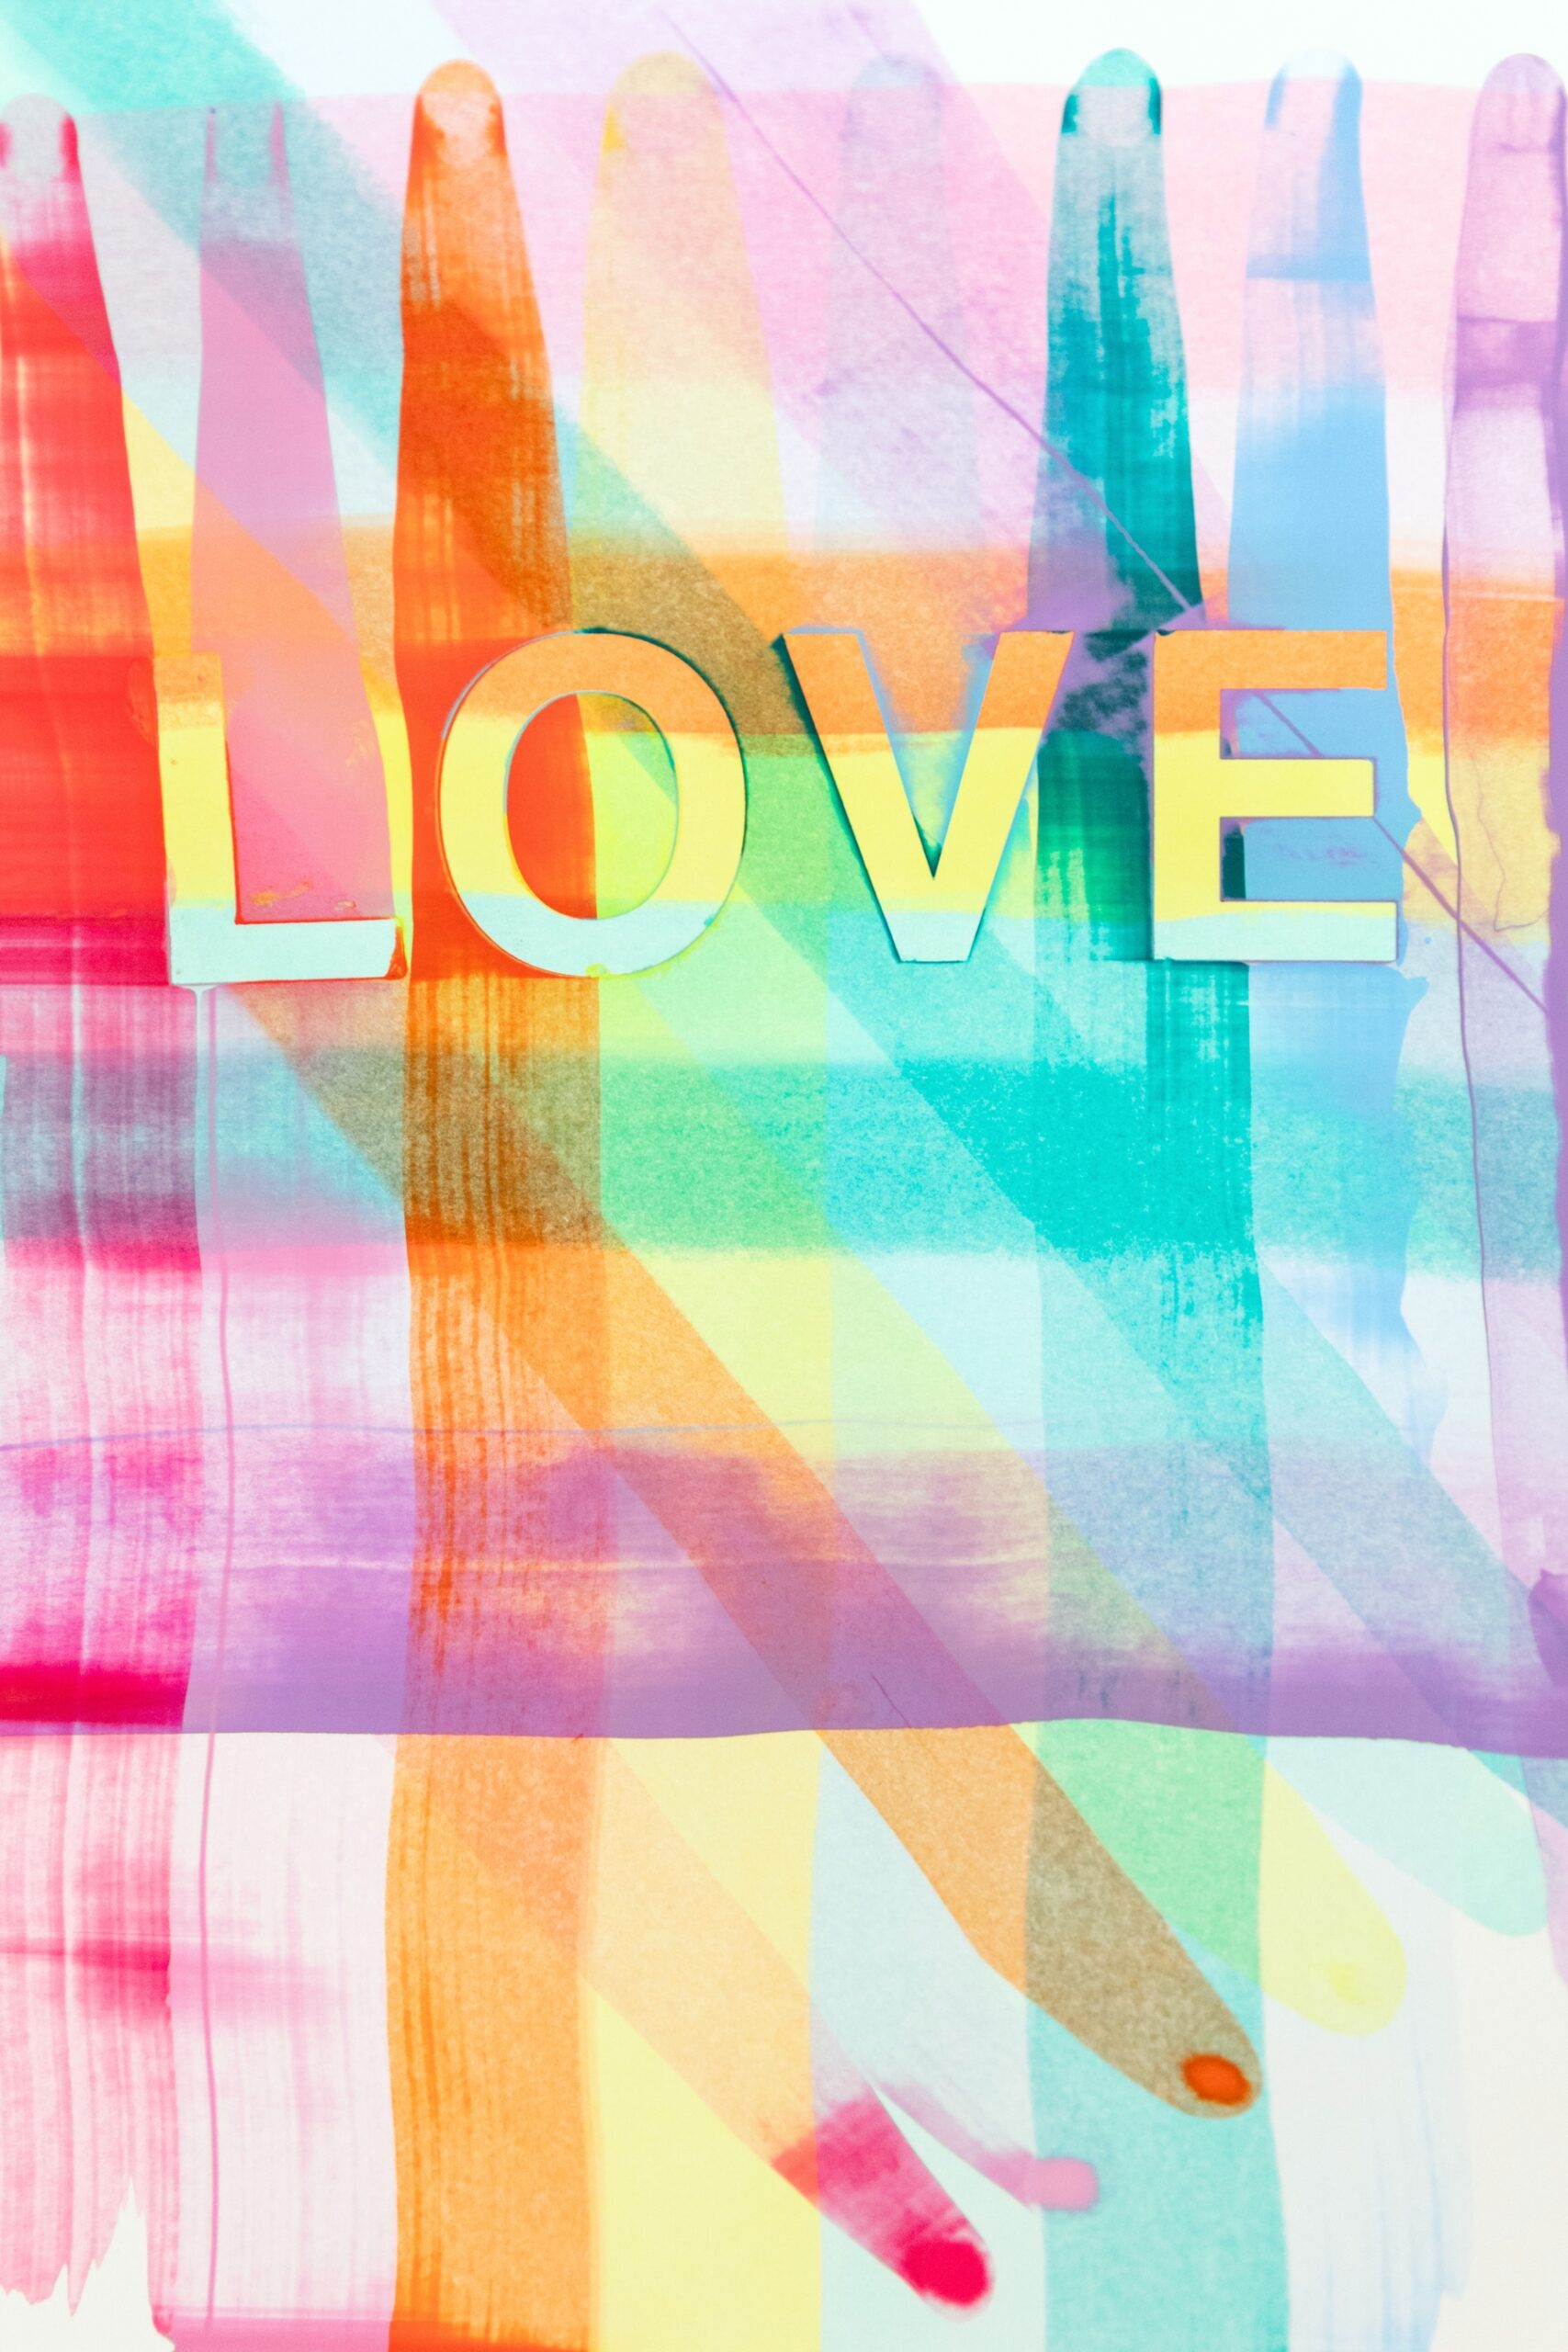
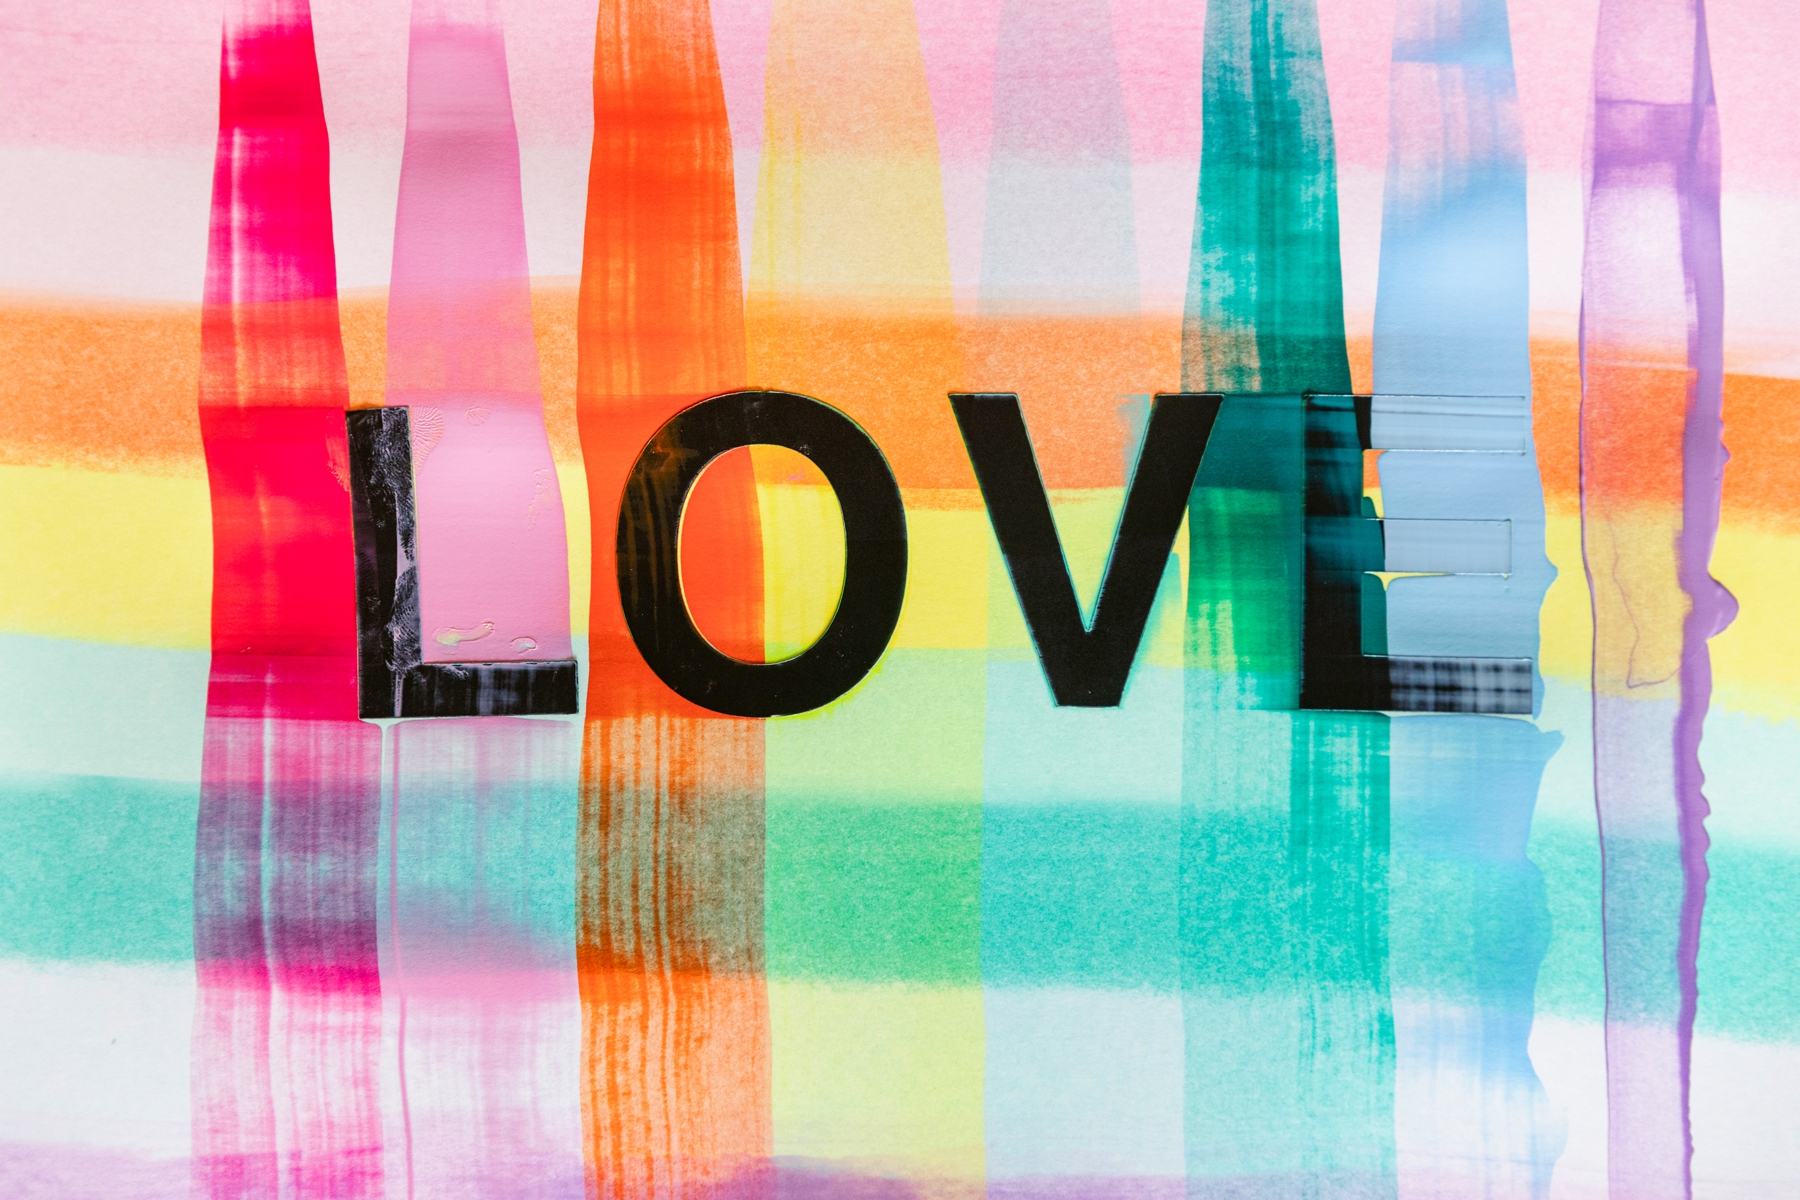
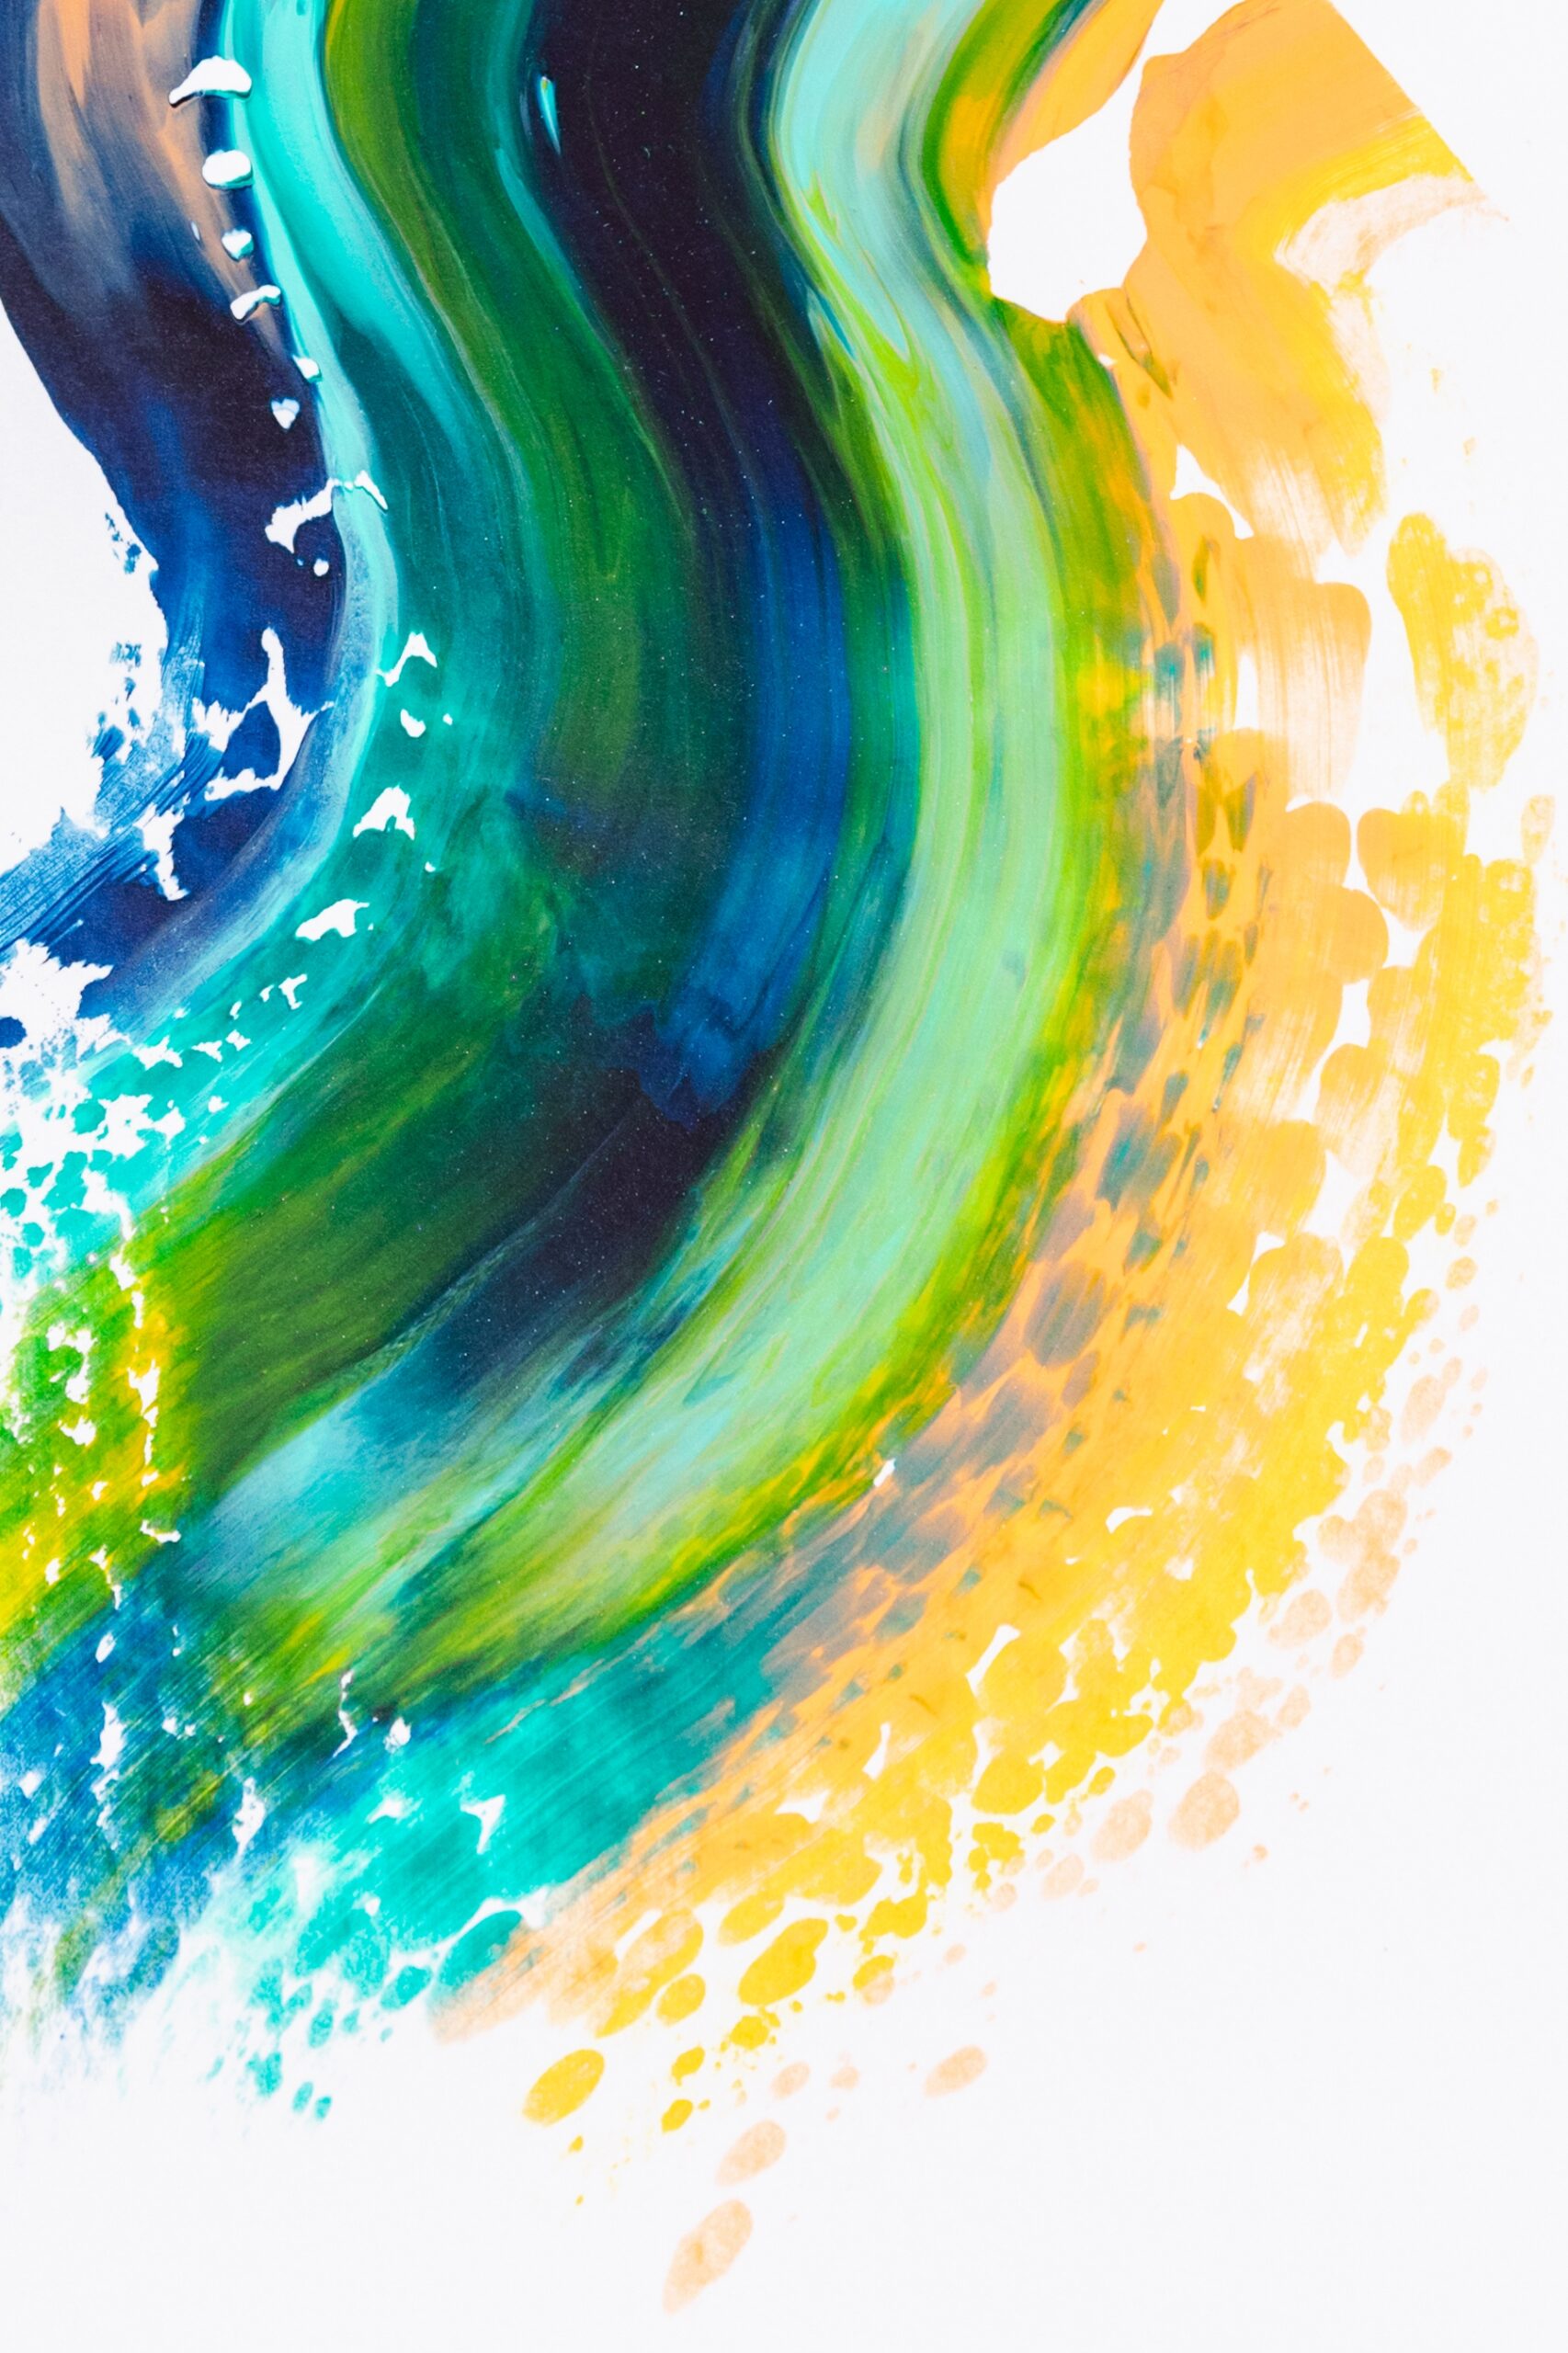
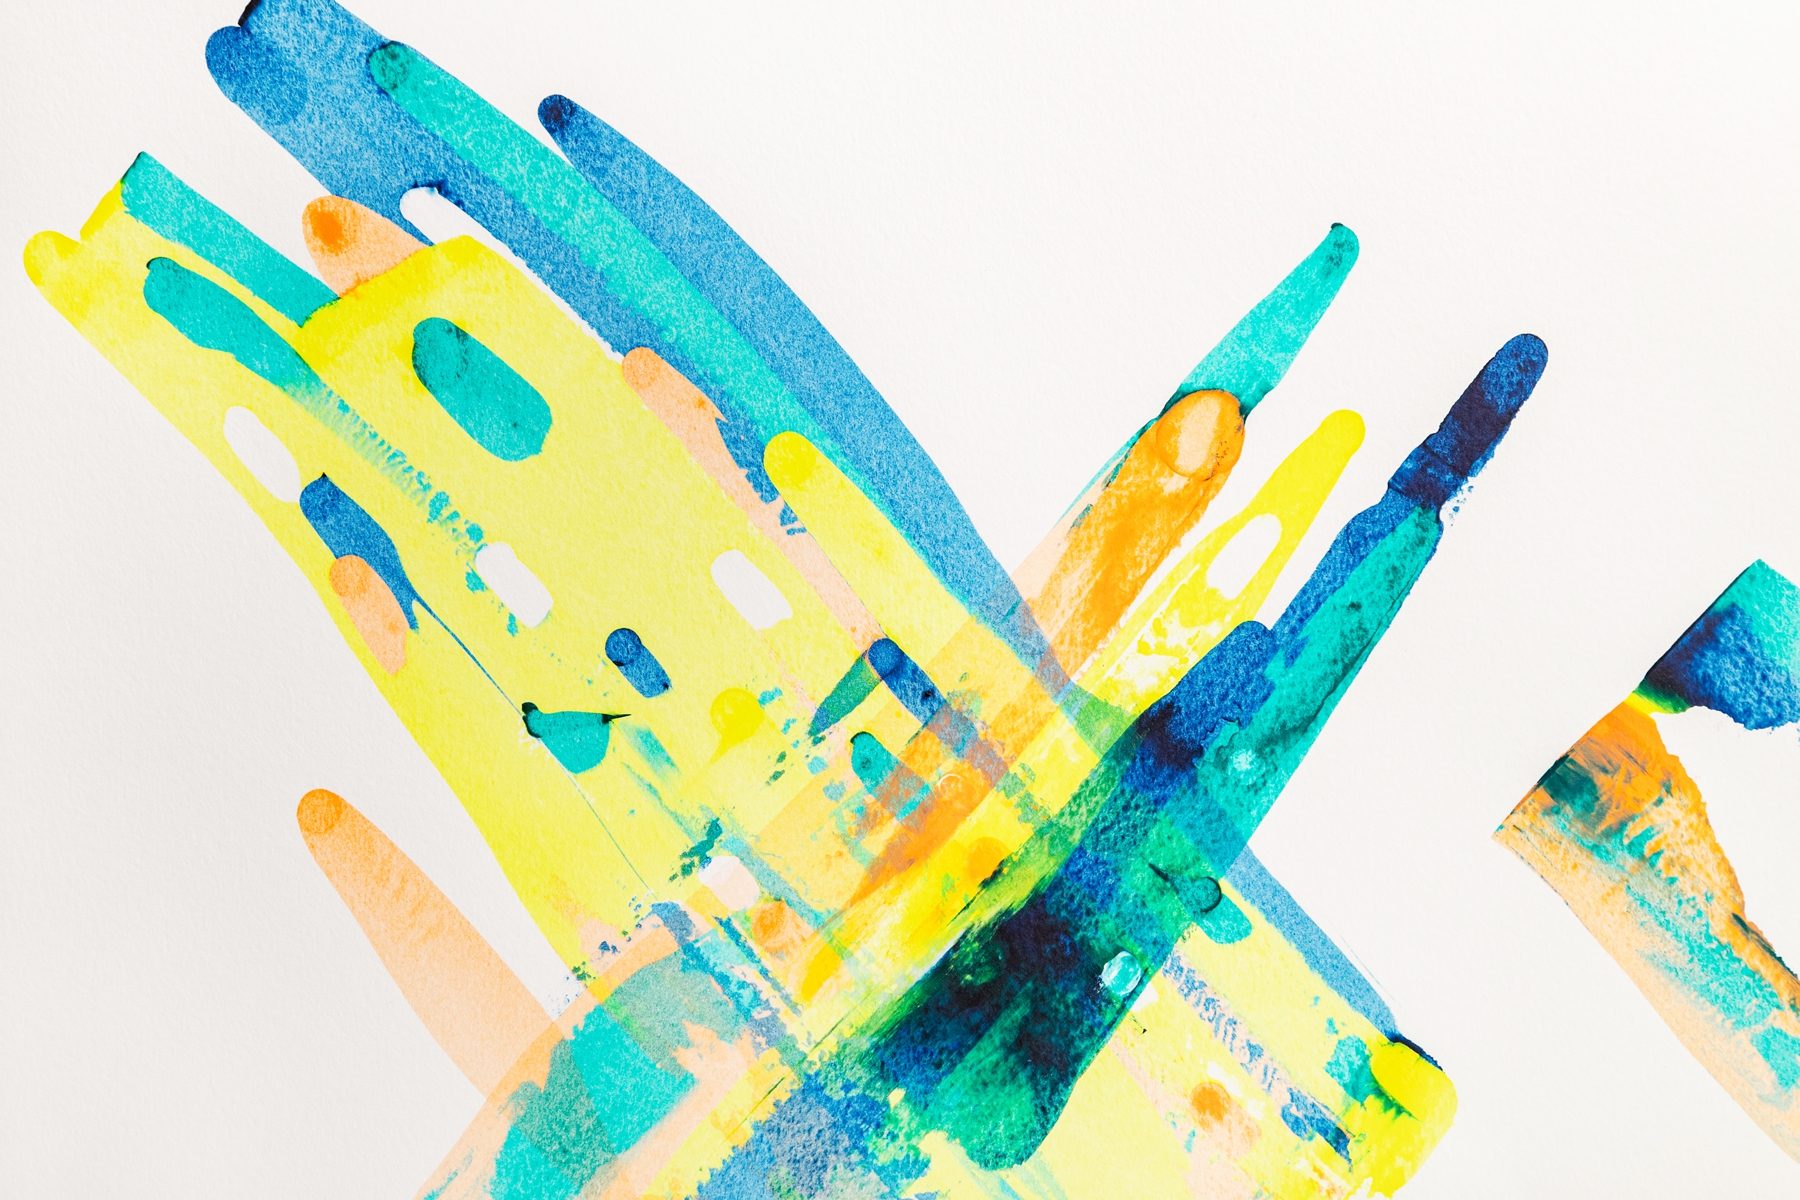
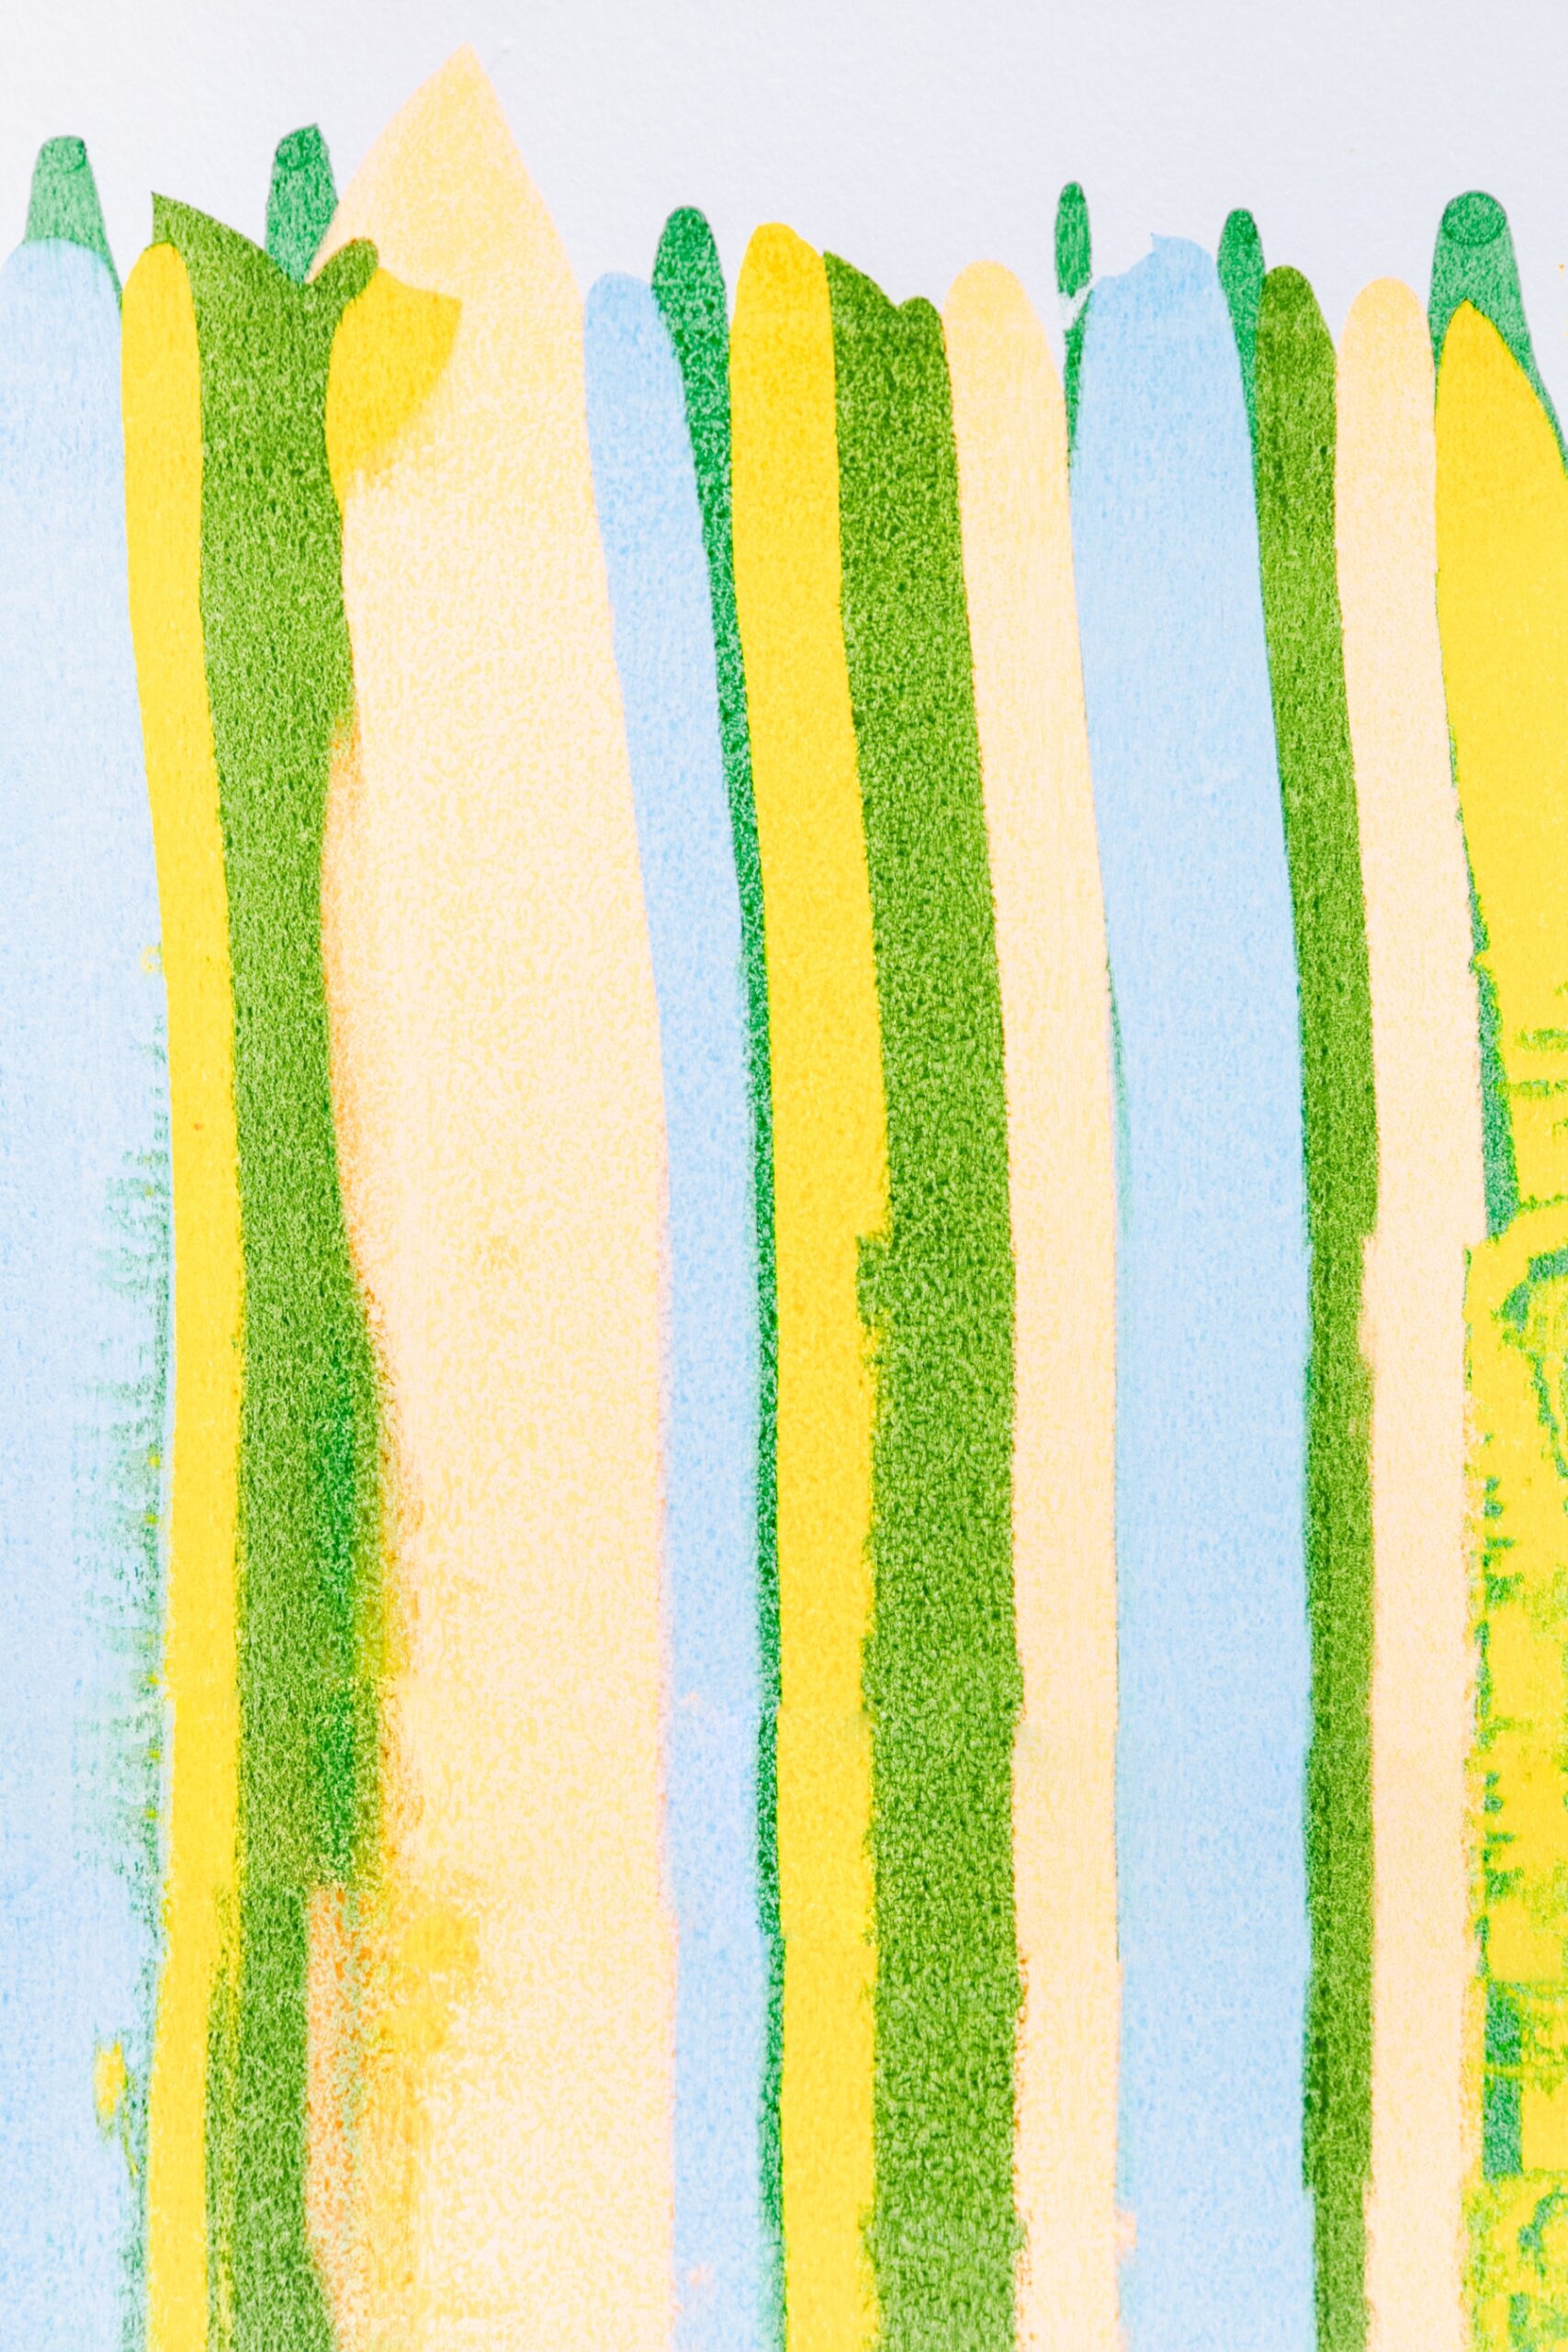
Squeegee art is a unique and creative form of abstract painting that involves using a squeegee to create bold and expressive patterns on canvas or paper. It’s a fun and experimental process that allows you to explore various color combinations and textures. Now I will admit, you Type As out there might not love this technique. Squeegee art is all about embracing the unpredictability of the process. So, pick a few colors, pour a few dots and dashes, and let the squeegee do the rest!
What You Need
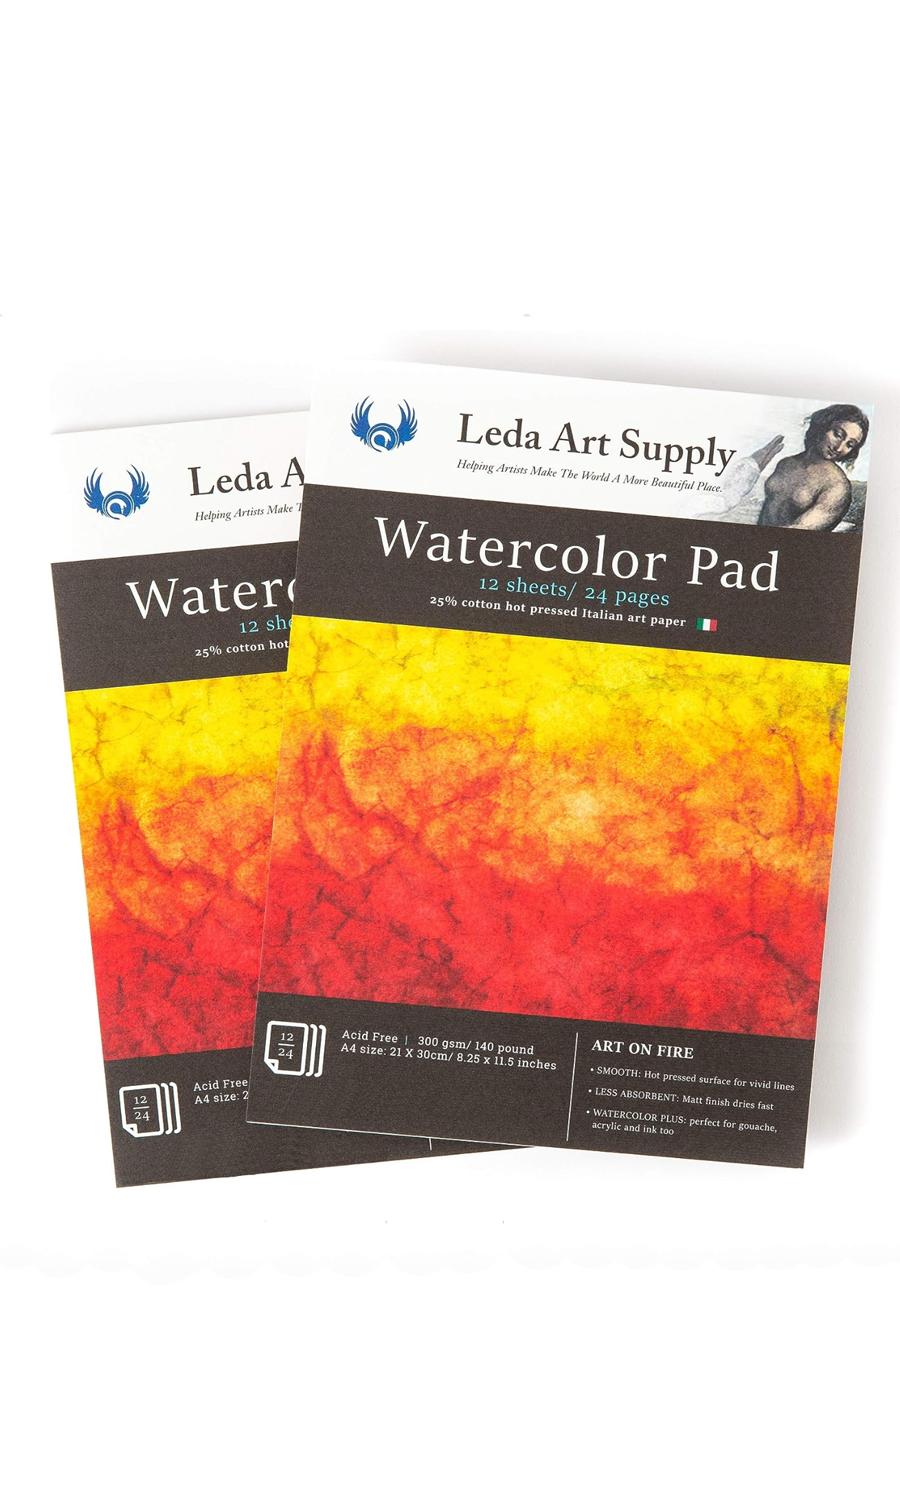
- Porous heavy paper like watercolor paper or canvas
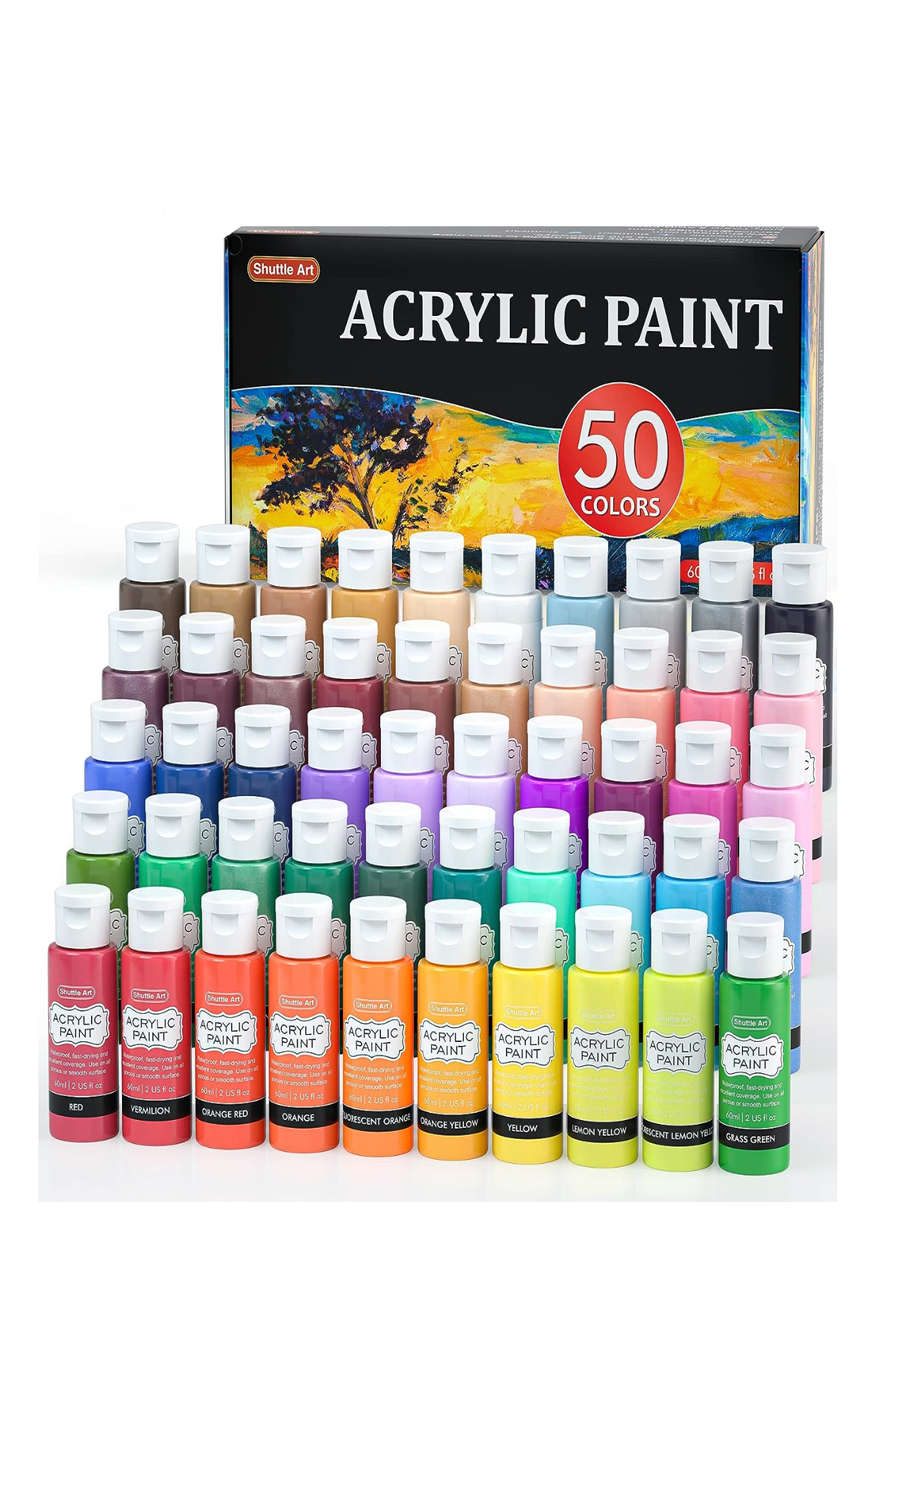
- Acrylic paints
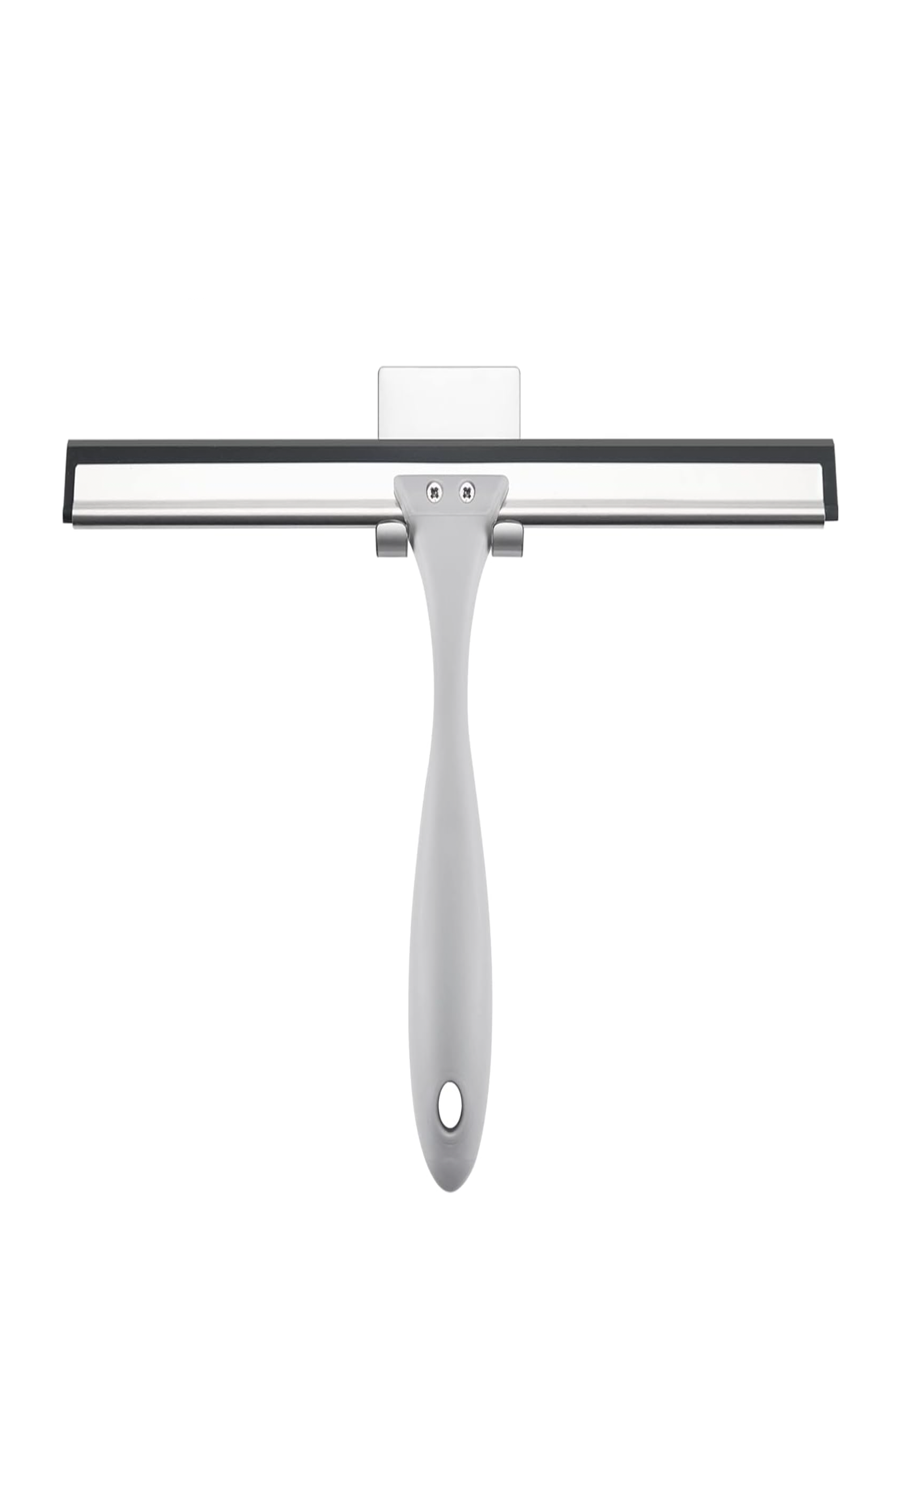
- Squeegee
- Palette or a flat surface to mix your paint colors
- Brushes (optional for touch-ups)
- Apron or old clothes to protect your outfit
- Plastic or newspaper to protect your working surface
Step-by-step process
Prepare your workspace
Lay down plastic or newspaper to protect your working surface from paint spills. This isn’t a messy project, but I recommend wearing an apron or old clothes to protect yourself from accidental splatters.
Set up your paper
Place your paper on another wider piece of scrap paper. This will allow you to pull paint all the way to the edges, while keeping your main surface clean.
Mix your paints
Squeegee art is all about using vibrant and contrasting colors. Use a palette or a flat surface to mix your acrylic paints. You can experiment with various color combinations to achieve the desired effect.
Apply the paint
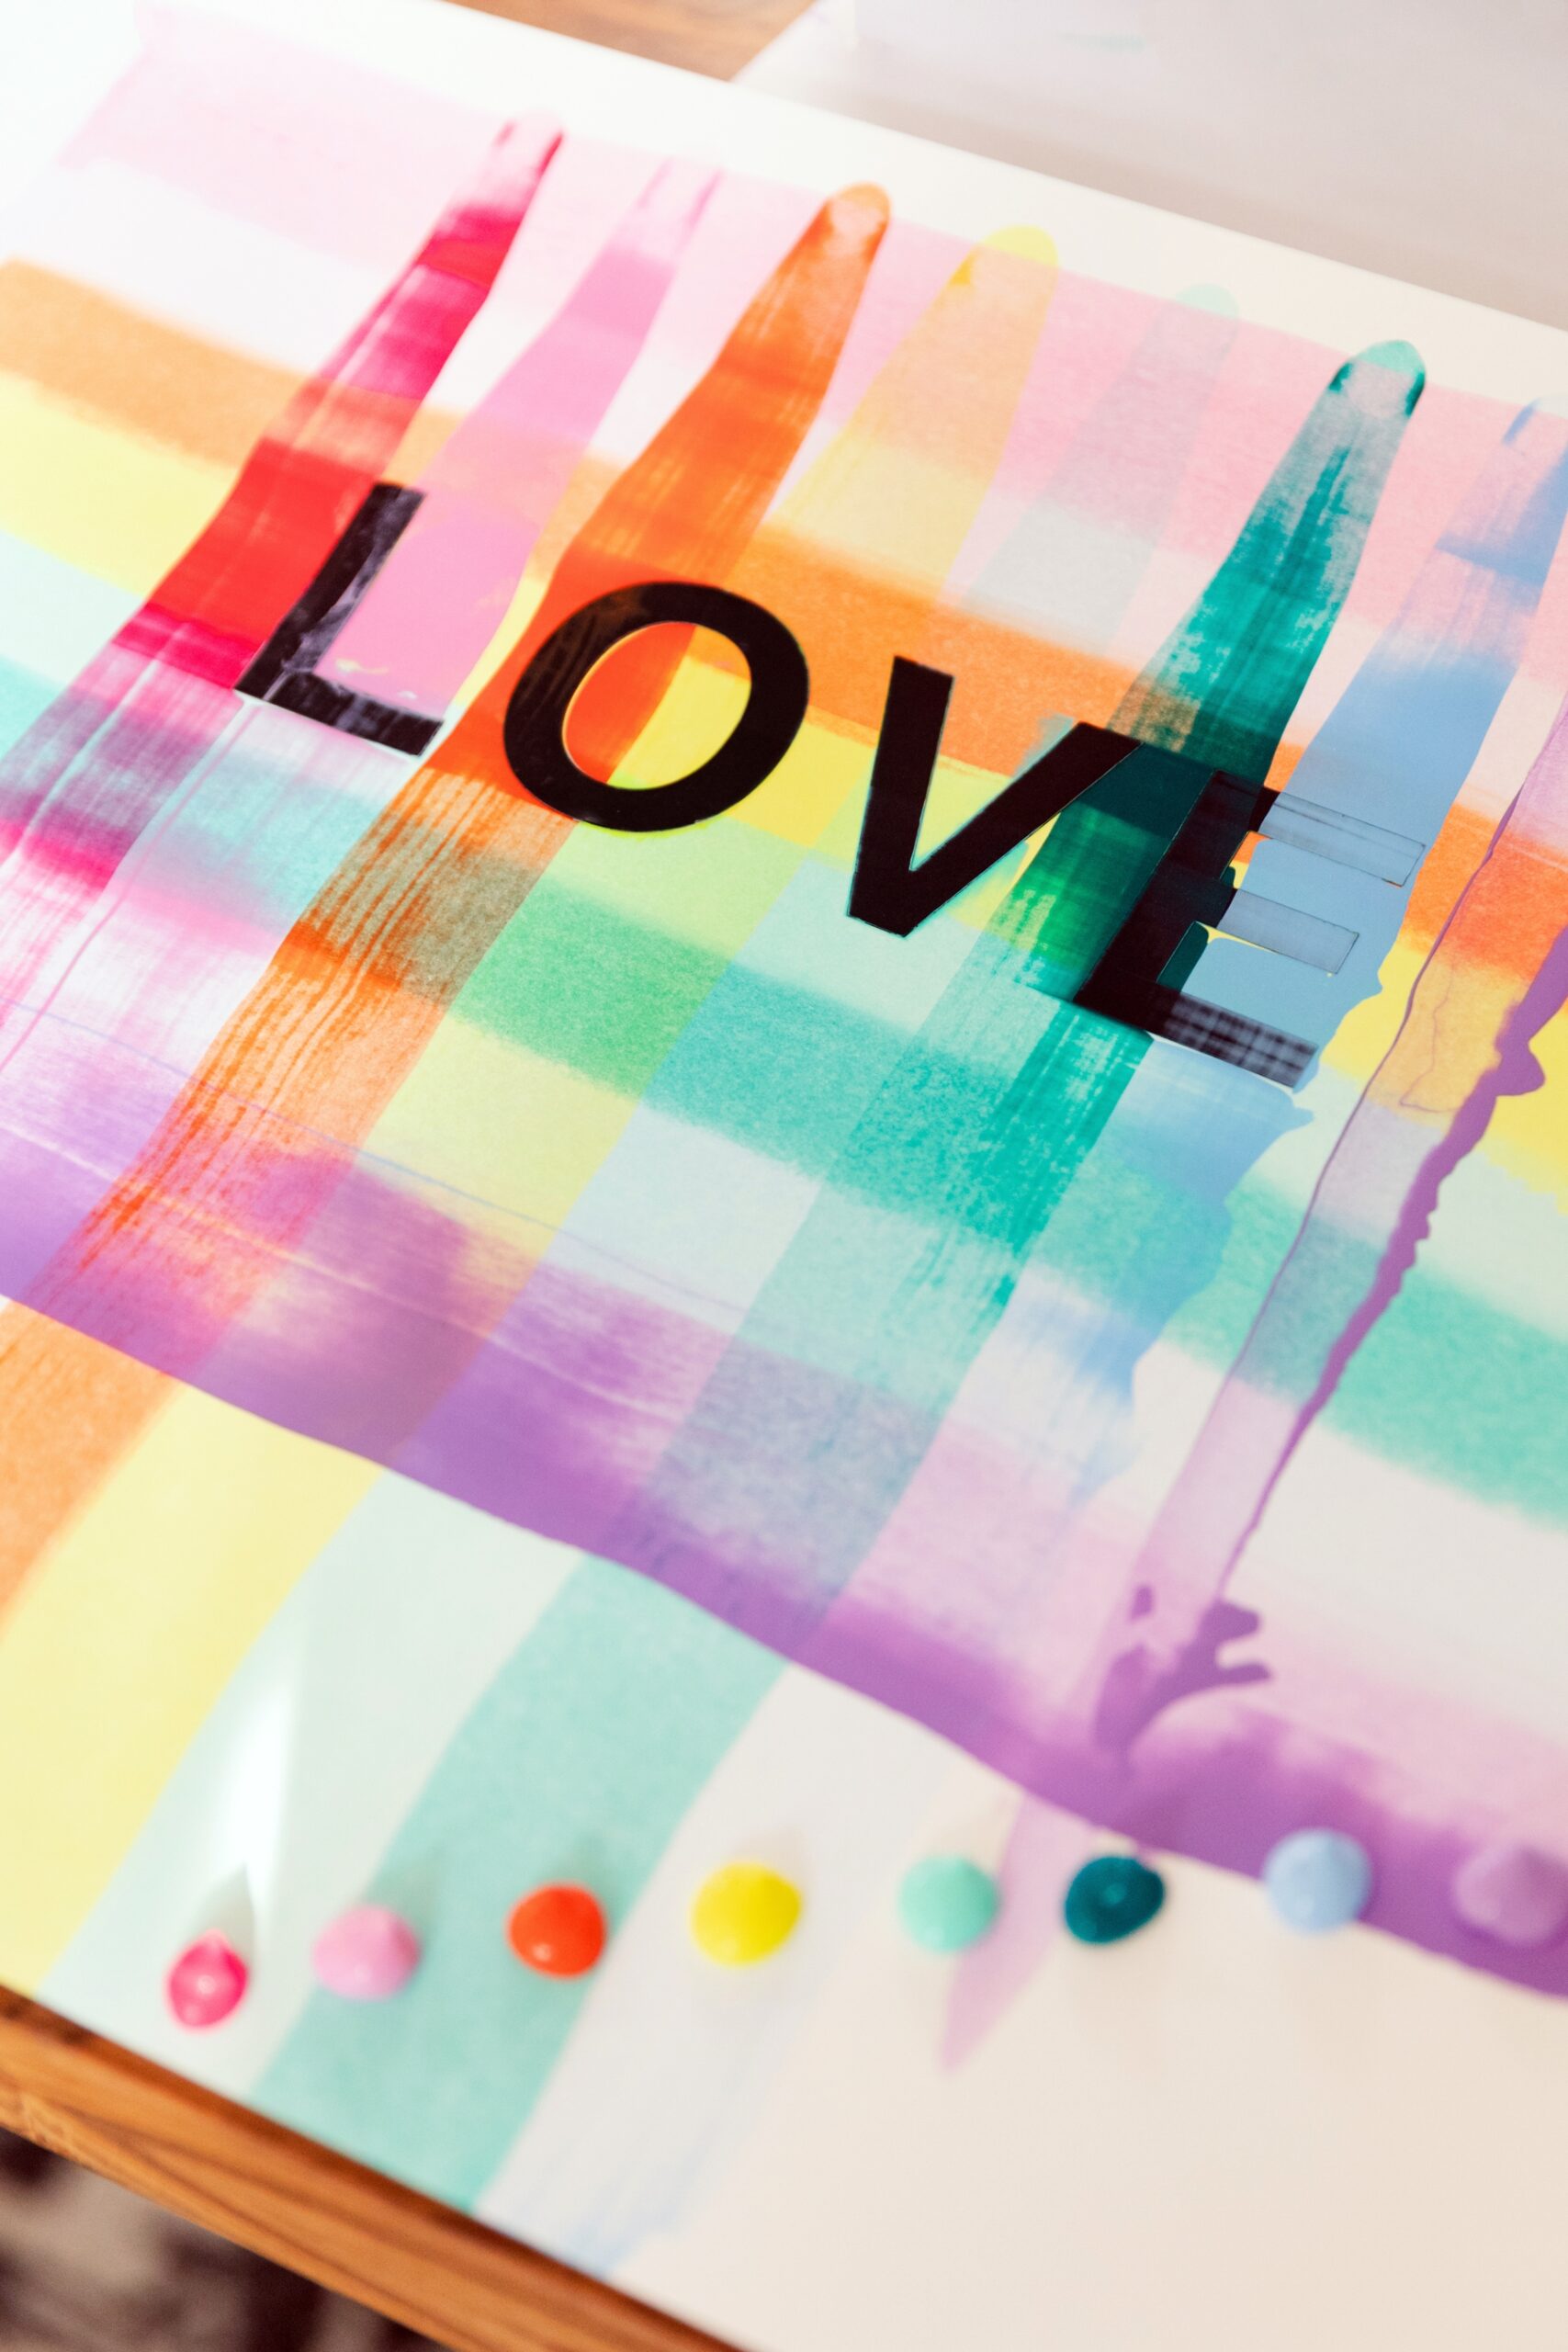
Once your paints are mixed, pour or dab them onto your paper. You can place blobs or lines of different colors at varying heights.
Use the squeegee
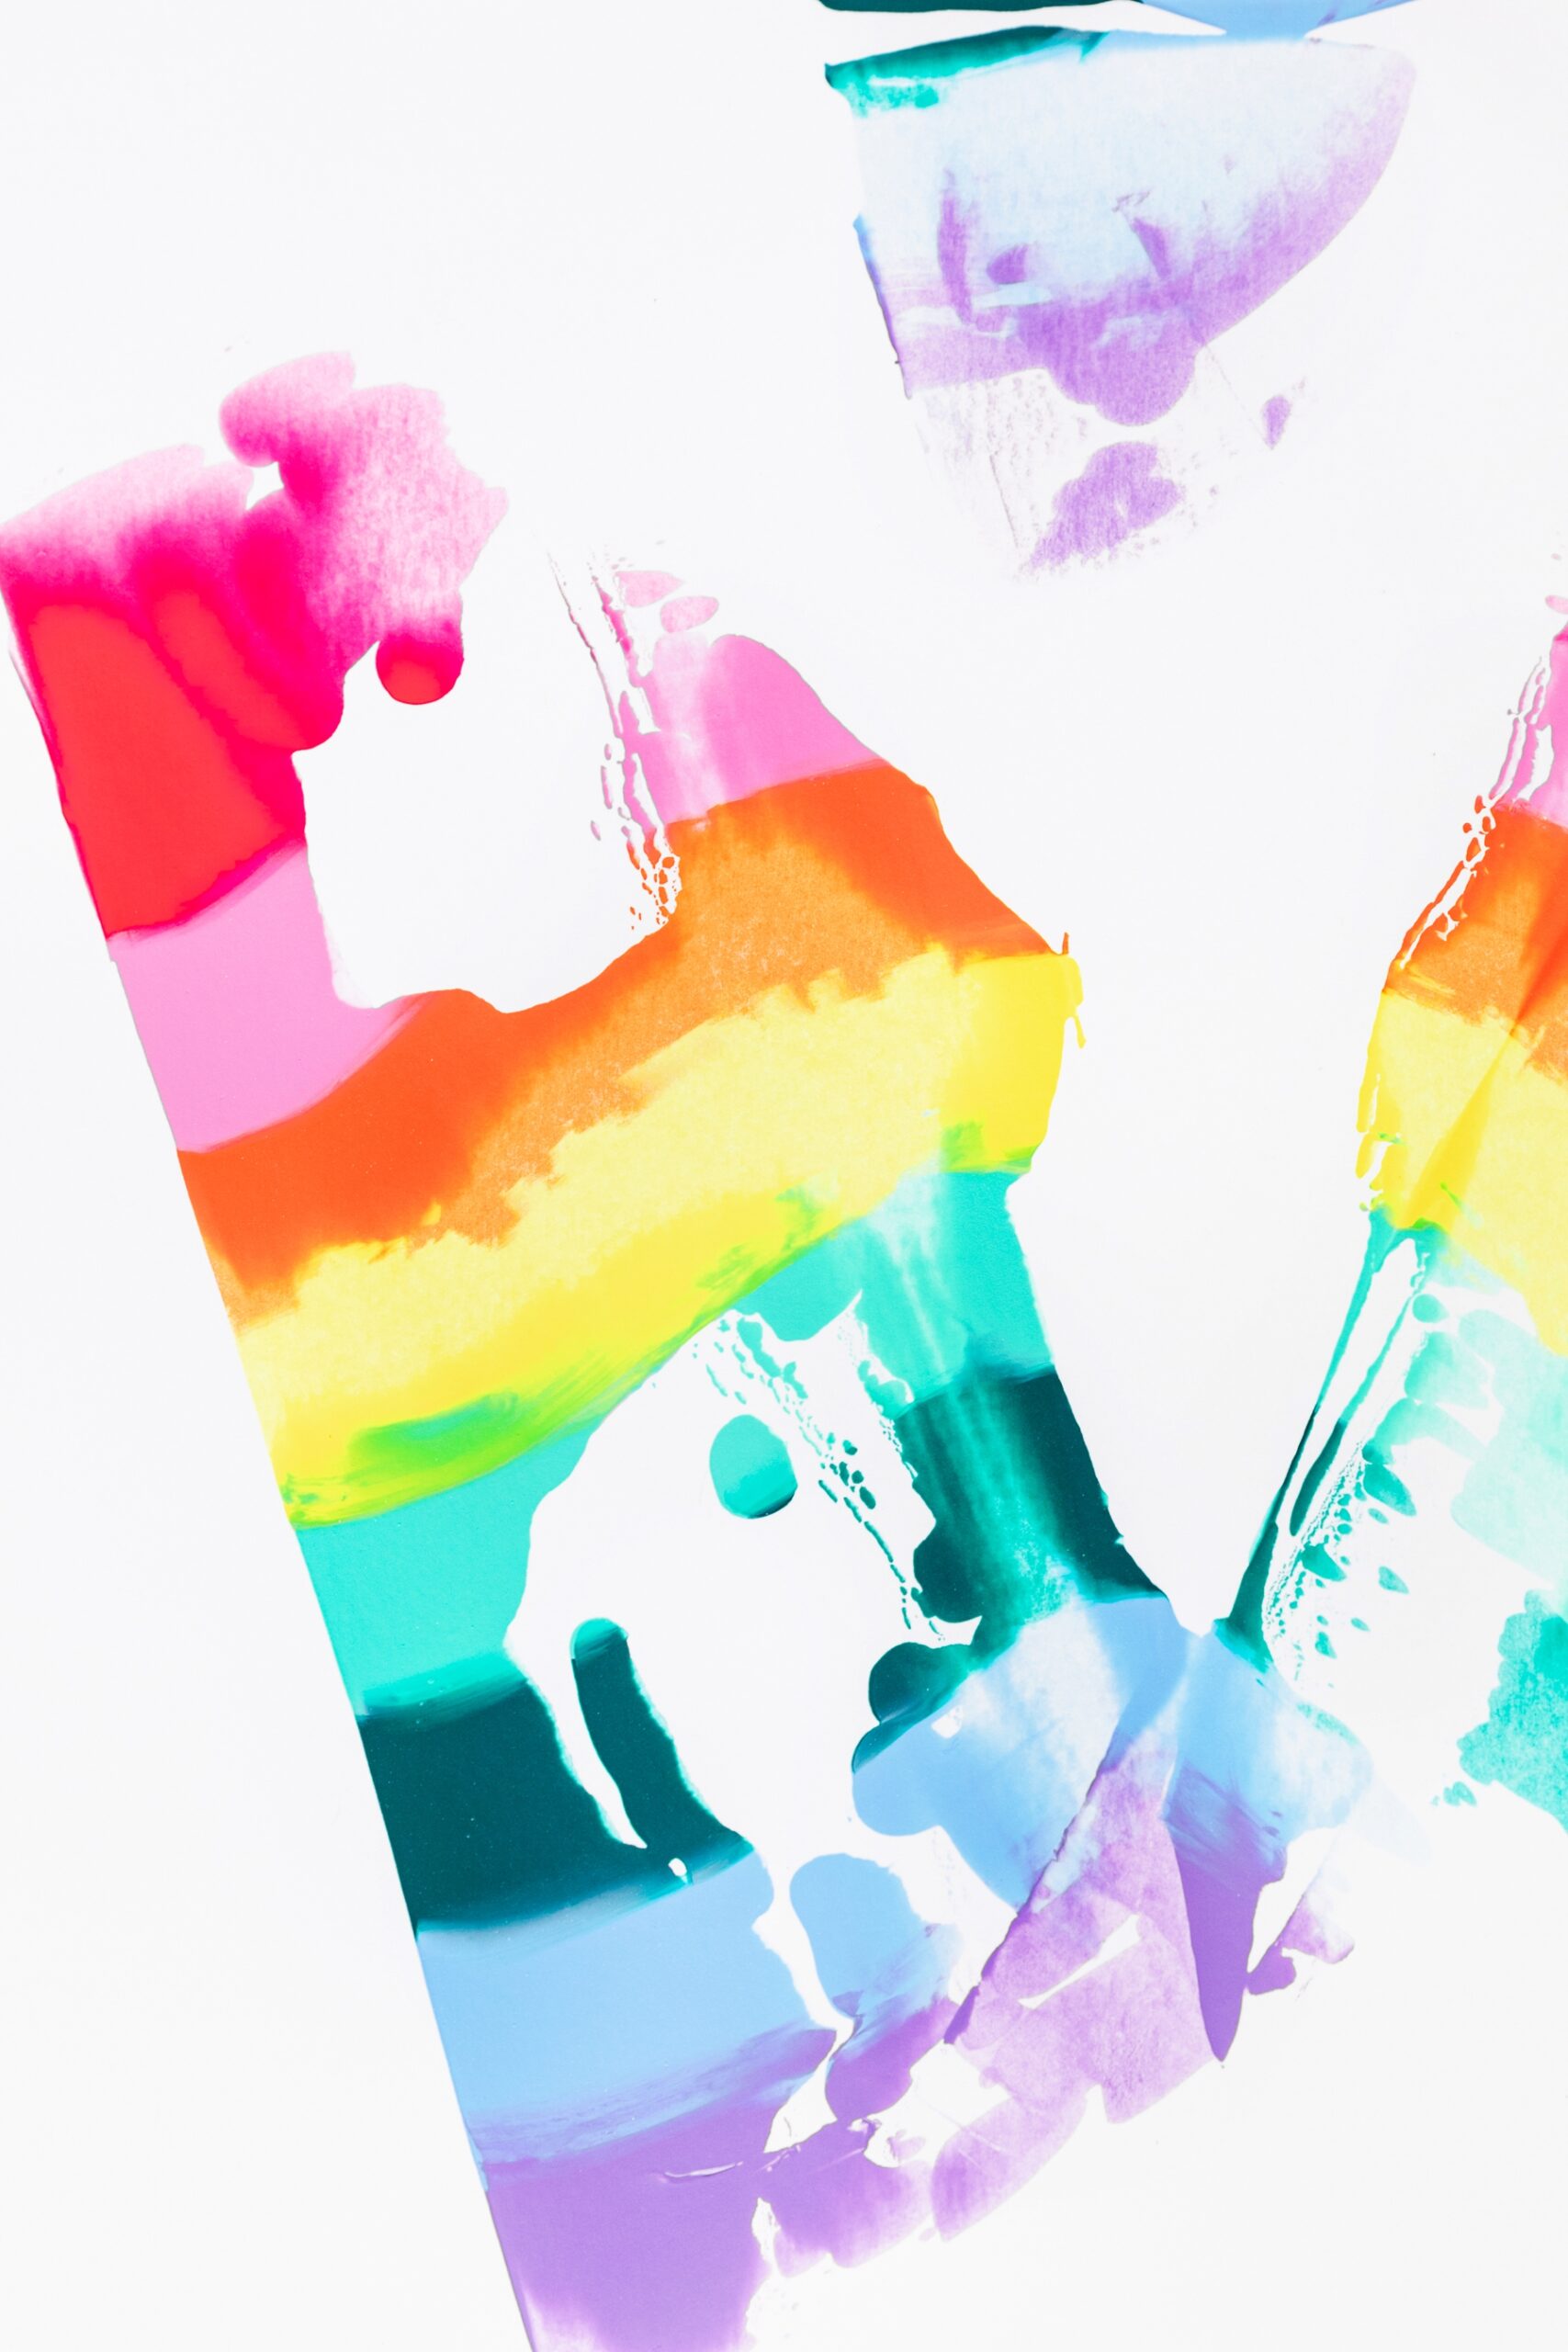
Take your squeegee and hold it at a slight angle to the canvas. Gently drag the squeegee across the painted surface, spreading the colors and blending them together. The pressure and speed you use will affect the final result, so feel free to experiment with different techniques. We found pulling continuously with an even speed and pressure produced the best results.
Add more paint if needed
If you’re not satisfied with the coverage or color distribution, add more paint and repeat the squeegee process until you’re happy with the outcome.
Optional touch-ups
If you want to add more detail or enhance certain areas, you can use brushes to paint directly on top of the squeegee art once it’s dry. This can be a great way to add depth and definition to your creation.
Let it dry
Allow your squeegee art to dry completely. This can take a few hours to a few days, depending on the thickness of the paint and the humidity in your workspace.
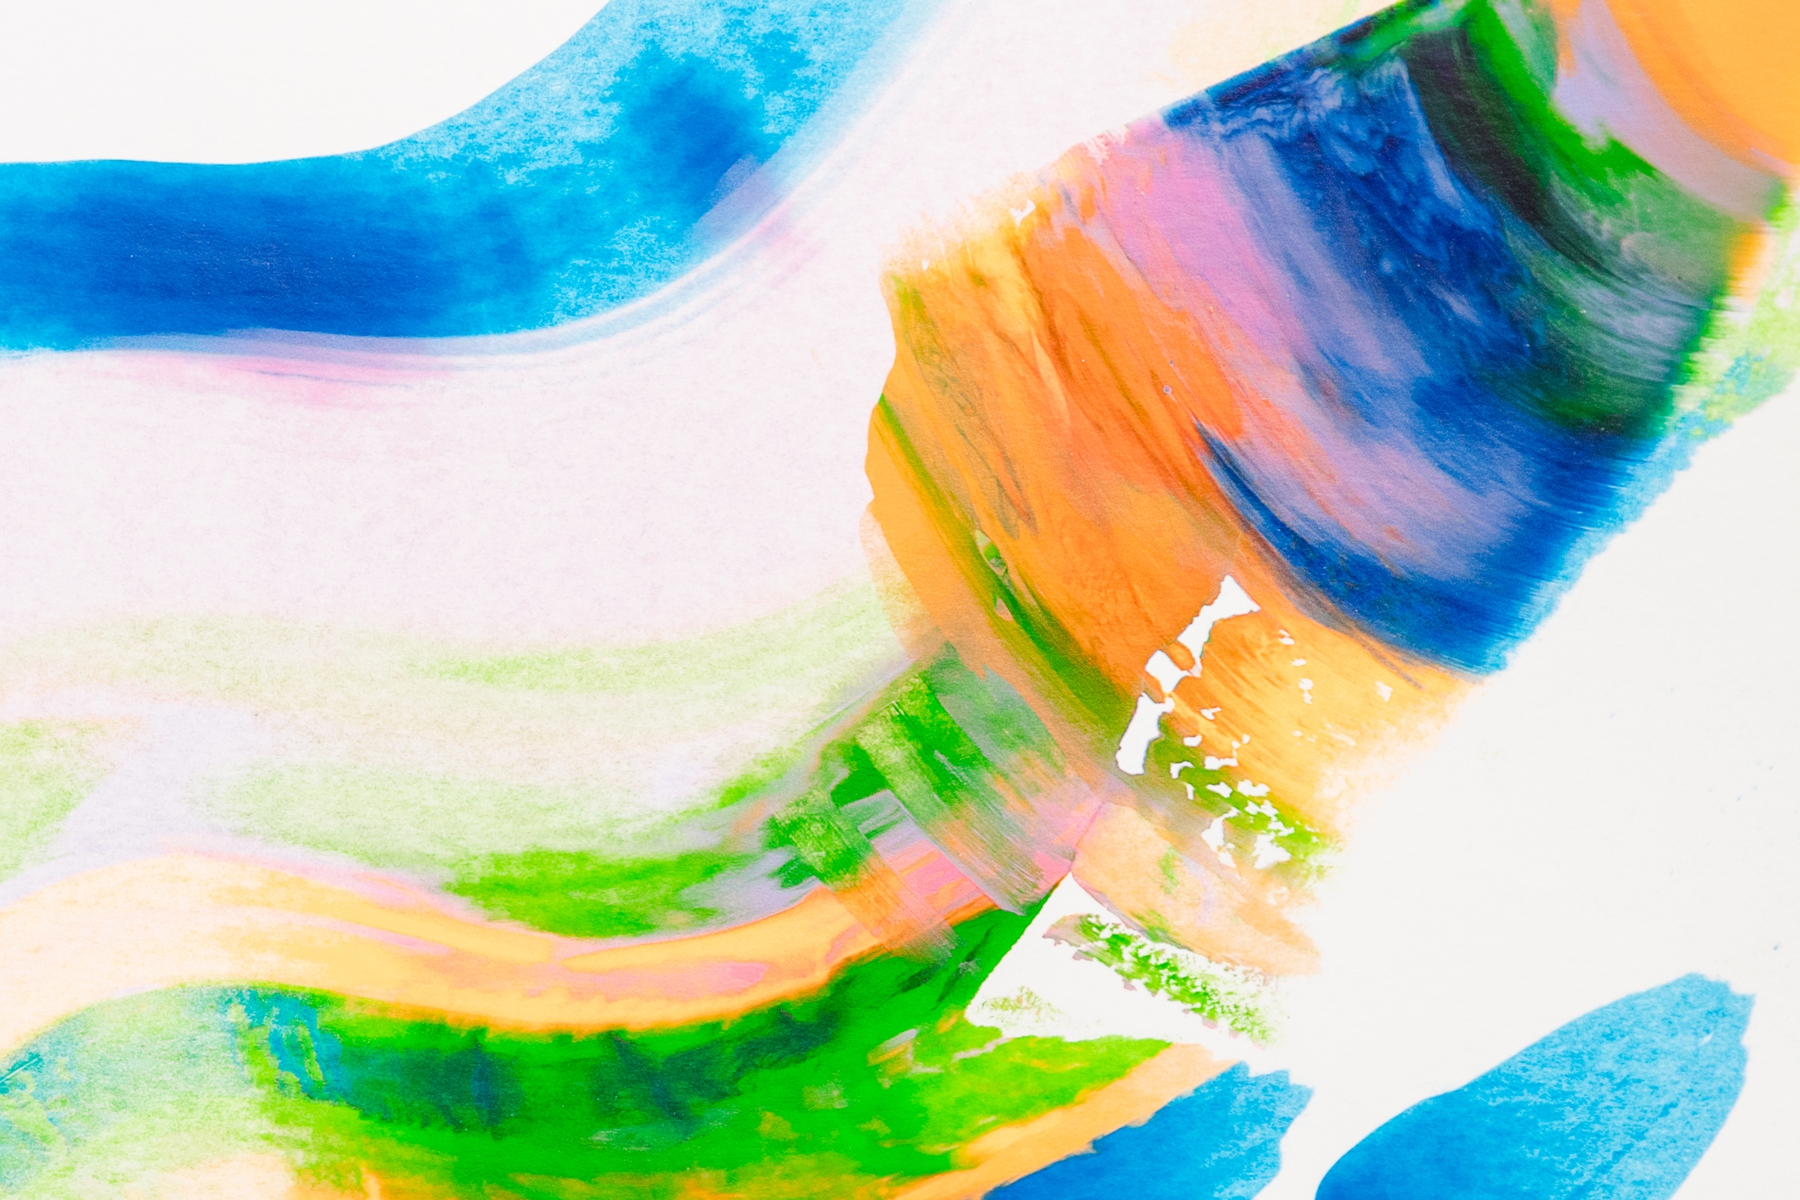
Remember, squeegee art is all about embracing the unexpected and letting your creativity flow. Don’t be afraid to experiment with different techniques, color combinations, and tools to create unique and eye-catching pieces.
Happy painting!
Jen
Recent Comments