Valentine’s Day gifts needn’t be expensive to be personal. A little DIY magic can make any bouquet or box of chocolates seem extraordinary. All you need is a few basic supplies and 30 – 60 minutes of actual working time to spoil the pickiest of recipients.


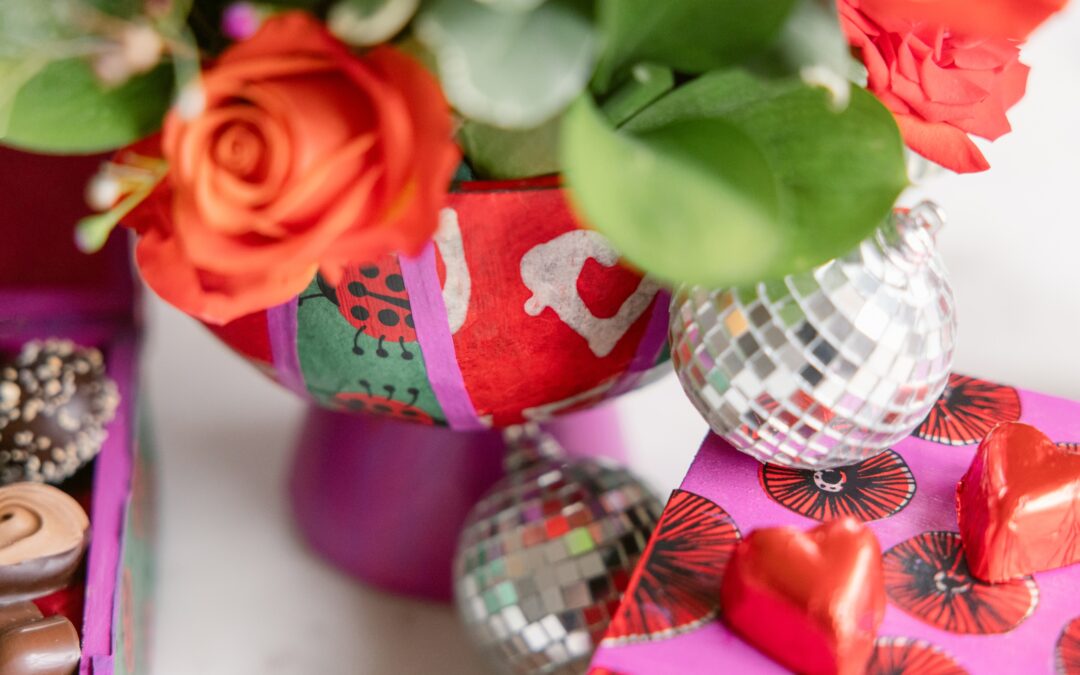
Valentine’s Floral Arrangement in a Decoupage Vase
Instead of a bunch of grocery store roses in a plastic sleeve, why not make a pretty floral arrangement and put it in a fabulous DIY vase they can keep. We covered simple arrangements once before, so here is the link of you need any help.


Decoupage Valentine’s Box
Does anyone really want the typical heart-shaped drug store chocolates? Maybe in a pinch, but there are better ways to showcase your Valentine’s sweets. Try putting store bought candy or cookies into an adorable homemade wooden box.


Make anything better with Mod Podge – A Tutorial
Supplies
- Clear glass or plastic vase or wooden box with lid.
- Mod Podge (matte or glossy, depending on your preference)
- Paintbrush or foam brush
- Decorative Paper (napkins, tissue paper, scrap book paper etc.)
- Scissors
Instructions:
Prepare the Surface:
If the vase has any stickers or labels, remove them and clean the surface thoroughly.
Apply Mod Podge:
Using a paintbrush or foam brush, apply a thin layer of Mod Podge to the area you want to cover.
Place the Design:
Carefully place the paper on the wet Mod Podge, smoothing out any wrinkles or bubbles.
Seal the Design:
Gently apply another layer of Mod Podge over the top of the design, ensuring that it covers the entire surface. This seals the design and provides a protective layer.
Let it Dry:
Allow the object to dry completely between each layer. This may take a few hours, depending on the thickness of the Mod Podge layers.
Optional Painting:
If desired, you can paint the vase with acrylic paint before or after decoupaging. This adds an extra layer of color and creativity.
Final Seal (Optional):
Once you are satisfied with the decoupage, you can apply a final layer of Mod Podge or use a clear sealer spray to protect the design and make it more durable.
Curing Time:
Let your project cure for at least 24 hours before using it.

Sorry, had to fit in one more shot of our assistant Sophia.
Now go make something pretty for V Day!
xoxo
Jen
Recent Comments