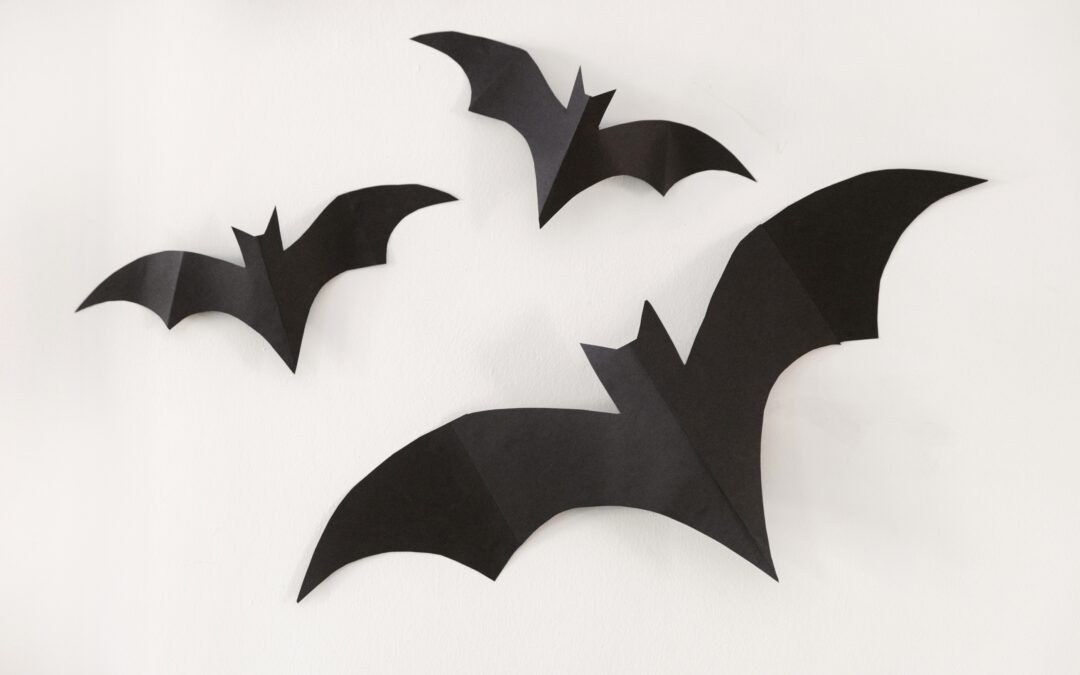

This is by far one of my favorite high impact, low cost Halloween DIY projects. I first came across these paper bats years ago on Martha Stewart’s website, and although the templates have changed throughout the years, the result is always spectacularly spooky. Honestly, it almost seems too easy, but these bat silhouettes can transform any wall, ceiling, or porch into an eerie Halloween backdrop.

What YOU NEED
Heavy Black Construction Paper
Pencil
Scissors
Double Sided Tape for Bats
Removable Adhesive such as Zots
Fishing line

How to Make
Step 1: Download and print the bat templates here.
Step 2: Cut out the template(s.)
Step 3: Trace the outline of the templates on the black construction paper.
Step 4: Cut out the bat silhouettes.
Step 5: Using double sided tape, attach the wings.
Step 6: Fold the wings along the tape line if you want your bats in flight. In addition to that fold, fold the wings next to the bat’s body if you want hanging sleeping bats.
Step 7: If attaching to a wall, put Zots or other removable adhesive in strategic points. I put adhesive near the bat’s shoulders and right past the bend in the wing to give it a three-dimensional look.
Step 8: If you are hanging flying bats from the ceiling, pierce the middle of the body with a needle and thread fishing line through it. Then attach it to the ceiling with removable adhesive tape or hooks.
Step 9: If you are hanging “sleeping” bats, pierce the bottom of the body with a needle and thread fishing line through it. Attach the fishing line to the ceiling with removable adhesive or hooks.


Where would one download the template mentioned above? I’ve looked on two different computers, and had another set of eyes look in case I was missing it, but all we are seeing is a mention to a downloadable template, and not the template itself. 🙁
You’re totally right, the template isn’t included anywhere in the article. Not the most helpful!
I am so sorry for the confusion everyone. In a recent reorg of our site, our printable templates disappeared. I am updating the site and you can also use this link prettytogether.comdiy-bat-silhouette-templates/
I found this on MS’s website:https://www.marthastewart.com/852559/hanging-bats
I am so sorry for the confusion everyone. In a recent reorg of our site, our printable templates disappeared. I am updating the site and you can also use this link prettytogether.comdiy-bat-silhouette-templates/
I am so sorry for the confusion everyone. In a recent reorg of our site, our printable templates disappeared. I am updating the site and you can also use this link prettytogether.comdiy-bat-silhouette-templates/