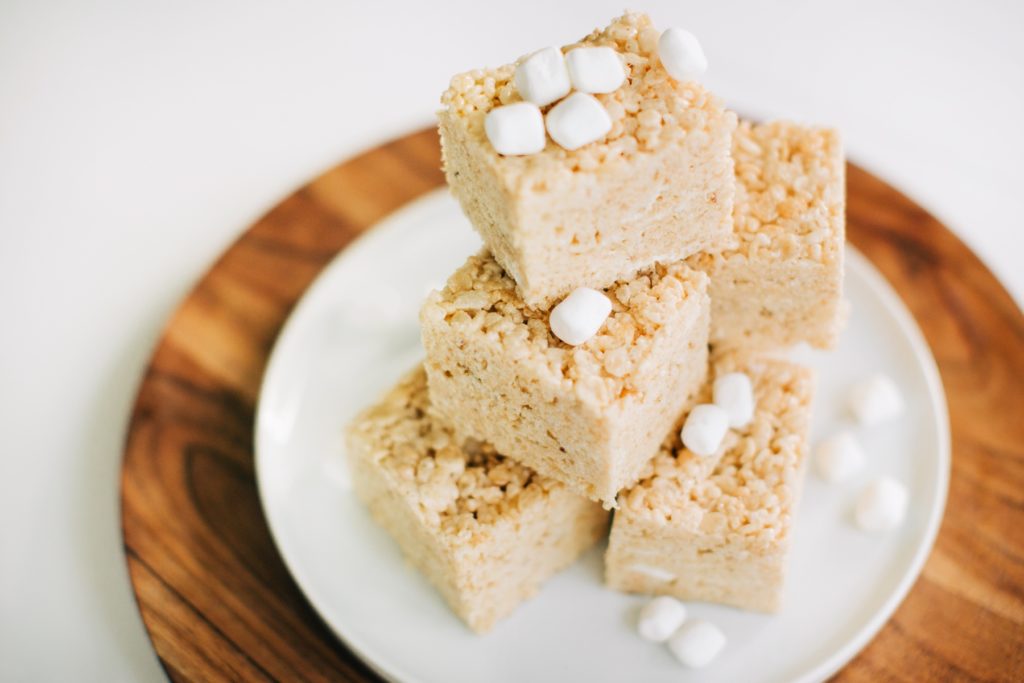
I don’t know how to emphasize this enough. These are NOT your average Rice Krispie Treats. For the record, I hate Rice Krispie treats. They conjure up dissatisfied memories of my third-grade homeroom and “faking” my delight anytime a room mother brought these in for a special occasion.
BROWN BUTTER MAKES THE DIFFEREnCE
That being said, brown butter really takes this lowly treat and brings it to a whole different level. Just this one addition adds a buttery caramel complexity on par with more complicated desserts like Crème Brûlée.
STILL JUST AS EASY AS THE ORIGINAL
Once you brown the butter; these are just as easy to make as the old version. Seriously, they take 15 minutes and one mixing bowl. So there really is no excuse to use that tired old recipe passed down from past generations. You deserve gourmet!
BROWN BUTTER RICE KRISPIE TREATS
- Prep Time: 15 minutes
- Total Time: 15 minutes
- Yield: 1 pan
Ingredients
8 ounces butter, salted or unsalted, preferably cultured, plus extra for pan
2 10 1/2-ounce bag marshmallows
1 12-ounce box Rice Krispies cereal
Instructions
Line rimmed sheet pan with parchment paper or wax paper, or butter it well.
In a large pot, melt butter over medium-low heat. It will melt, then foam, then turn clear golden and finally start to turn brown and smell nutty. Watch closely and stir often.
When butter is evenly browned, stir in marshmallows. (If using unsalted butter, stir in 1/8 teaspoon salt.) Melt and cook, stirring often, until mixture turns pale brown, then stir constantly until lightly browned but not dark, 3 to 5 minutes.
Turn off heat, add cereal, and mix well, preferably with a silicone spoon or a spatula. Scrape into prepared pan and press down lightly. If necessary, butter hands to press mixture flat. Let cool, and cut into squares or bars.

Recent Comments