Easter is upon us once again and it’s time to put on our bonnets and dye all those easter eggs laid by magical rabbits in honor of Jesus, or something like that. Just kidding Sister Leach. Seriously though, whether you celebrate for religious reasons or because you like any excuse to eat a basket of jelly beans and glorious molds of chocolate, Easter can be fun for anyone. I personally love a good egg dying spree, and this year I put a few finds on the internet to the test.
SIDE NOTE:
Some of my egg dying methods were complete disasters. I’m not going to go into specifics, but did you know food coloring sometimes doesn’t actually mix, and that shade of violet you were attempting to make turns out more of a blue and pink speckled sort of catastrophe that sends you down an internet rabbit hole? I didn’t think so. Let’s just say I was in a time crunch and substituted Rit Dye for food coloring, but let’s focus on the good stuff instead.
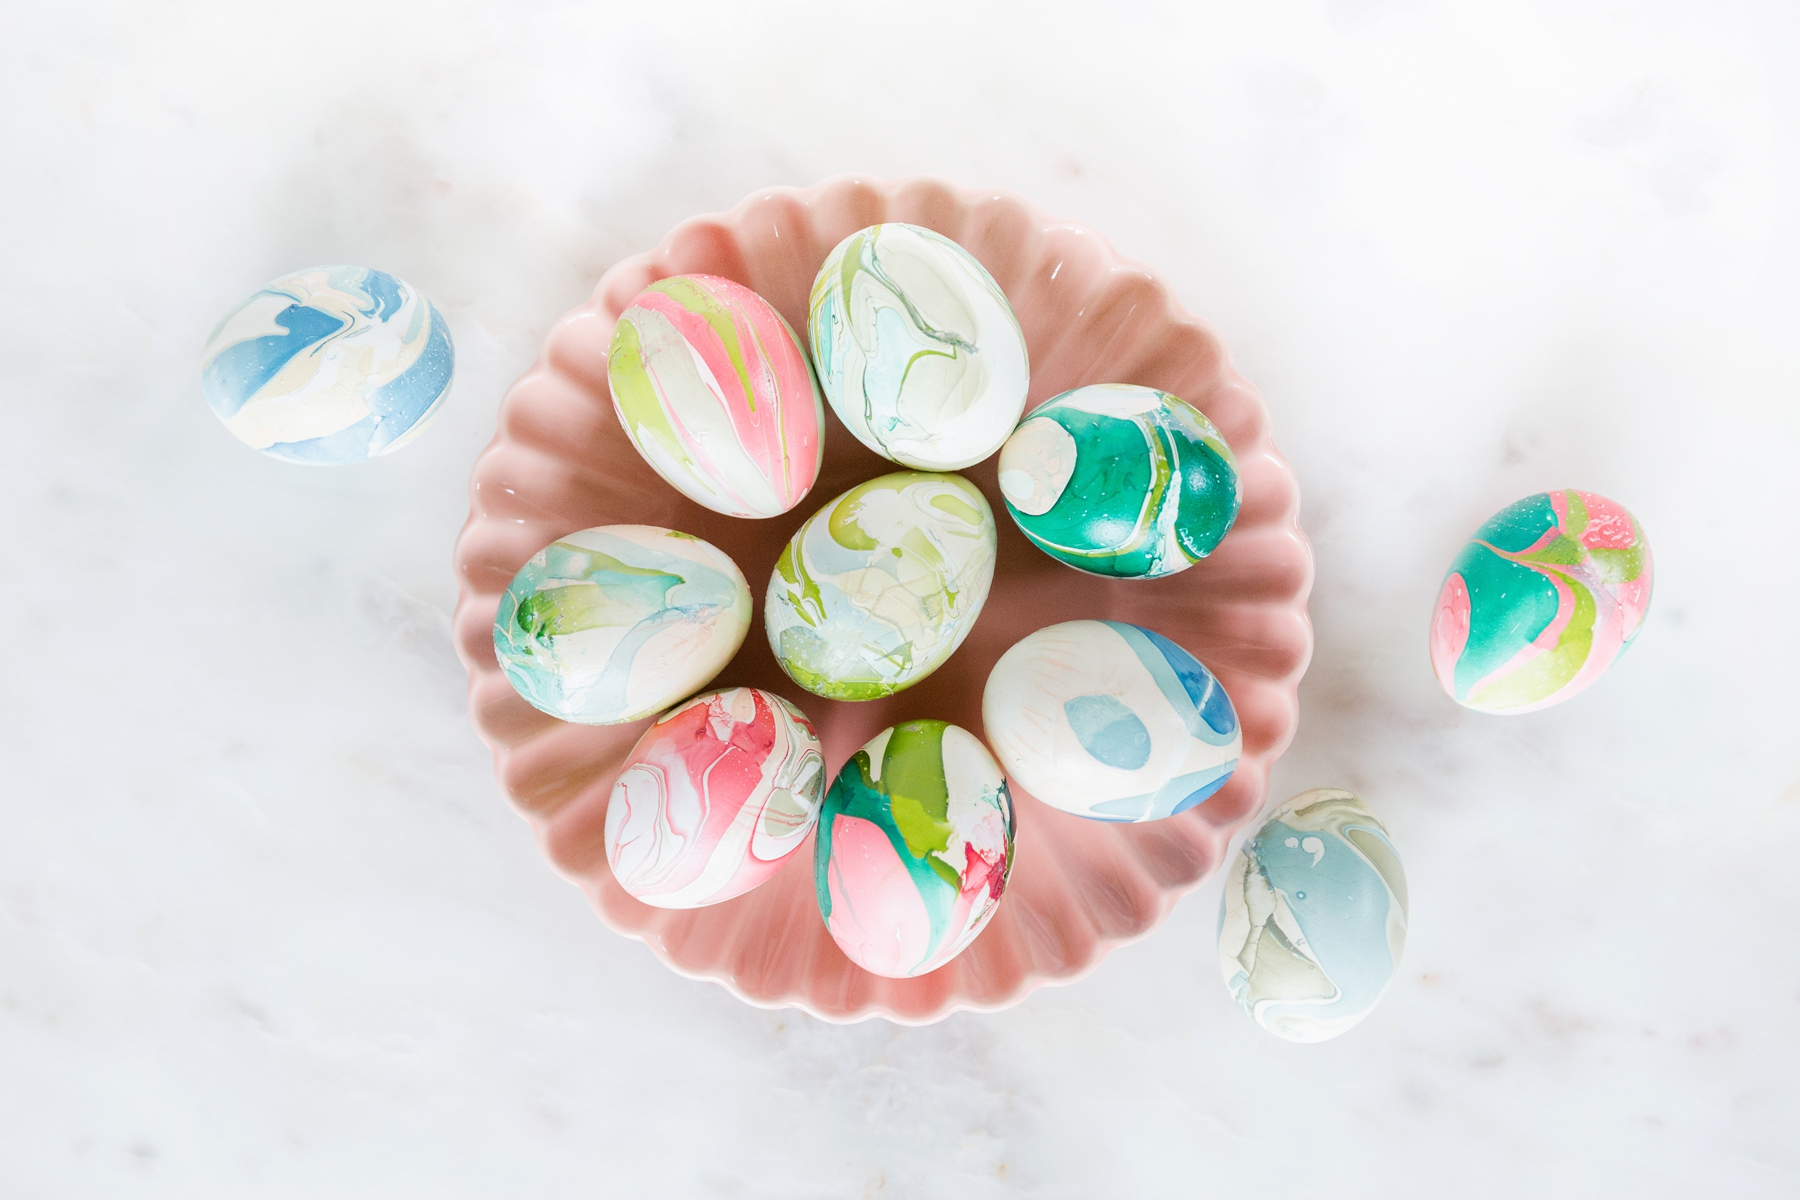
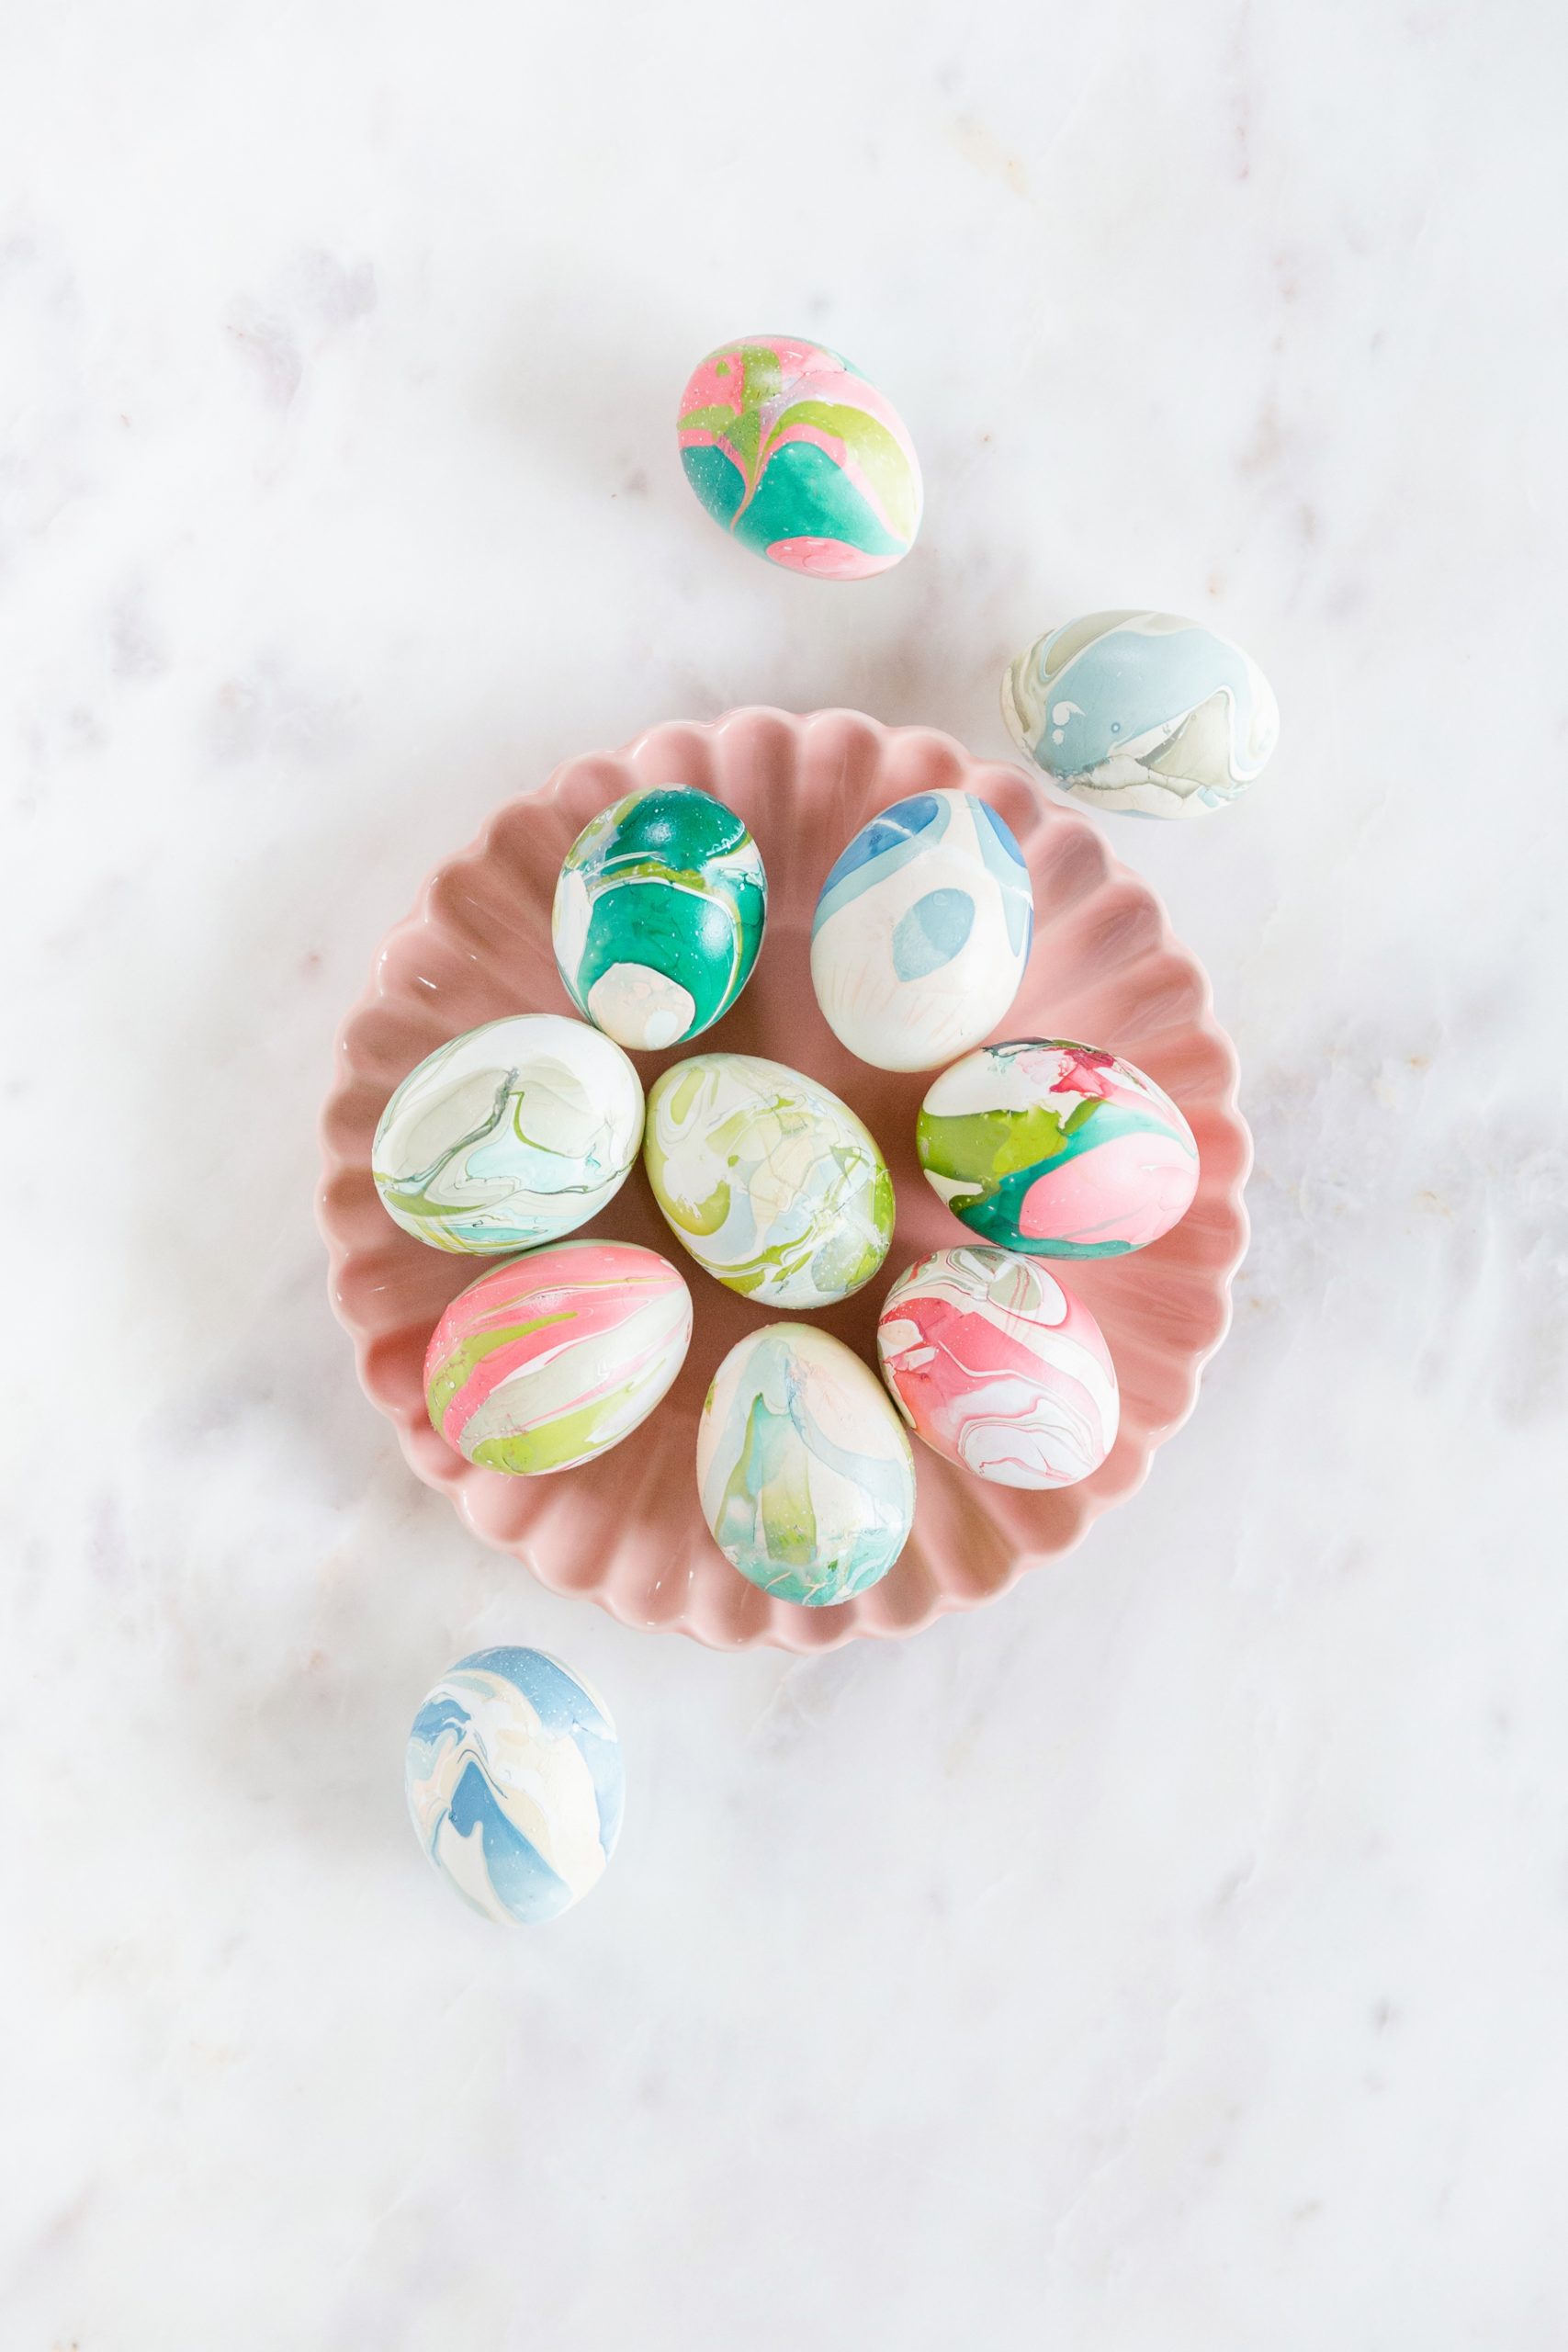
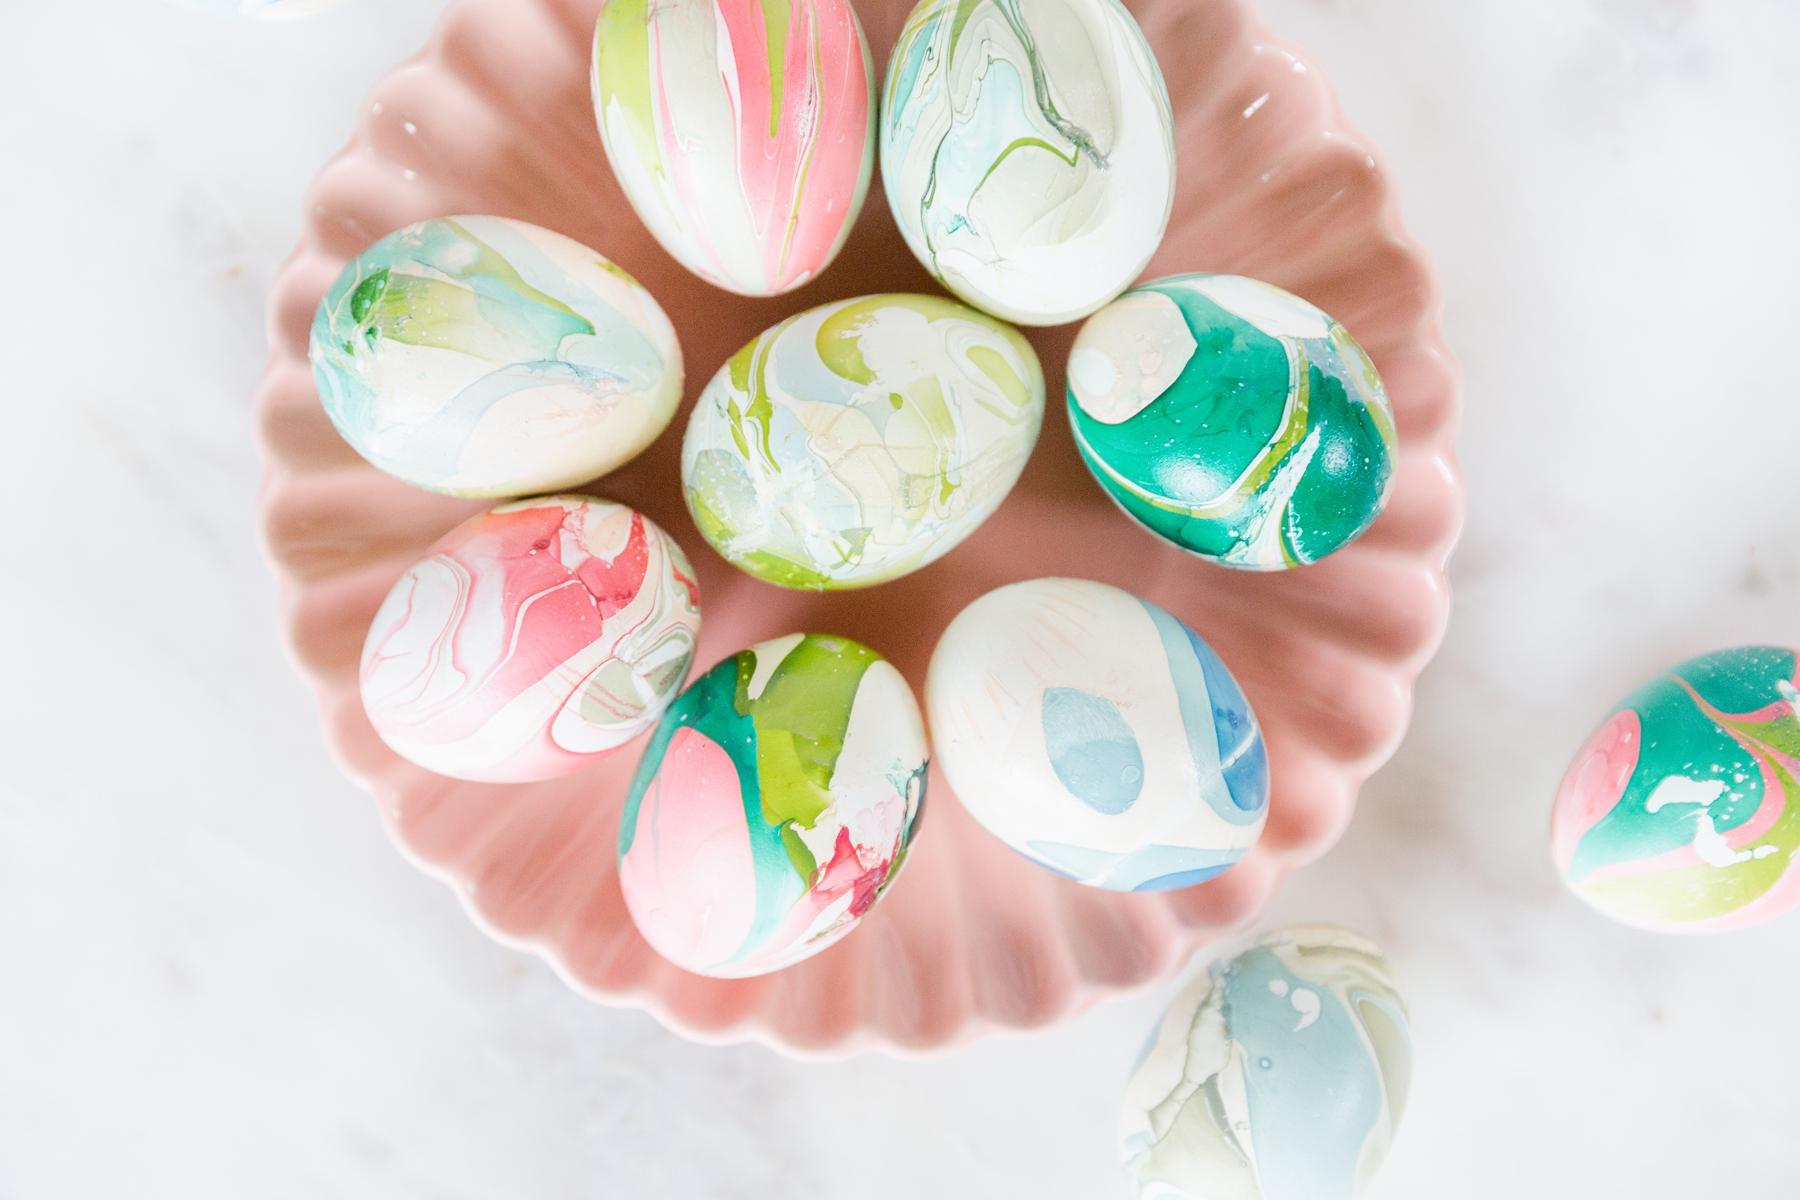
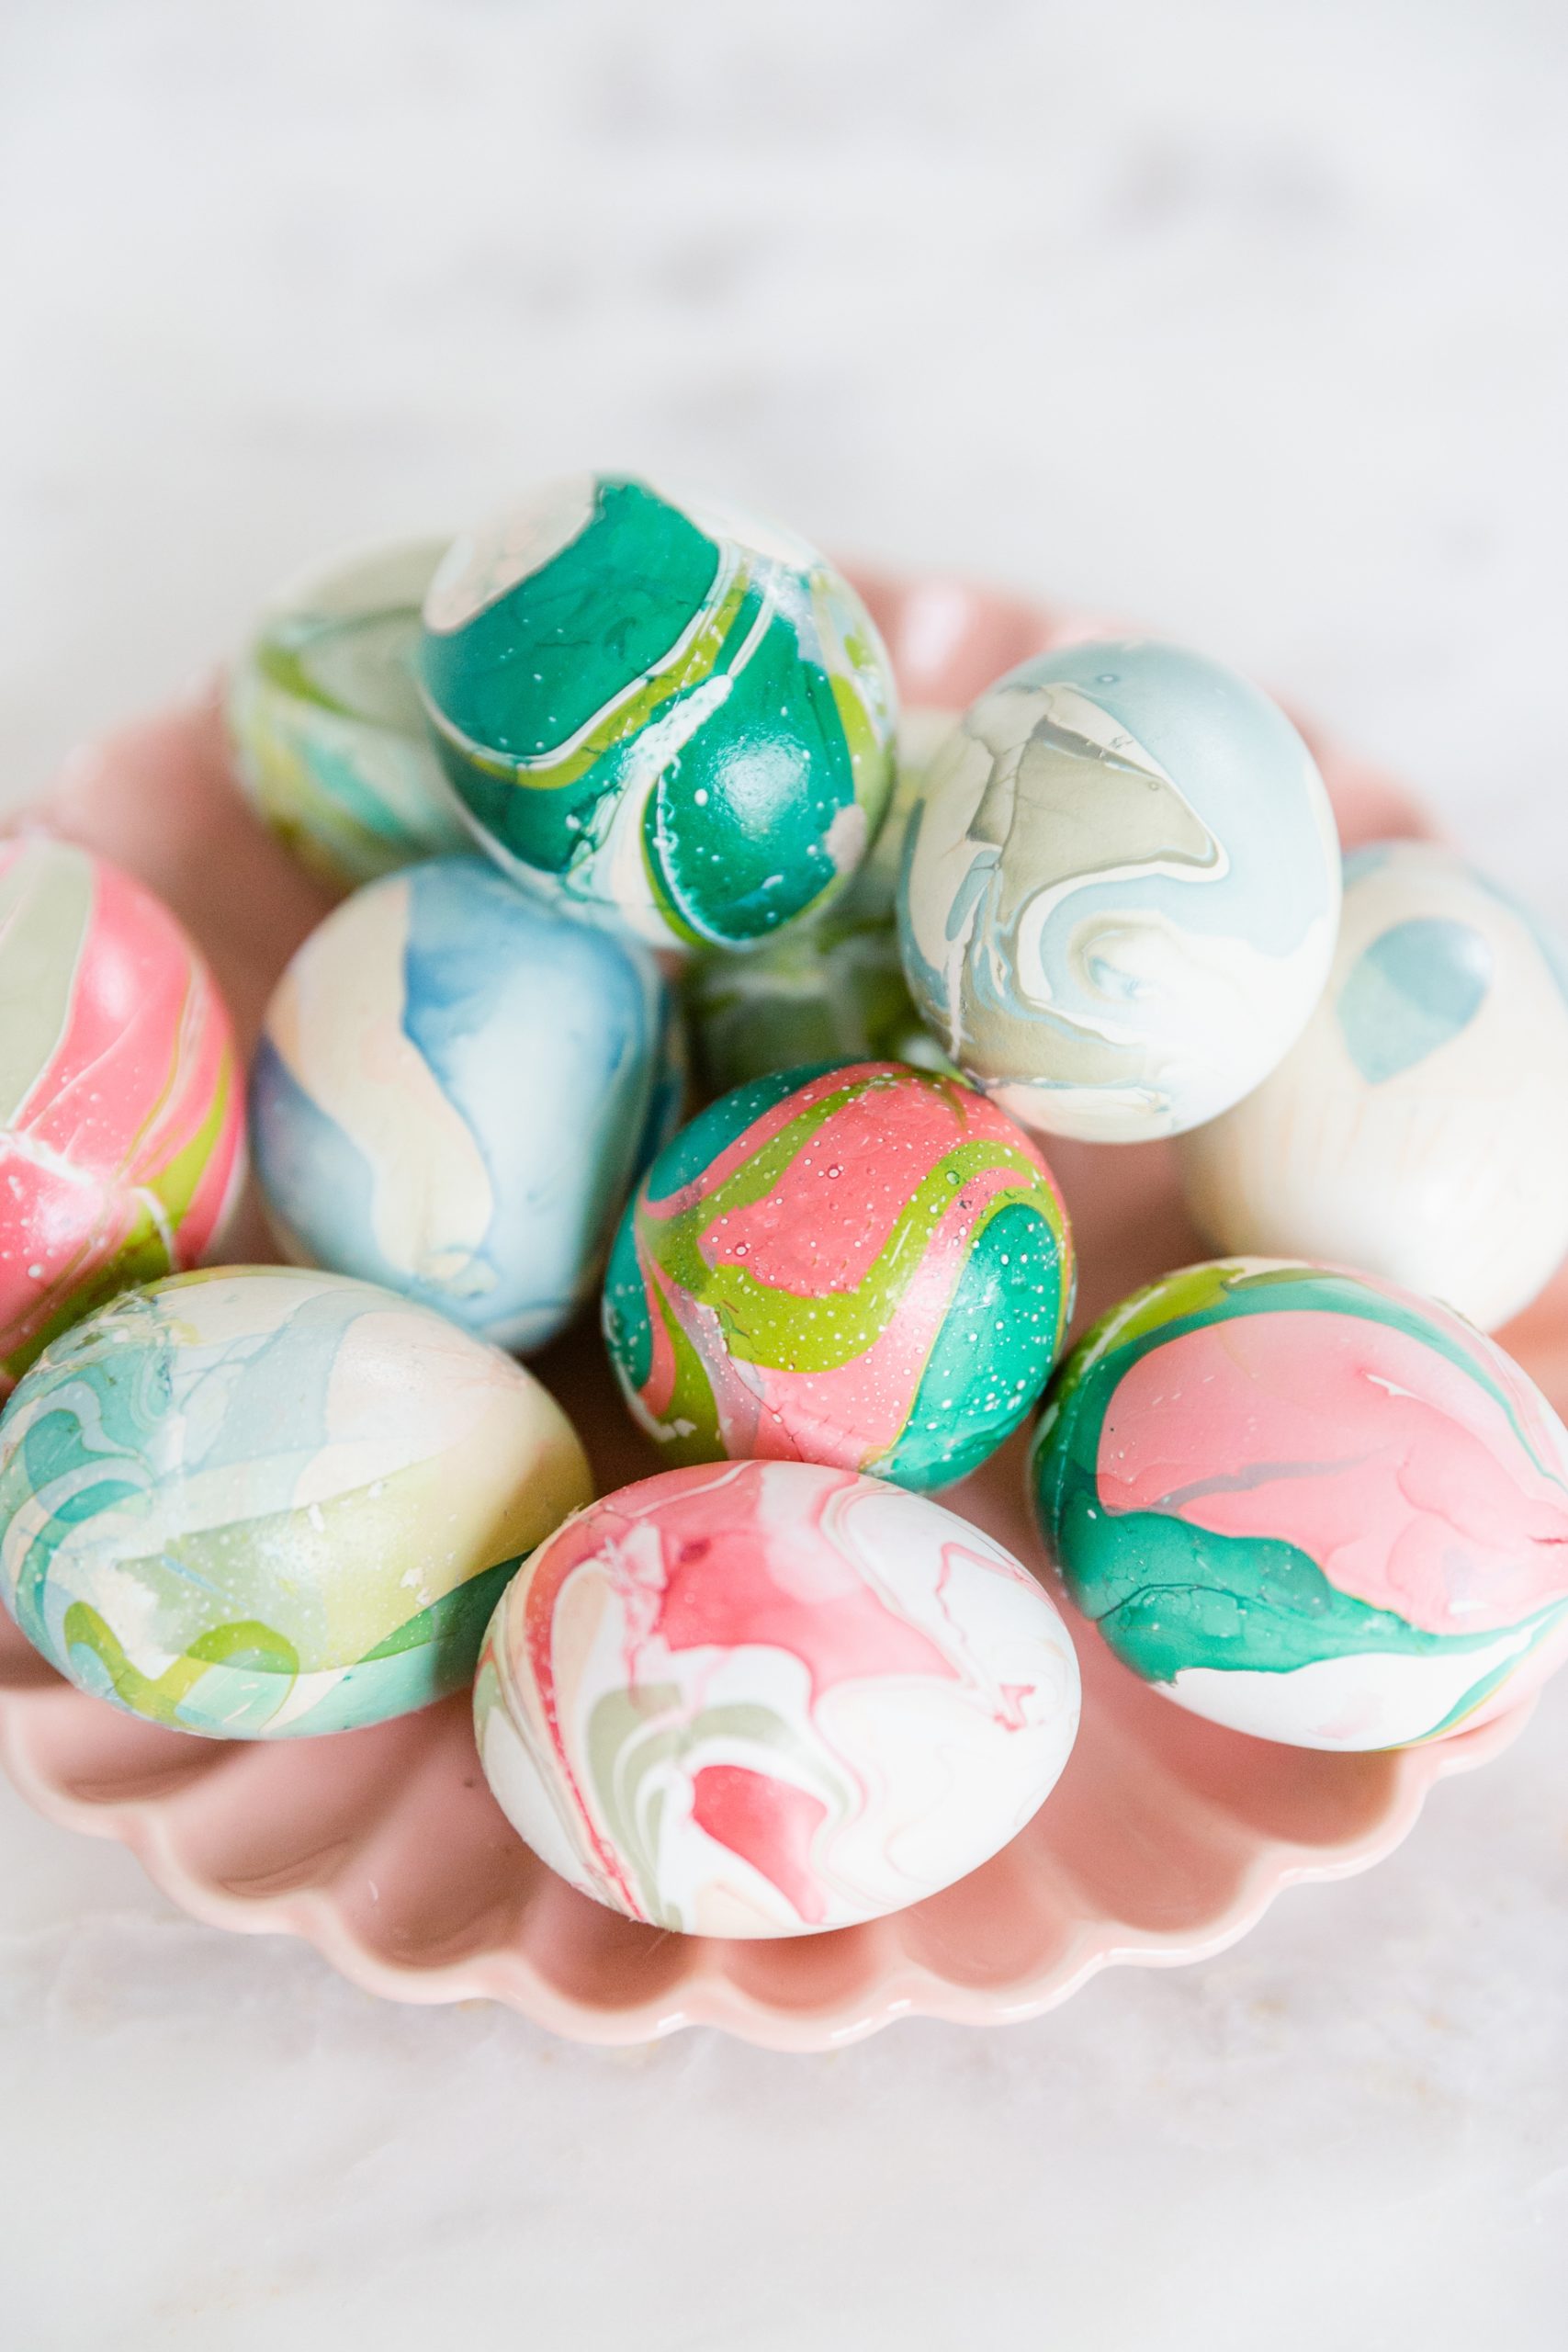
Experiment 1: Marbled Eggs
I have seen these eggs created several ways, but the one that intrigued me the most was the nail polish technique. It was honestly pretty simple once I figured out that using one of those cheap egg dunking wires was the easiest way to get the best coverage.
All you need is the following:
- a variety of nail polishes
- a bowl of water (deep enough to fully submerge you egg)
- Toothpicks or wooden skewers
- eggs (preferably with the insides removed, since these aren’t food safe)
- the egg dunking thingy that always comes in the egg dying packages
- paper towels
- drying rack ( I used the nifty perforated packaging that came with my cheap egg kit but a wire cooling rack also works.)
Fill a bowl with water. Take various colors of nail polish and pour them drop by drop into the water. The polish will naturally float on top of the water because science, YAY! To create the marbling effect, run the toothpick through the colors to blend. DO NOT STIR. Place your egg in the holder and submerge completely in the water. Then pull it out quickly. As you pull out the egg you will see the layer of marbled film envelop your egg and just like that you’ve marbled an egg. Gently place the egg somewhere to dry and that’s it. Easy right!?!
To repeat the process, simply wipe off the leftover nail polish film from the top of the water and start again.
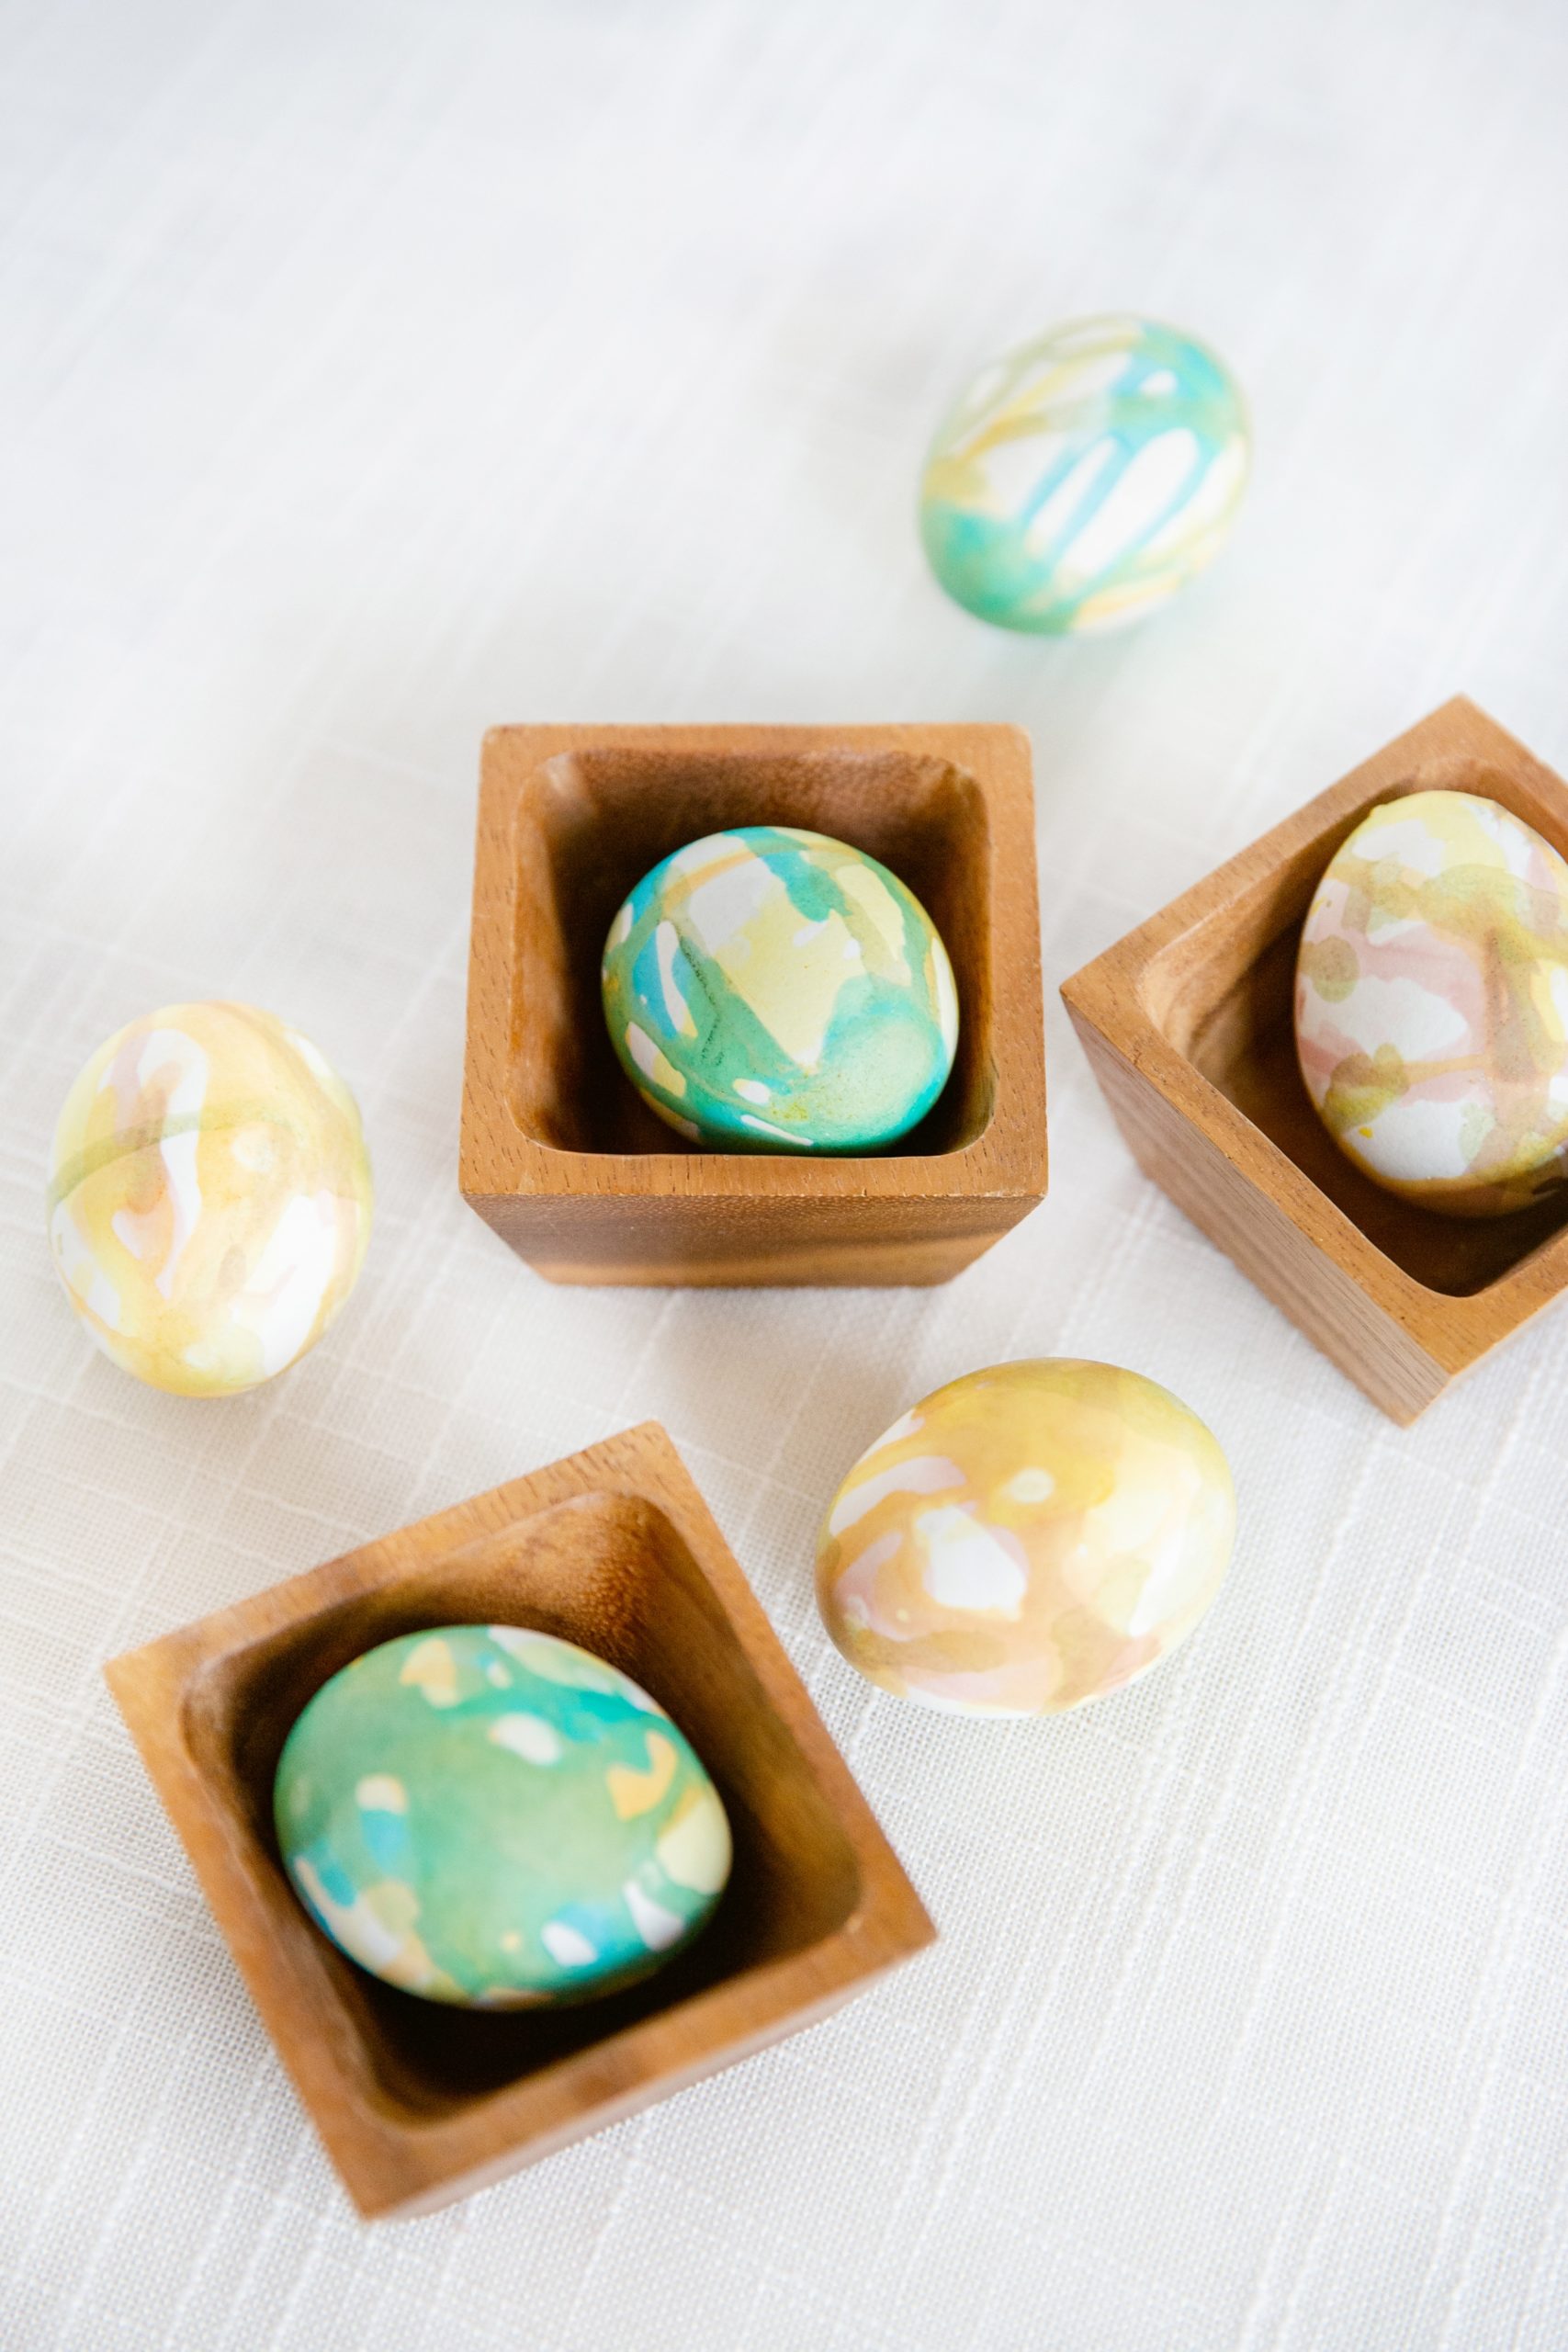
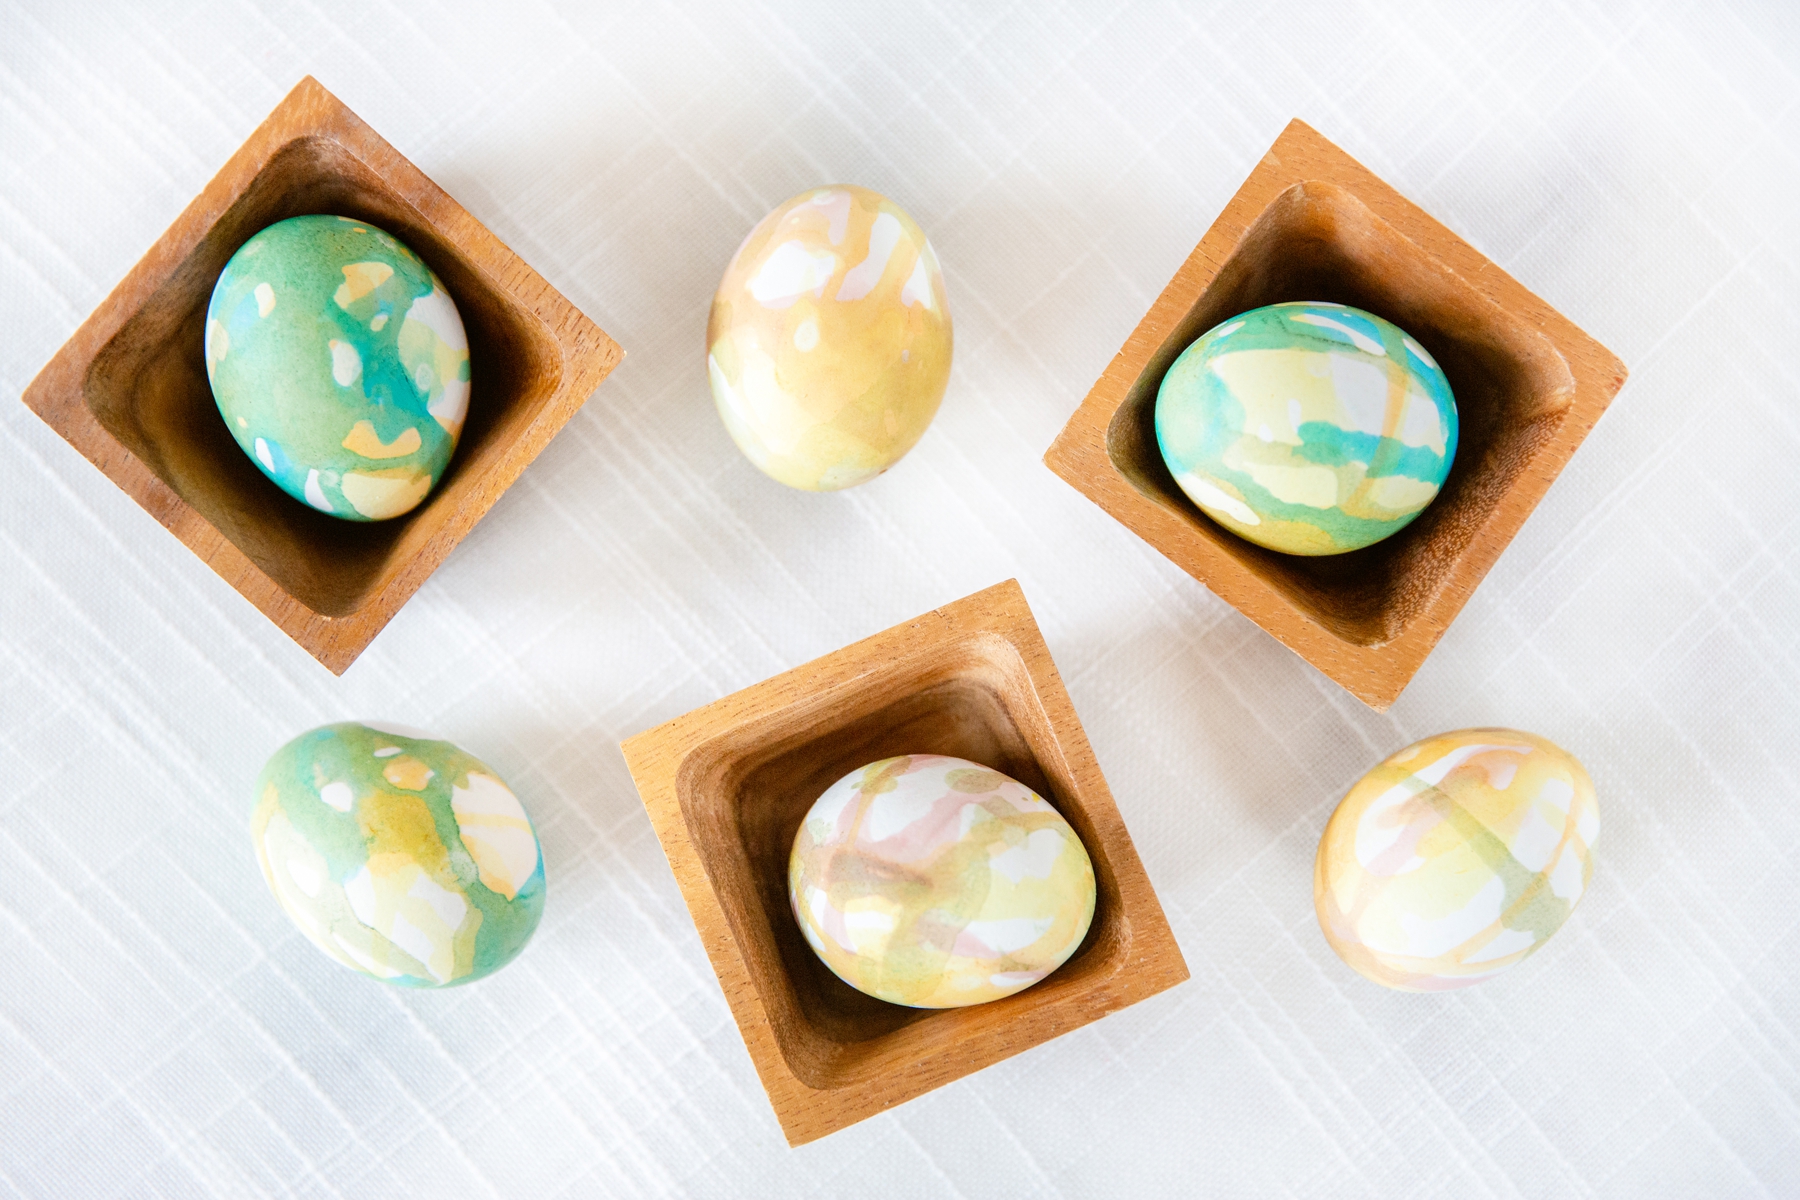
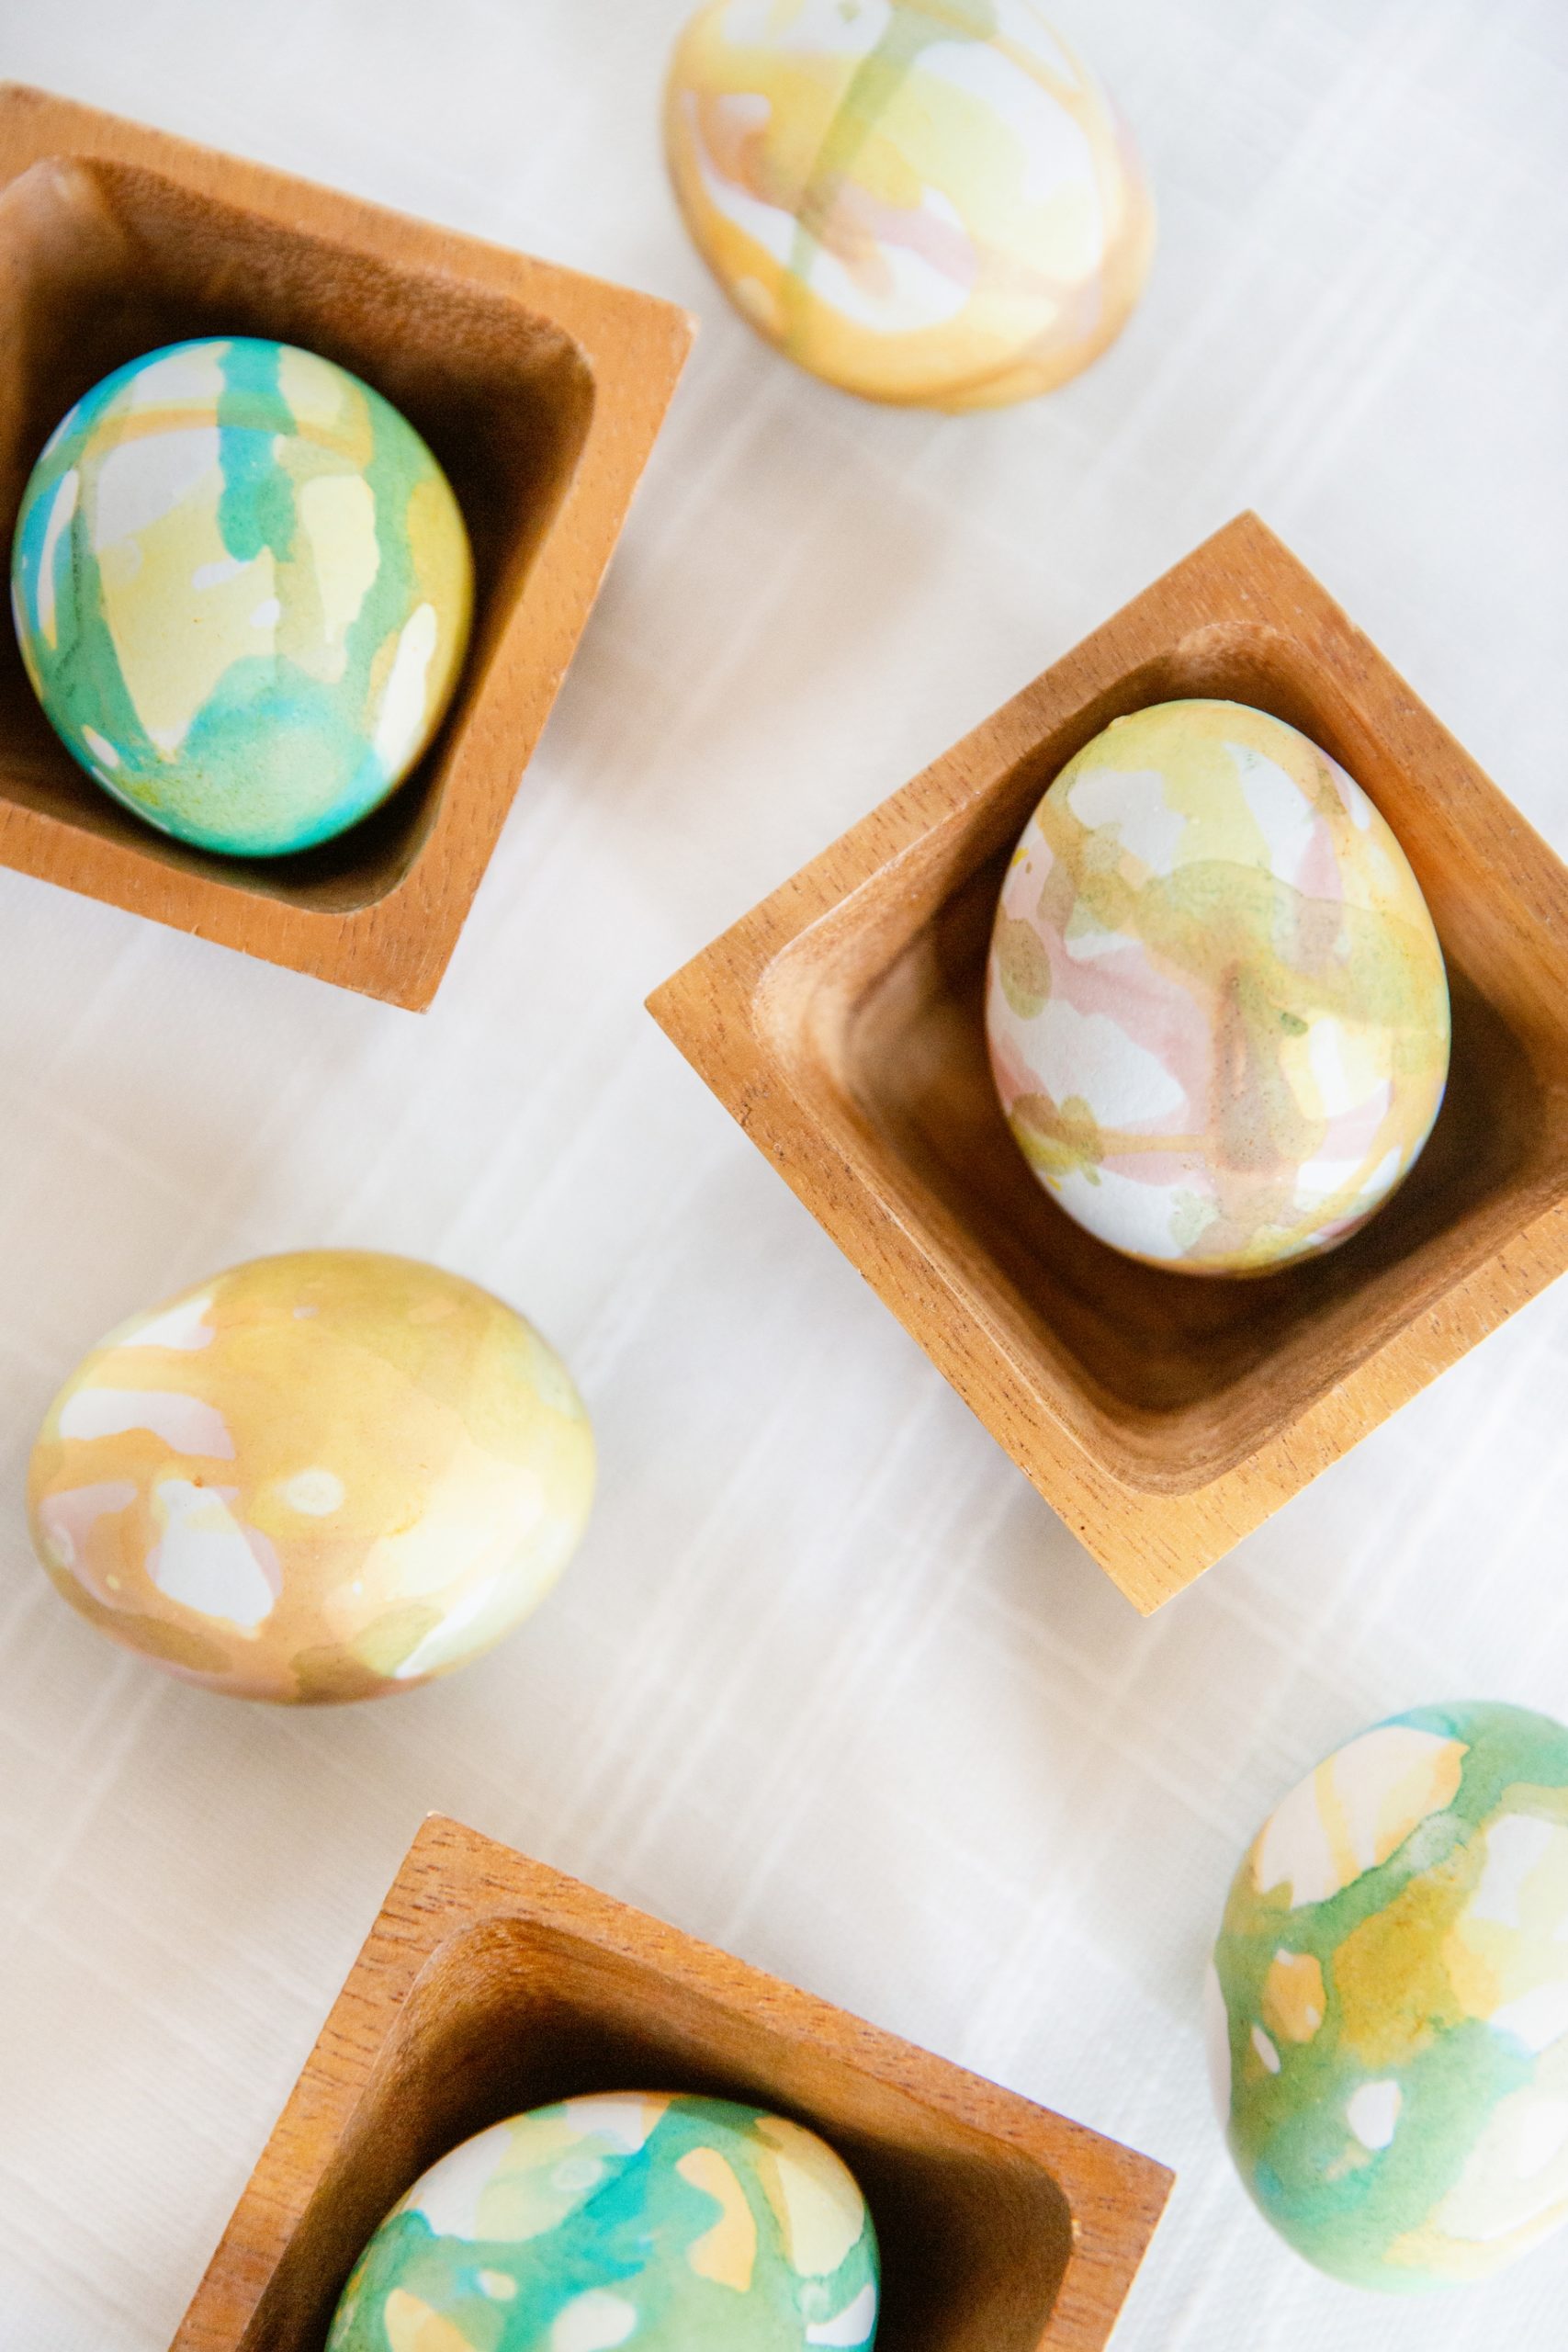
Experiment 2: Abstract Art Eggs
I saw all kinds of watercolor and painted eggs on Pinterest, but I’m a modern art junkie, so when I saw these I was excited to try them out. Like the marbling technique, these were also really simple. Most importantly, you don’t need to be an artist or even a decent crafter to master them.
All you need is the following:
- food coloring (if you plan on eating the egg)
- or Rit dye ( if you don’t)
- eggs
- disposable cups
- spoon
- drying rack (a cooling rack is best)
Mix the dyes according to the instructions on the package. Rit dye will require plain boiled water that is still hot. Food coloring will require the addition of vinegar, usually a teaspoon per ½ cup of water. Starting with the lightest color, drizzle a spoonful of dye over the egg. Be sure to turn it in different directions to make the trails of dye run over the whole egg. Set aside to dry, then repeat the process with a different color. So easy, right?
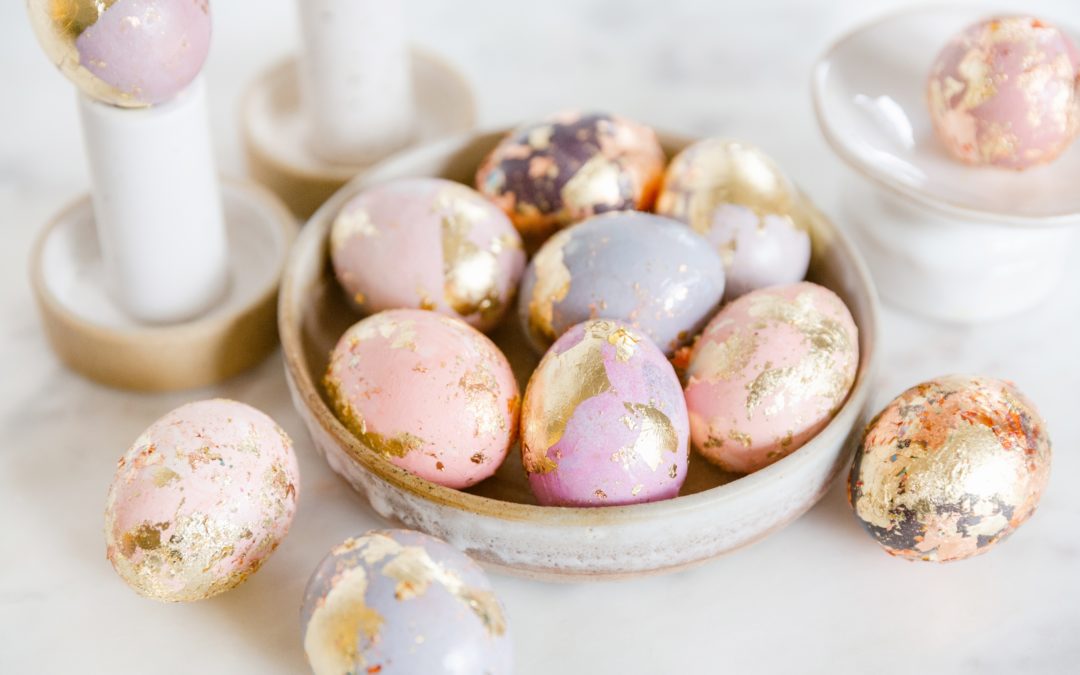
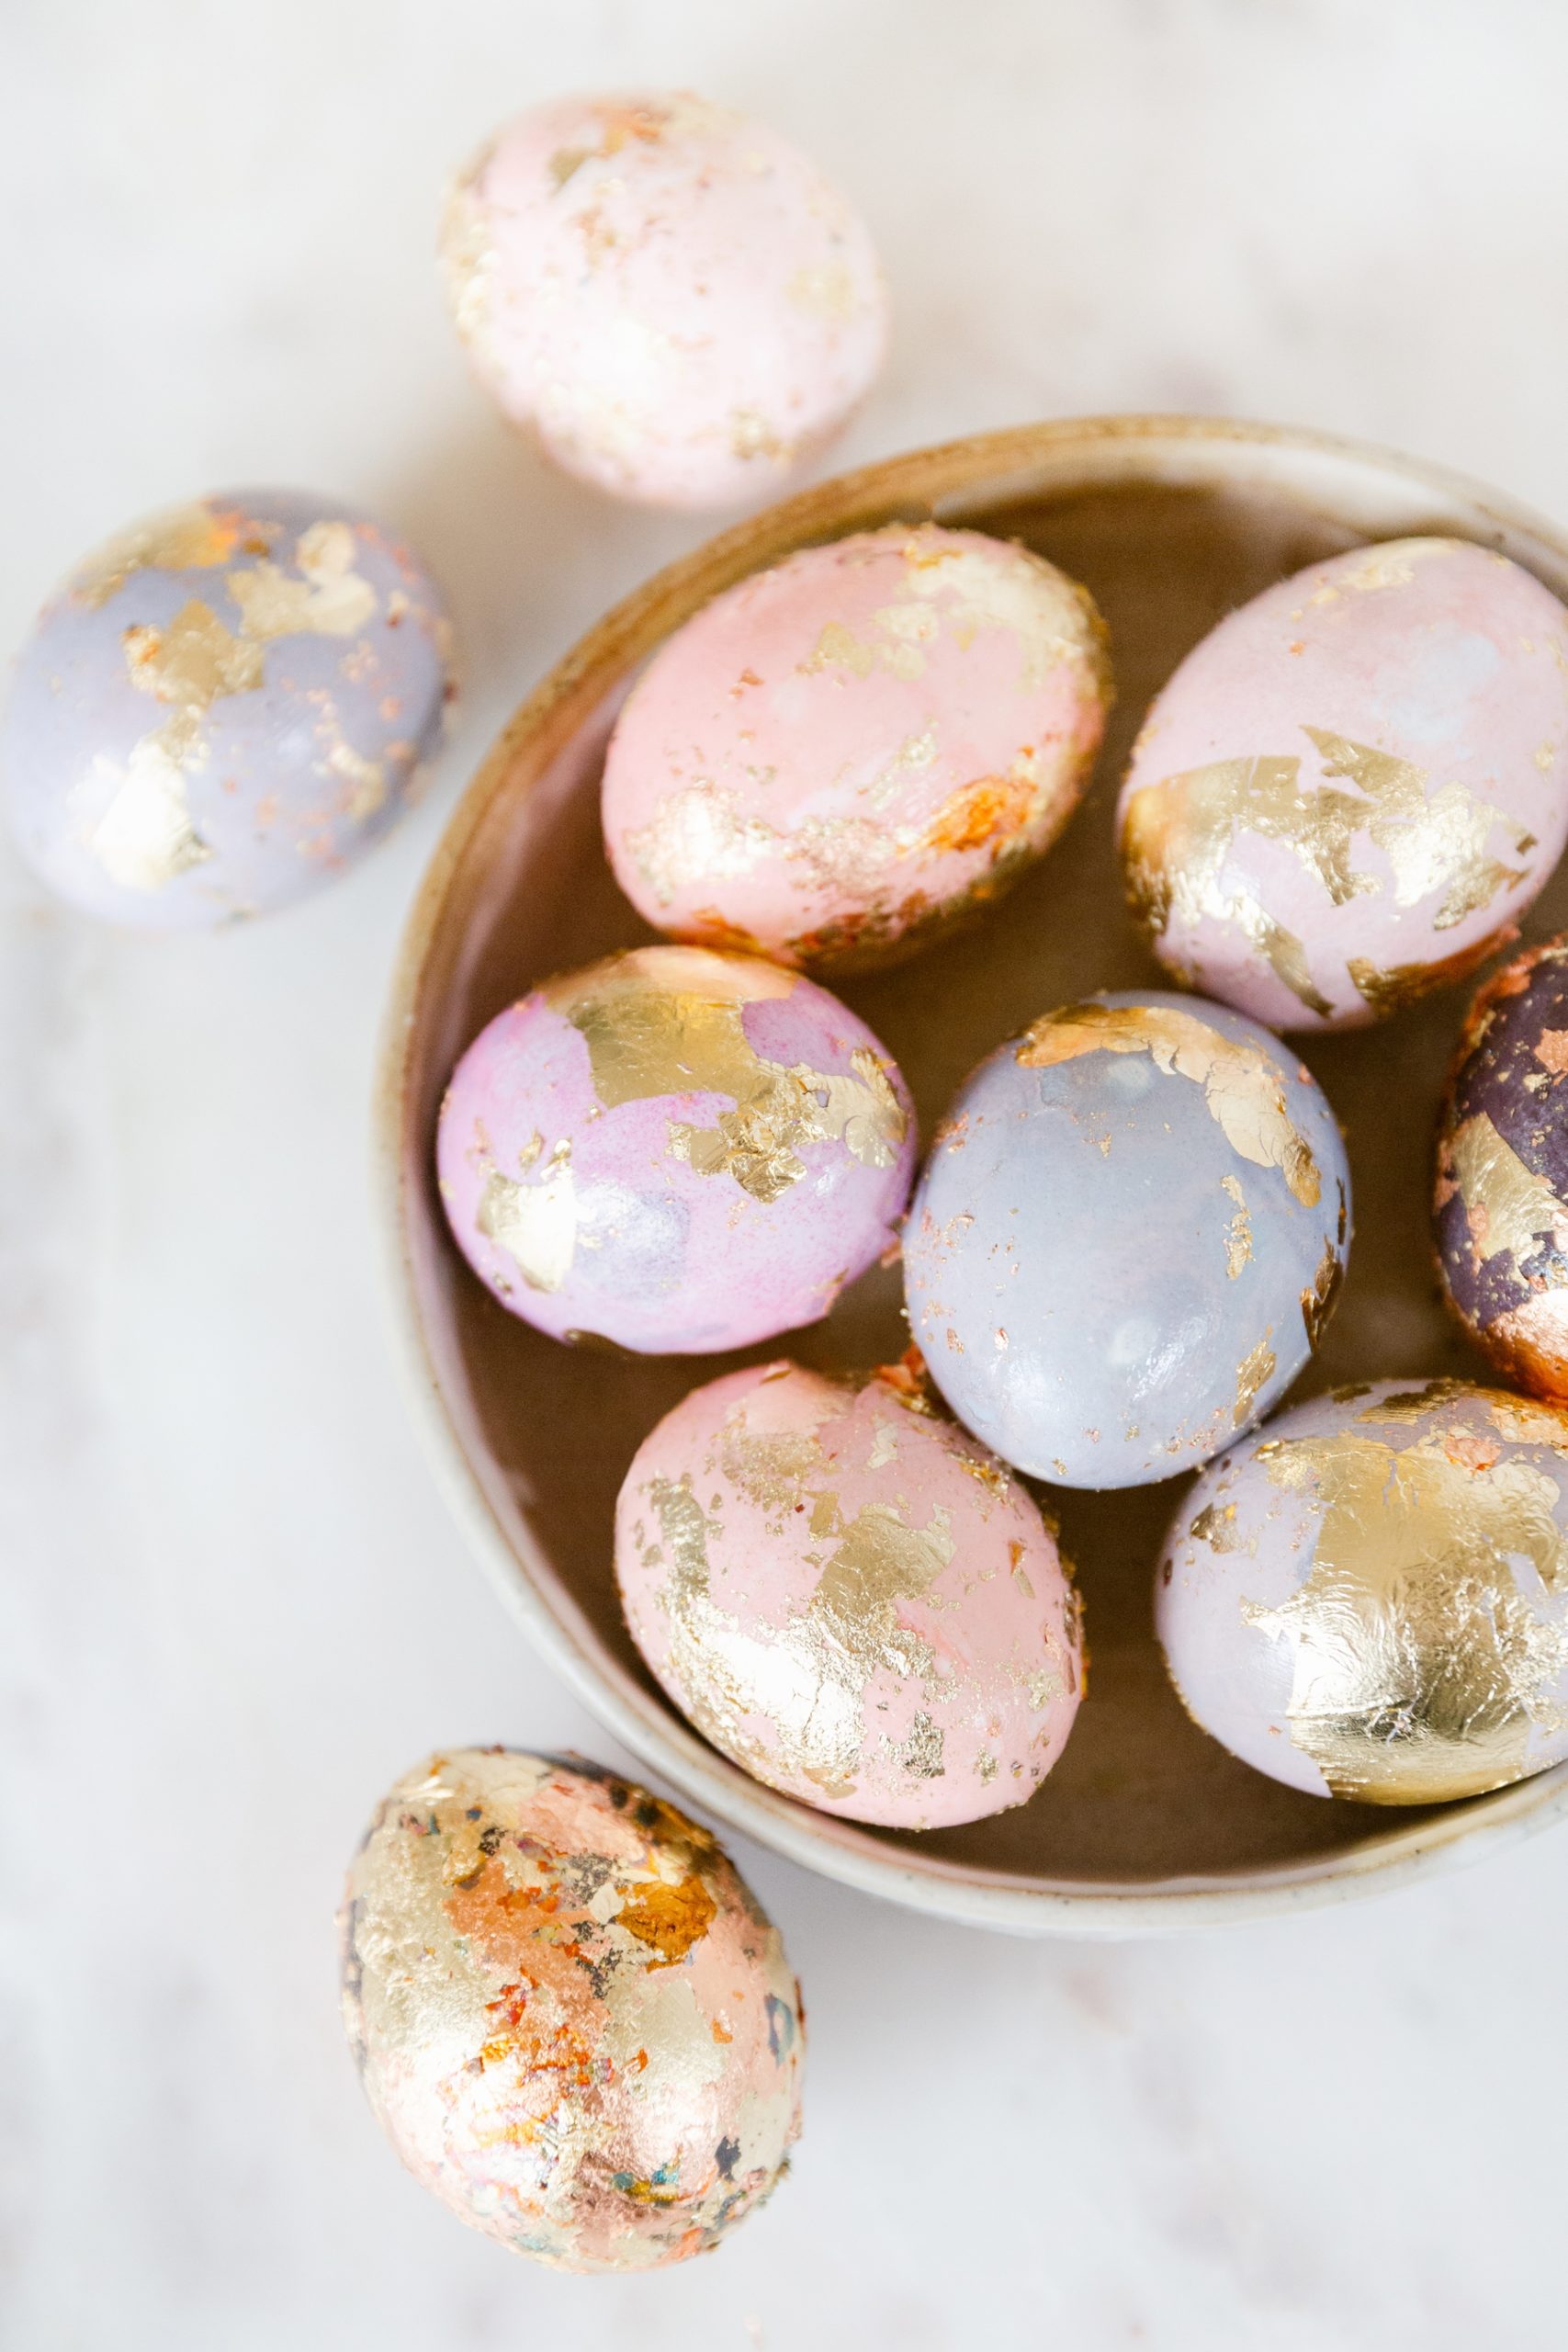
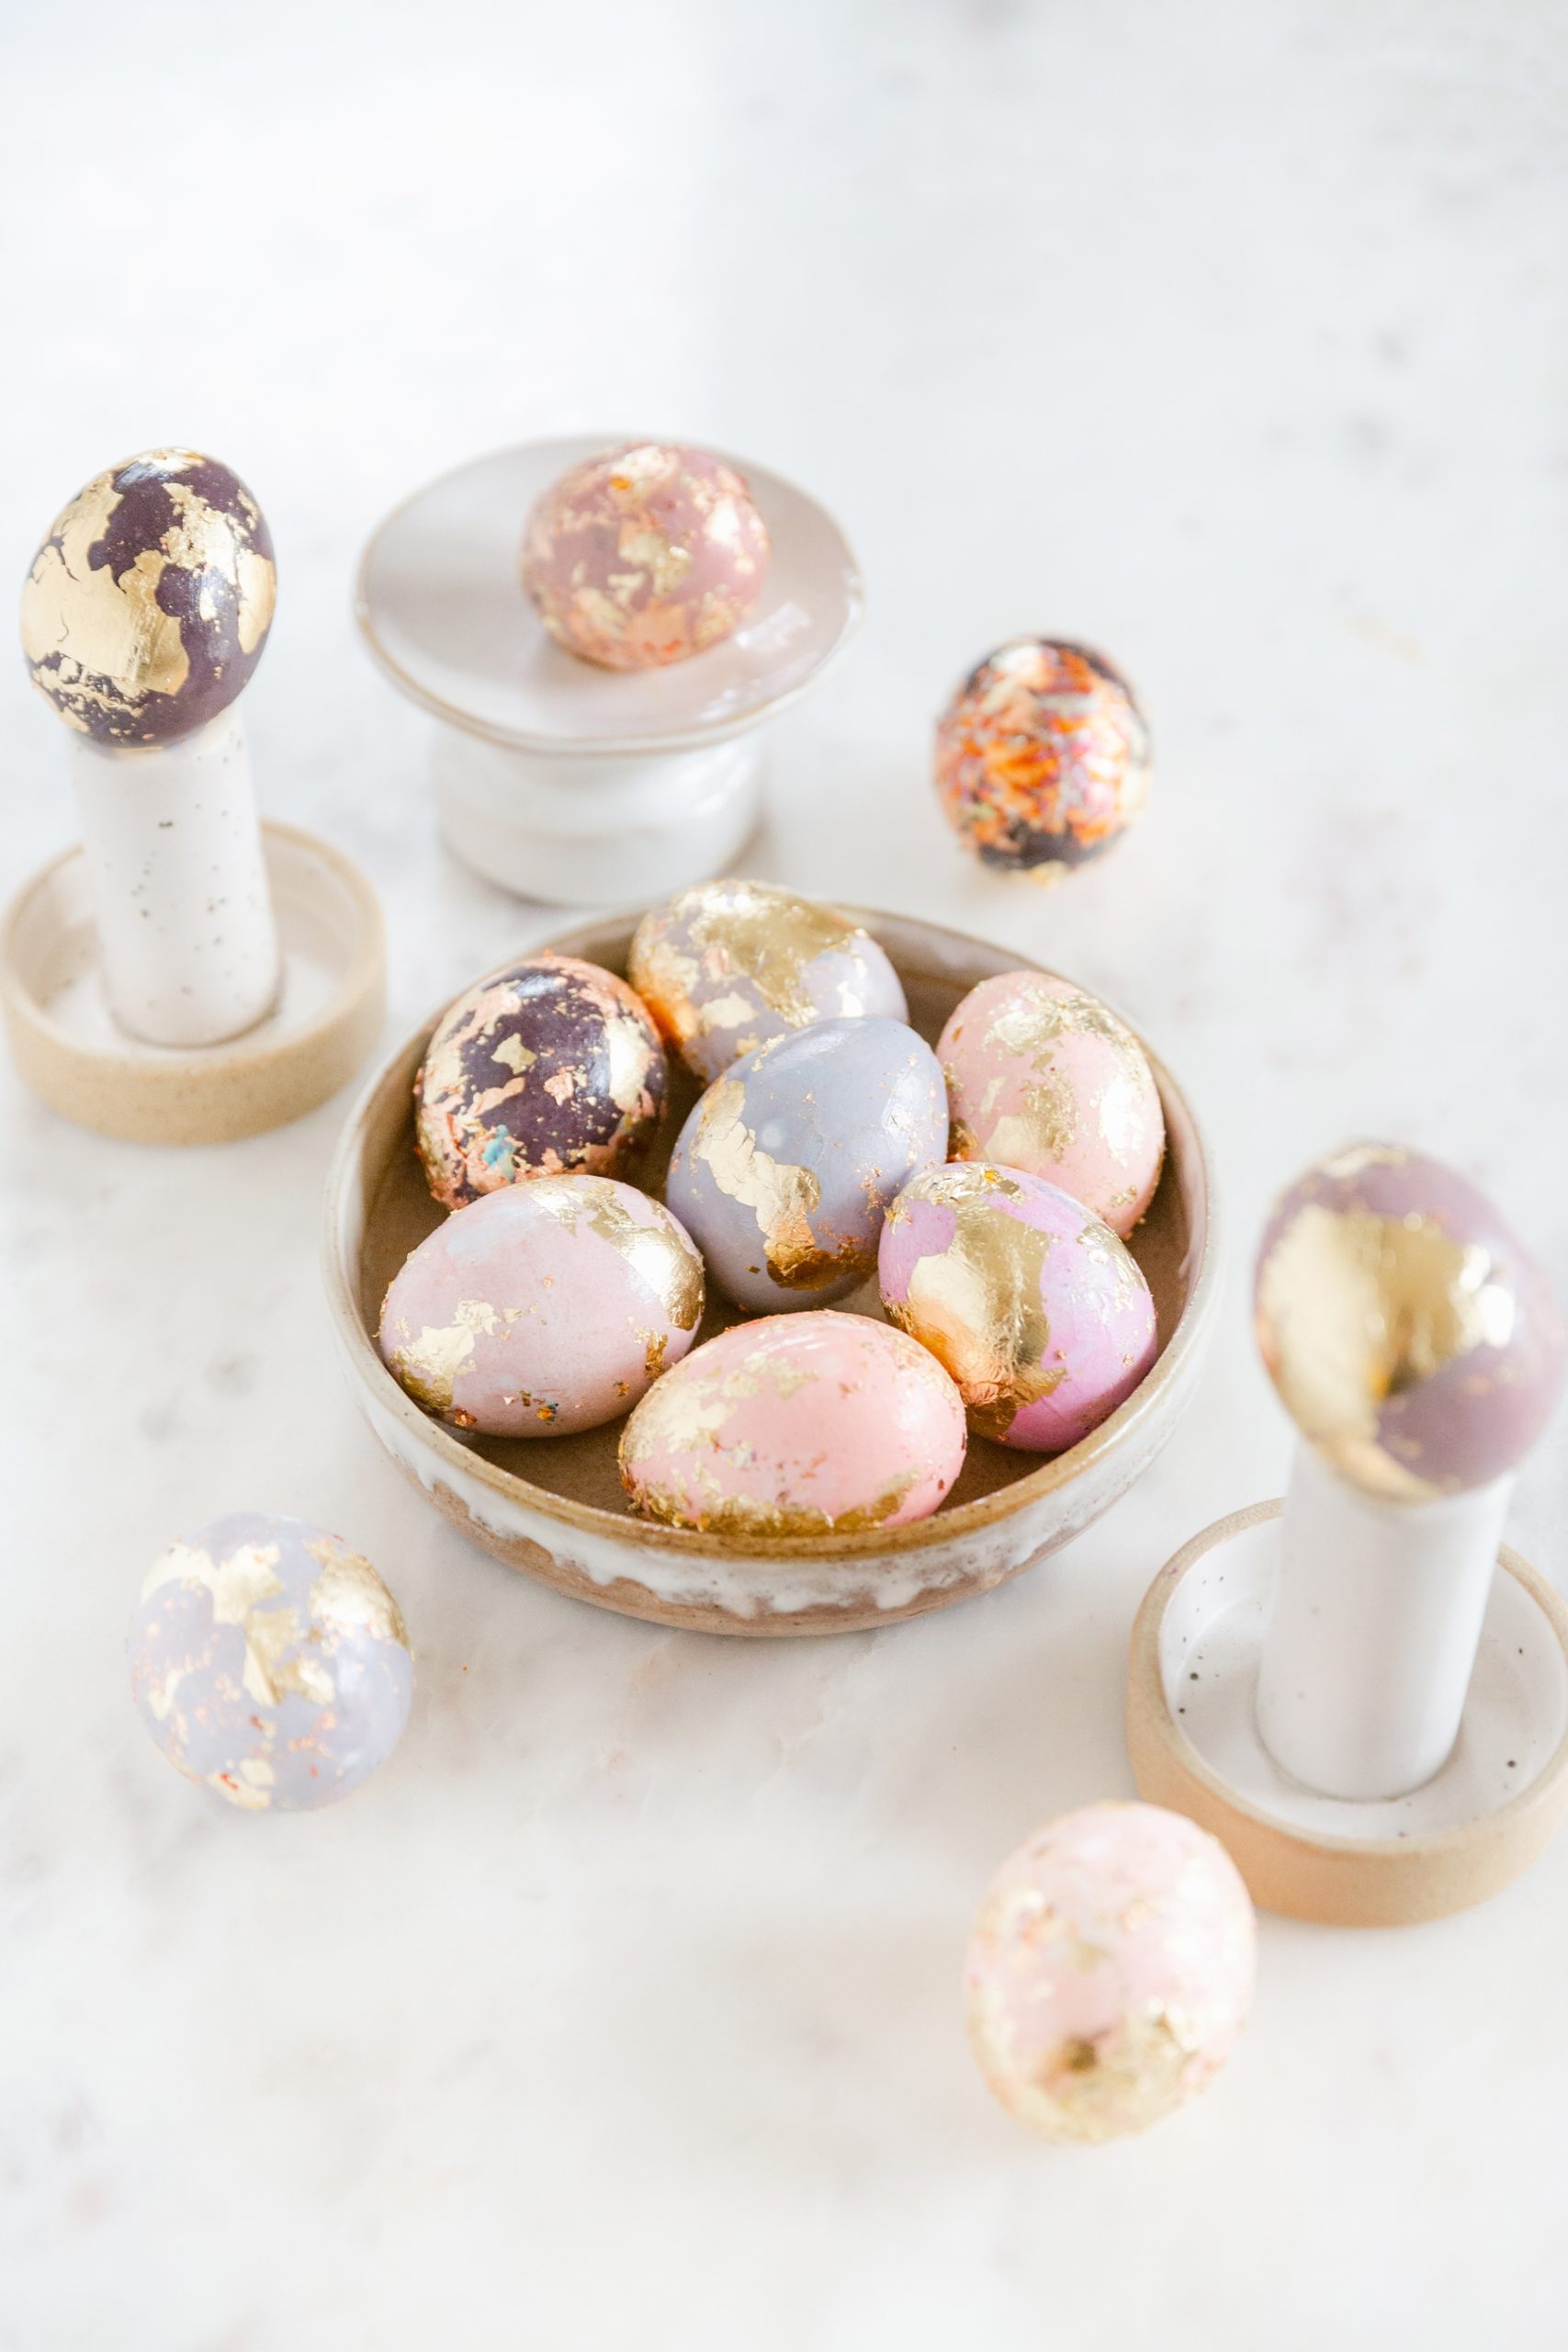
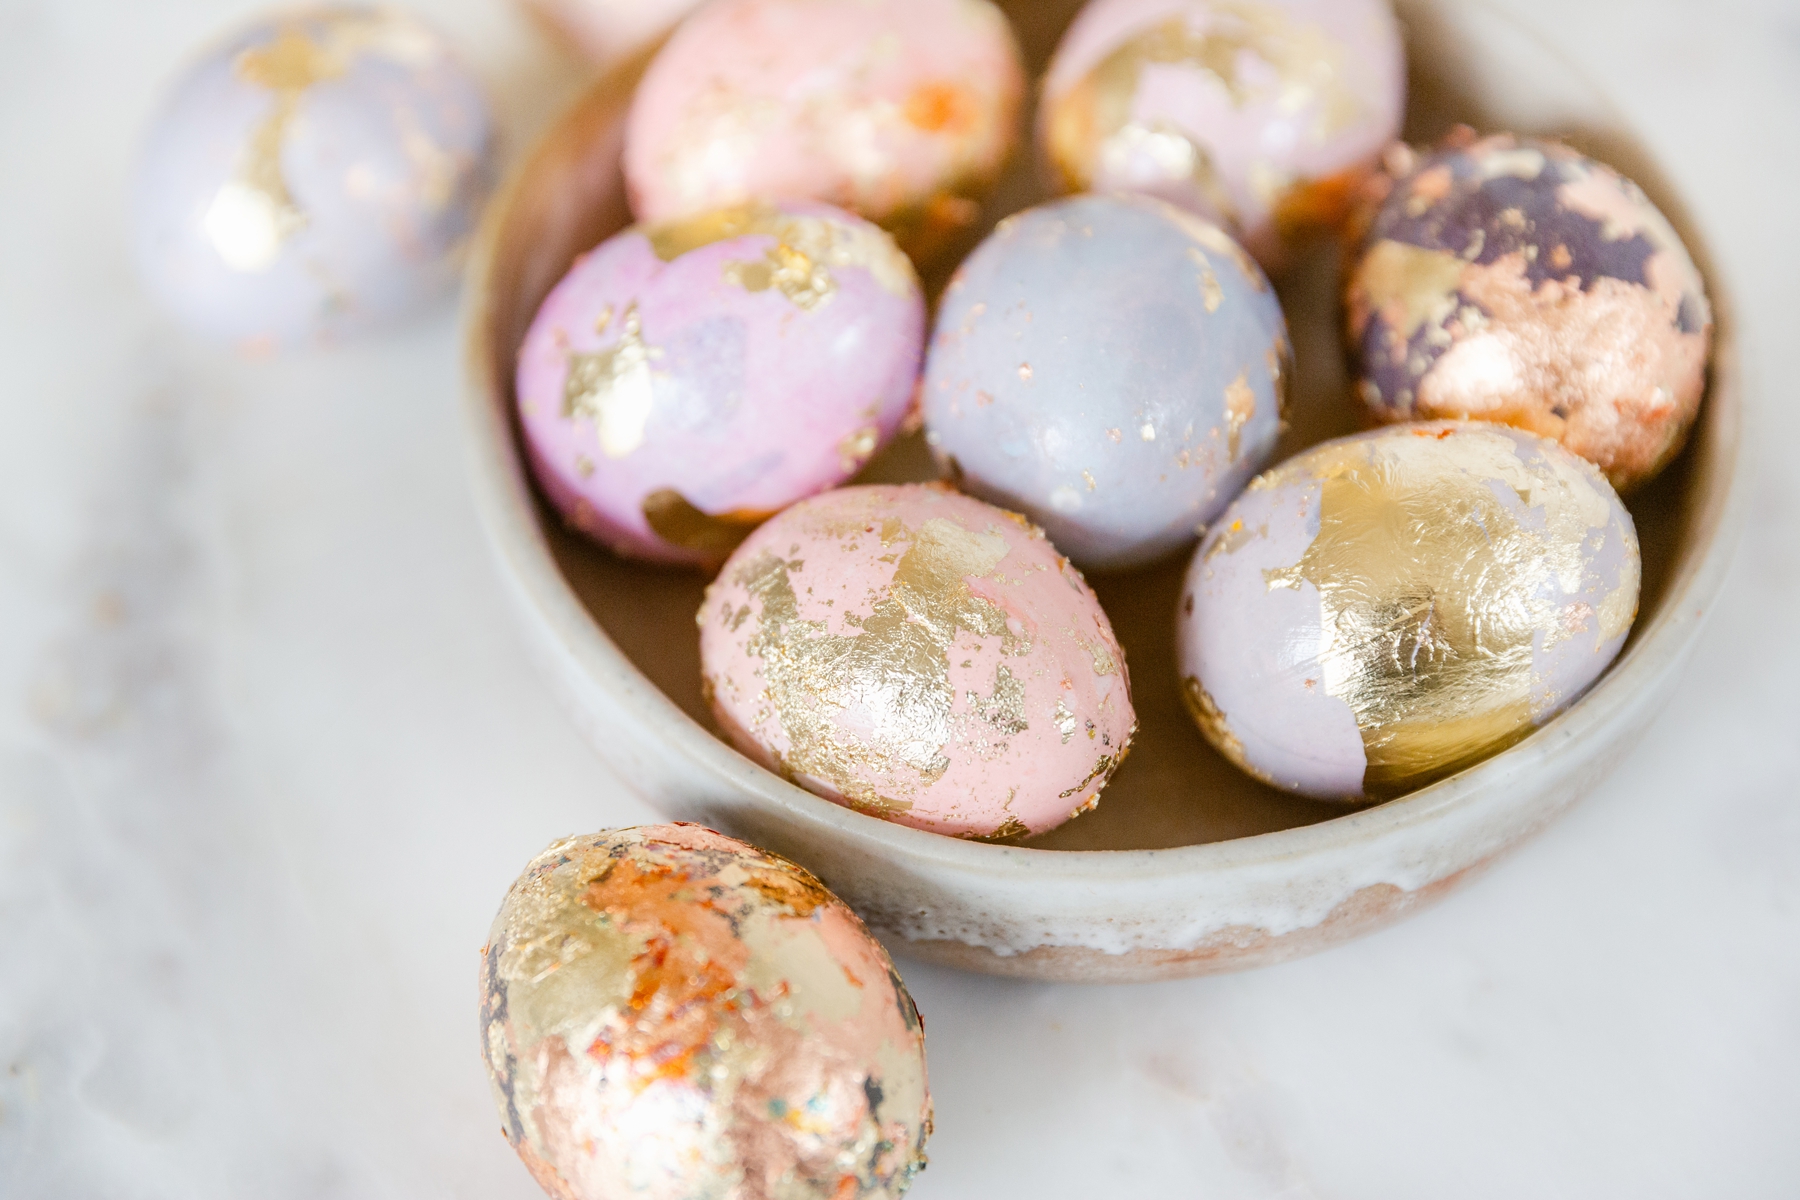
Experiment 3: Fancy Gold Foiled Eggs
This egg foiling technique is for all of you out there that are a little extra. Again, this method was super easy and rolling the egg around on the gold foil was oddly satisfying. Seriously, you’ll come away from this project wanting to foil everything!
All you need is the following:
- food coloring (if you plan on eating the egg)
- or Rit dye( if you don’t)
- Gold leaf sheets or flakes
- Leaf glue (usually in the same aisle as the foil)
- 2 small soft brushes
- eggs (preferably with the insides removed, since these aren’t food safe)
- disposable cups
- egg dunking thingy
- drying rack (a cooling rack is best)
- wax paper
Mix the dyes according to the instructions on the package. Dye your eggs and place them on a wire rack to dry completely. Once they are dry, paint a thin layer of the glue on the entire egg. Set aside until glue becomes tacky. Usually about 30-45 minutes, but the glue package will have specific instructions. Roll out a sheet of wax paper and place the leaf sheet or flakes on top of it. Roll the eggs over the leaf until you get your desired amount of foil. Use another brush to brush away or pat down any fly-away foil pieces. Once you set aside the eggs to dry again and the glue is no longer tacky, take the same brush and brush away any of the foil that hasn’t attached to the egg. I told you it was easy!
If none of these techniques were your thing, don’t worry, we’ve got plenty more ideas in an upcoming post. So, get on our mailing list and stay tuned for our adventures in natural and botanical egg dying.
Until then, happy almost Easter!
Jen
P.S. Don’t forget, if you are running out of time to plan that big Easter brunch you are hosting, we are here to help. Rent one of our gorgeous spring table scapes to get the perfect look without any effort or hire us to create something more personal.

Recent Comments