Yes, we jumped on the bread making train when the COVID-19 pandemic hit. Yes, in the span of two months I gained 25 pounds. But man, I ate some GREAT food this spring.
THE ULTIMATE COMFORT FOOD
Bread has such a comforting nature, and I will never ever regret adding multiple no knead loaves of bread to my tables. Want your guests to feel special? Tell them you made the bread, rolls, naan, biscuits, cinnamon rolls, and crackers from scratch. That alone will elevate your gathering. People tend to assume that making these things requires a high level of effort, but here’s a secret…this one could not be easier.

MAKING BREAD IS EASIER THAN YOU THINK
No knead bread is exactly as it sounds. You make the dough, allow it to rise, punch it down, allow it to rise again and then you bake. This Williams Sonoma recipe requires all of 10-15 minutes of active cooking time. After you try this one, I recommend throwing in some other ingredients! After this, I made an Italian herbs and cheese bread that I would happily eat on its own as a meal, probably not a great idea given my COVID 25, but it sure is tempting.

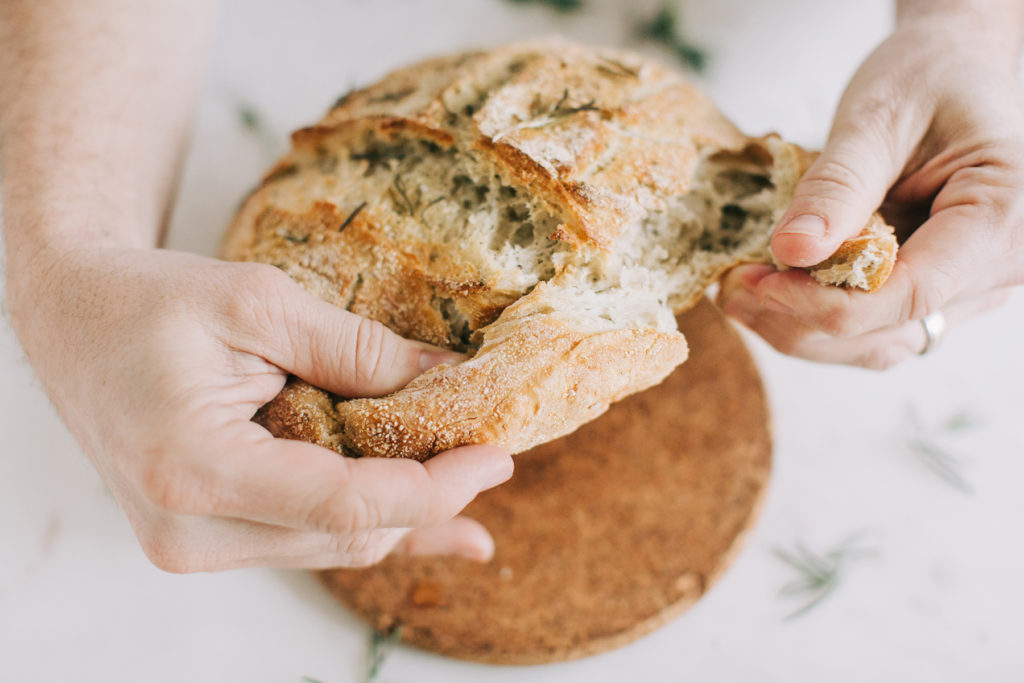
LEMON ROSEMARY NO-KNEAD BREAD
- Prep Time: 15 minutes
- Cook Time: 45 Minutes
- Total Time: 1 hour
- Yield: 12 Servings 1x
Description
Courtesy of William Sonoma
Ingredients
3 cups (15 oz./475 g) all-purpose flour
1/4 tsp. instant yeast
1 3/4 tsp. salt
2 tsp. chopped fresh rosemary
2 tsp. chopped lemon zest
Cornmeal as needed
Instructions
In a large bowl, combine the flour, yeast, salt, rosemary and zest. Add 1 5/8 cups water and stir until blended; the dough will be shaggy and very sticky. Cover the bowl with plastic wrap. Let the dough rest at warm room temperature (about 70°F) until the surface is dotted with bubbles, 12 to 18 hours.
Place the dough on a lightly floured work surface. Sprinkle the dough with a little flour and fold the dough over onto itself once or twice. Cover loosely with plastic wrap and let rest for 15 minutes.
Using just enough flour to keep the dough from sticking to the work surface or your fingers, gently and quickly shape the dough into a ball. Generously coat a cotton towel, preferably a flour sack towel (not terry cloth), with cornmeal. Put the dough, seam side down, on the towel and dust with more flour or cornmeal. Cover with another cotton towel and let rise until the dough is more than double in size and does not readily spring back when poked with a finger, about 2 hours.
At least 30 minutes before the dough is ready, put a 2 3/4-quart bread pot or Dutch oven in the oven and preheat the oven to 450°F.
Carefully remove the pot from the oven. Slide your hand under the towel and turn the dough over, seam side up, into the pot; it may look like a mess, but that’s okay. Shake the pan once or twice if the dough is unevenly distributed; it will straighten out as it bakes. If desired, using a very sharp knife, cut three shallow parallel slits in the top of the dough. Cover with the lid and bake for 30 minutes. Uncover and continue baking until the loaf is browned, 15 to 30 minutes more.
Transfer the pot to a wire rack and let cool for 10 minutes. Using oven mitts, turn the pot on its side and gently turn the bread; it will release easily. Makes one 1 1/2-lb loaf.