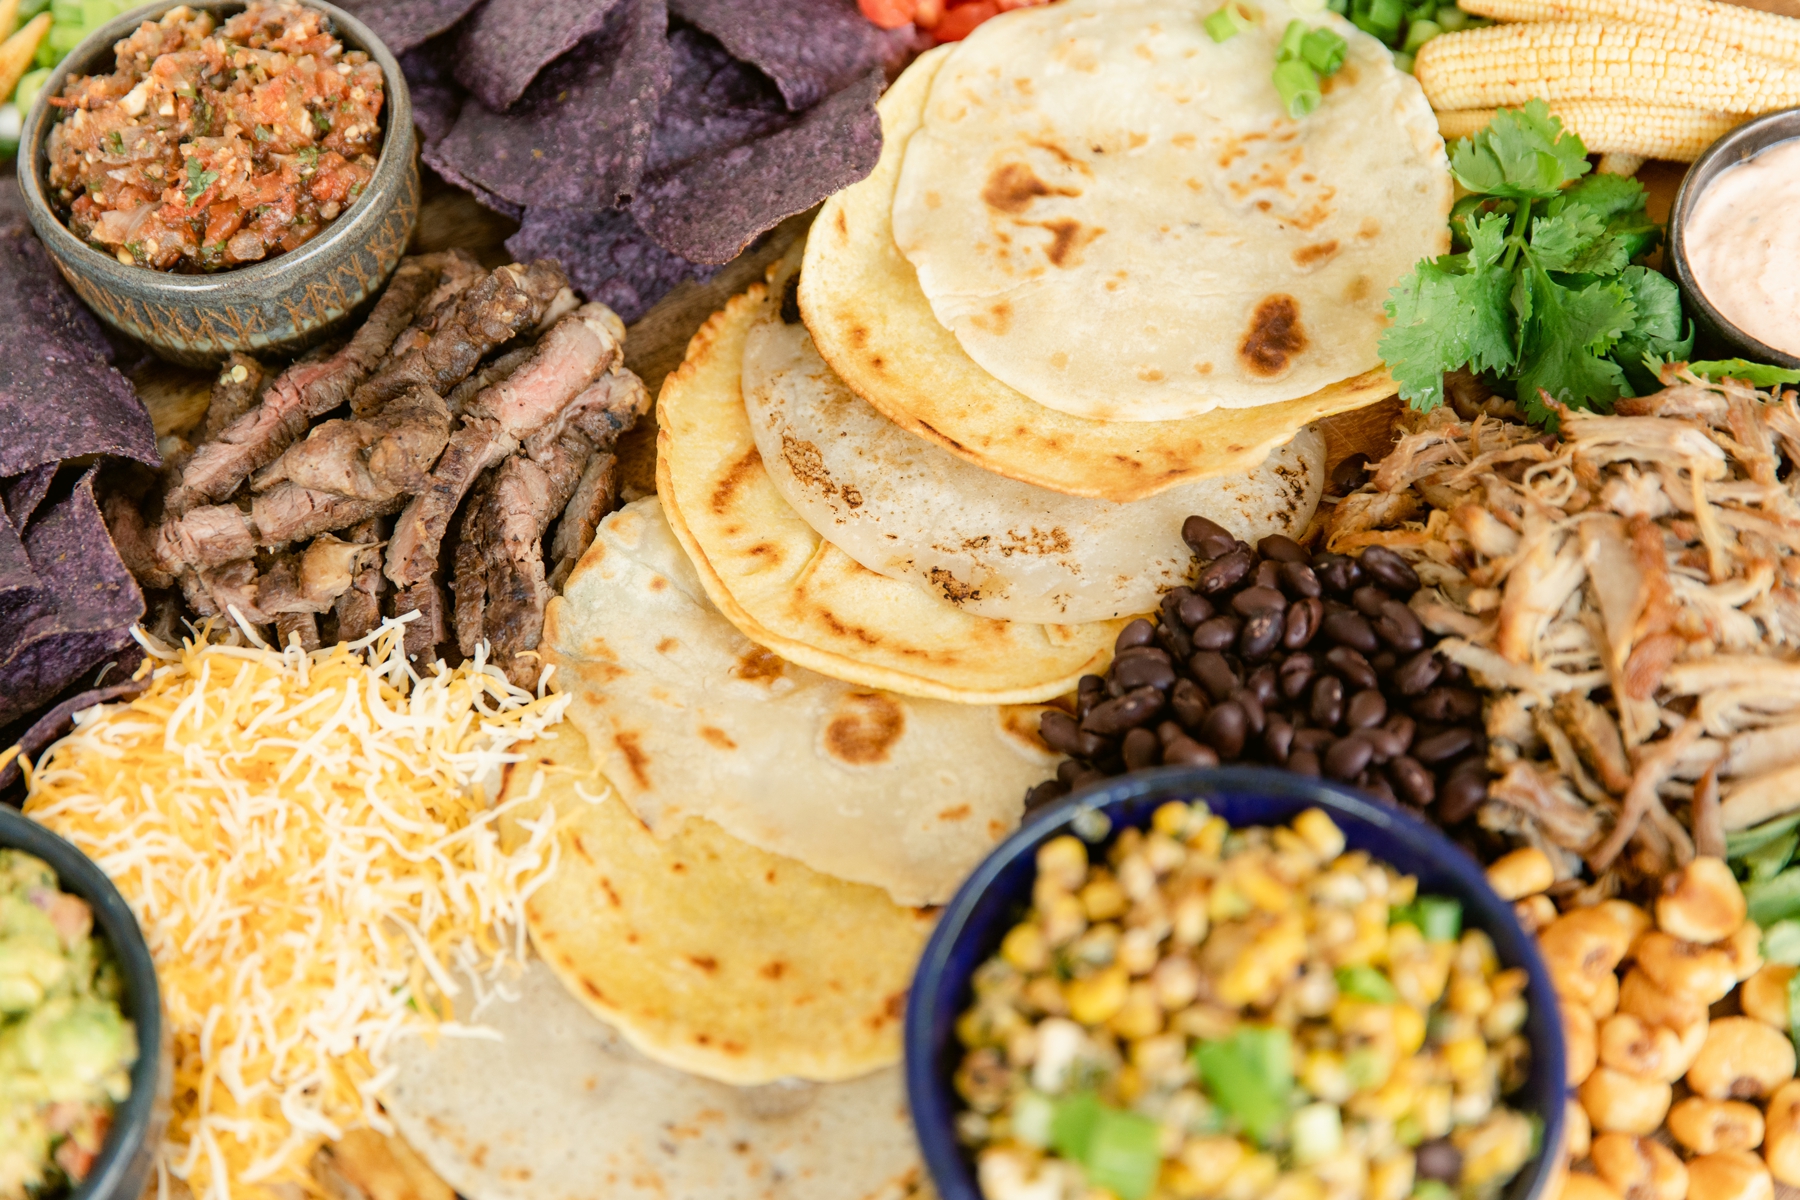
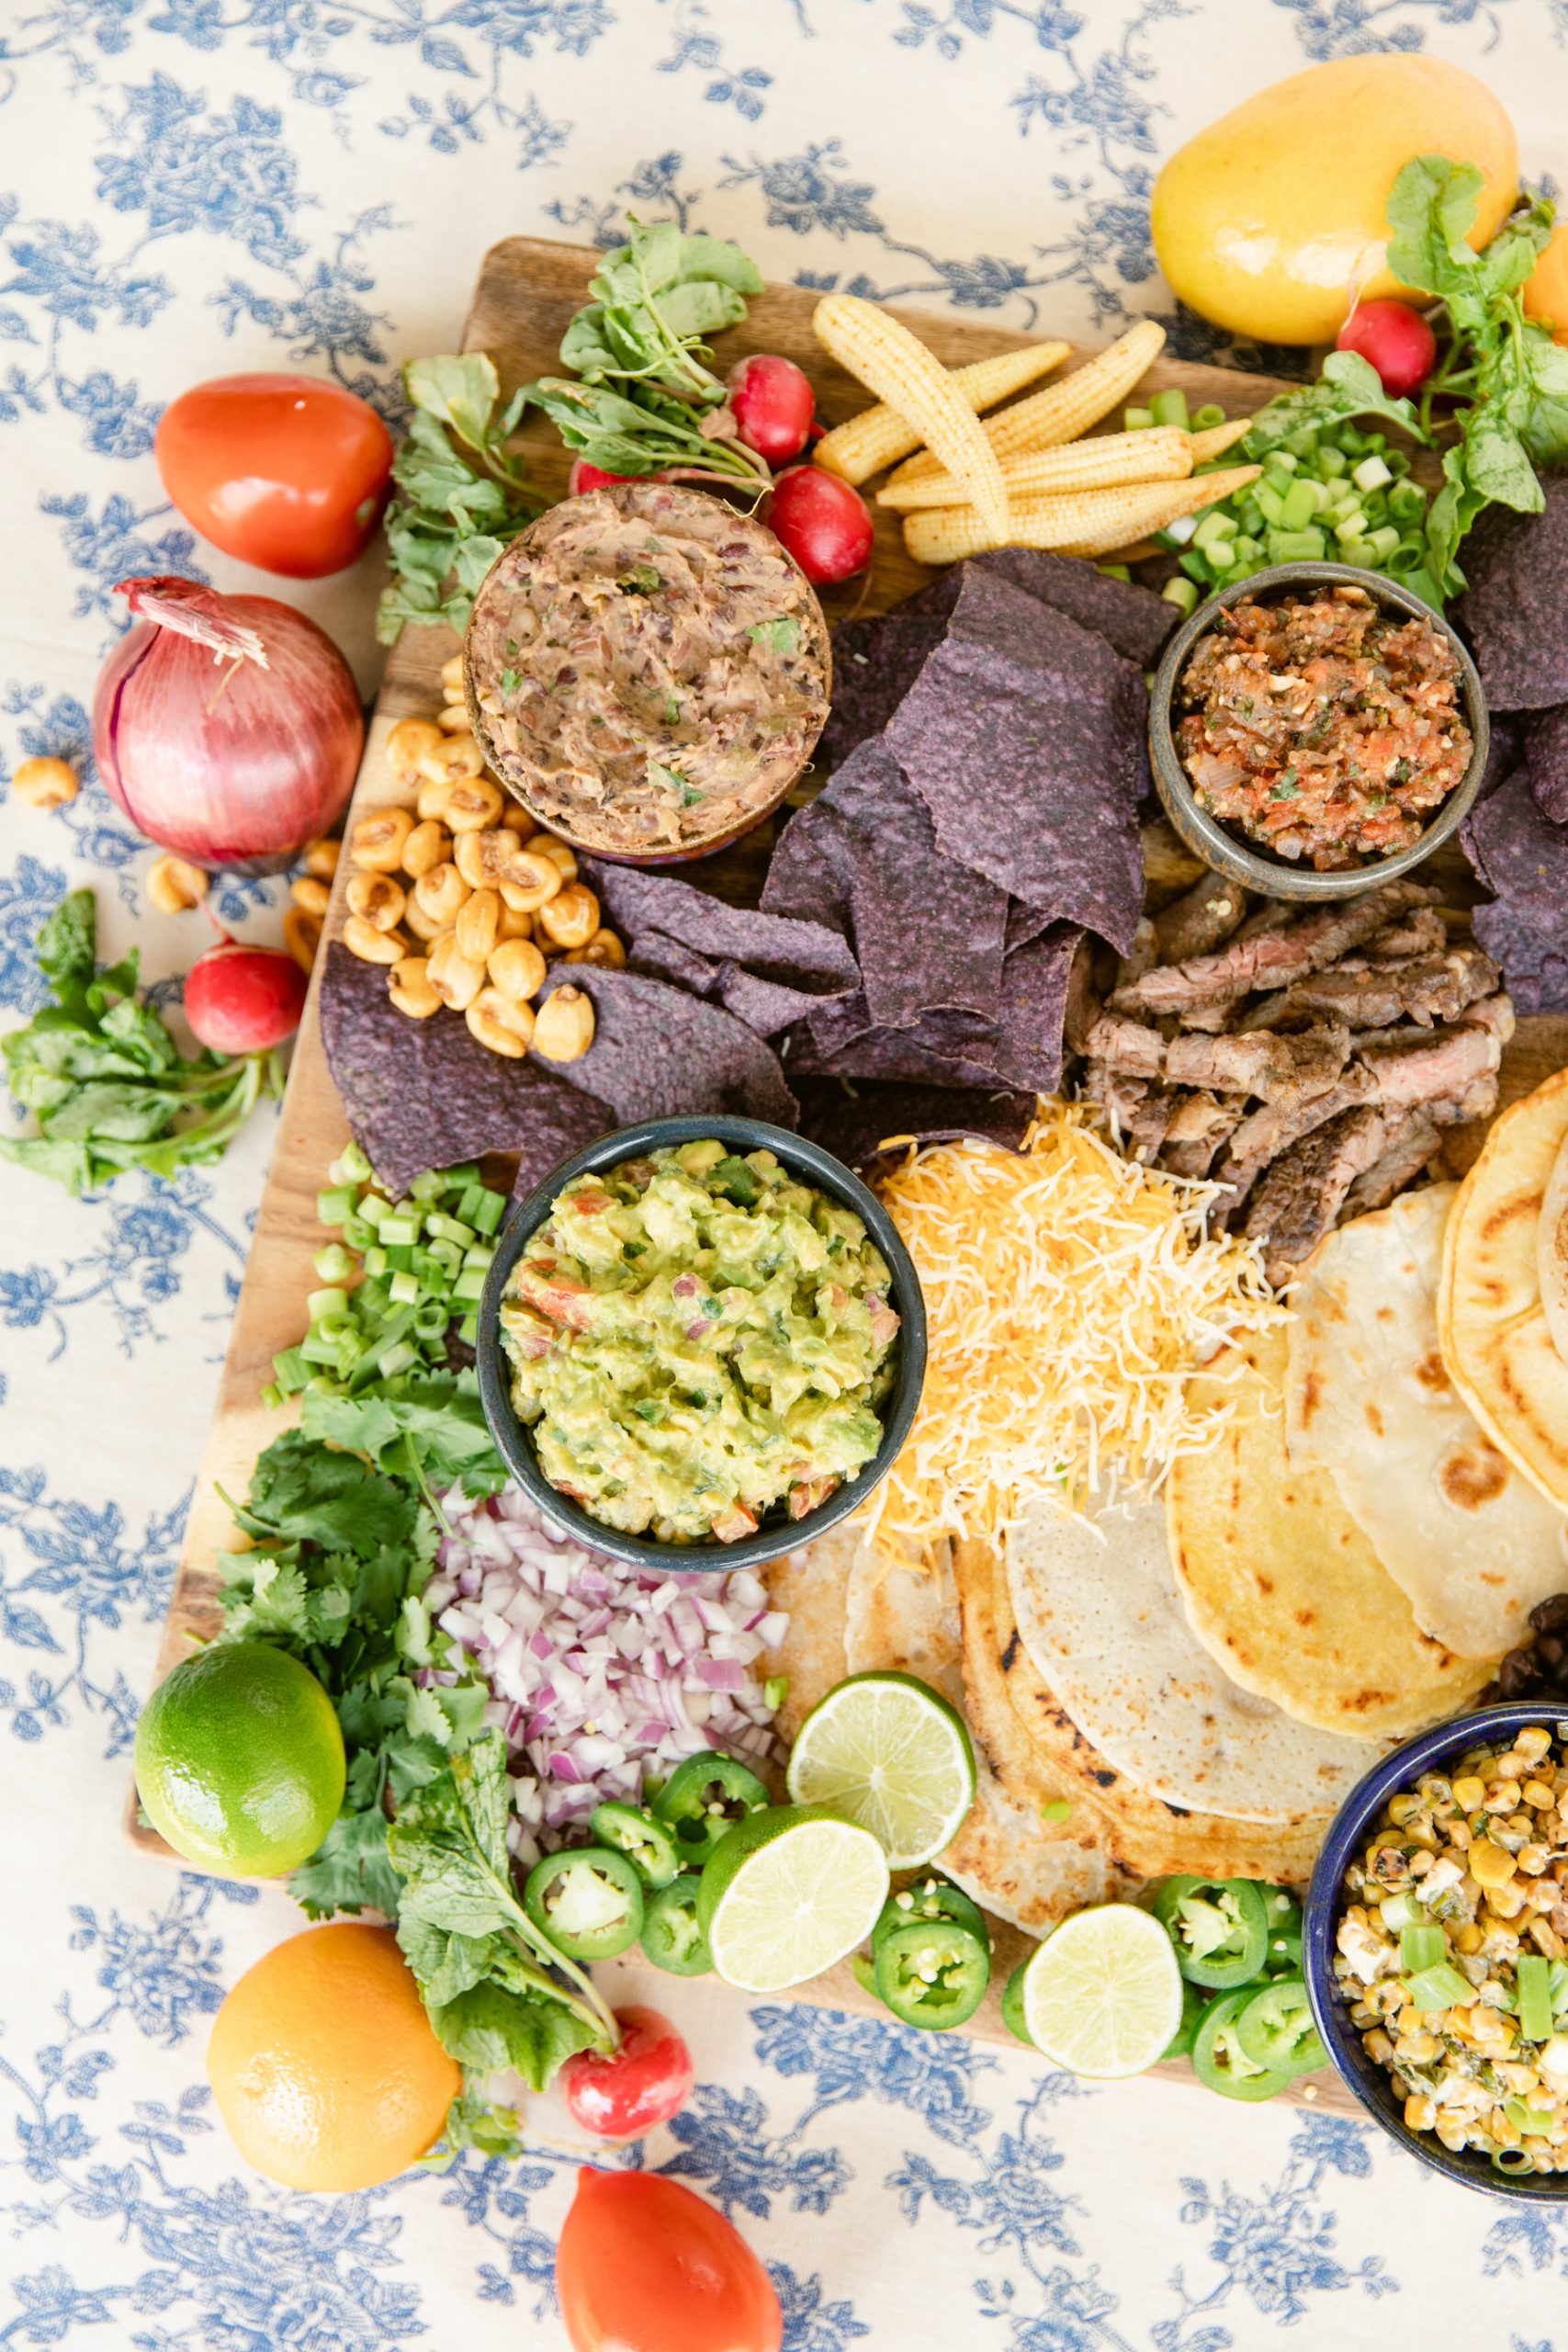
This Cinco De Mayo, don’t settle for just one kind of taco. Make ALL THE TACOS with this insane taco charcuterie board! From delicious taco fillings and toppings to Mexican sides and snacks, this twist on a charcuterie board is a taco junkie’s dream come true. I know, because duh, I am that taco junkie. Seriously though, have you ever bought tacos out of a shady make-shift food van in Cabo just because it had a line of locals? No? Then believe me when I tell you the struggle is real.
Not Your Basic DIY
Obviously this isn’t one of our typical DIY posts. There are really no rules or steps or best ways to make a food board. For some of you, this will obviously just be inspirational or a jumping off point.
But for all of you who just gasped and thought, but mine will never look like that! I’m here to let you in on a big design secret compliments of Picasso, “good artists borrow, great artists steal.”
So let’s dig in step-by-step on how we made this one.
The Taco Recipes
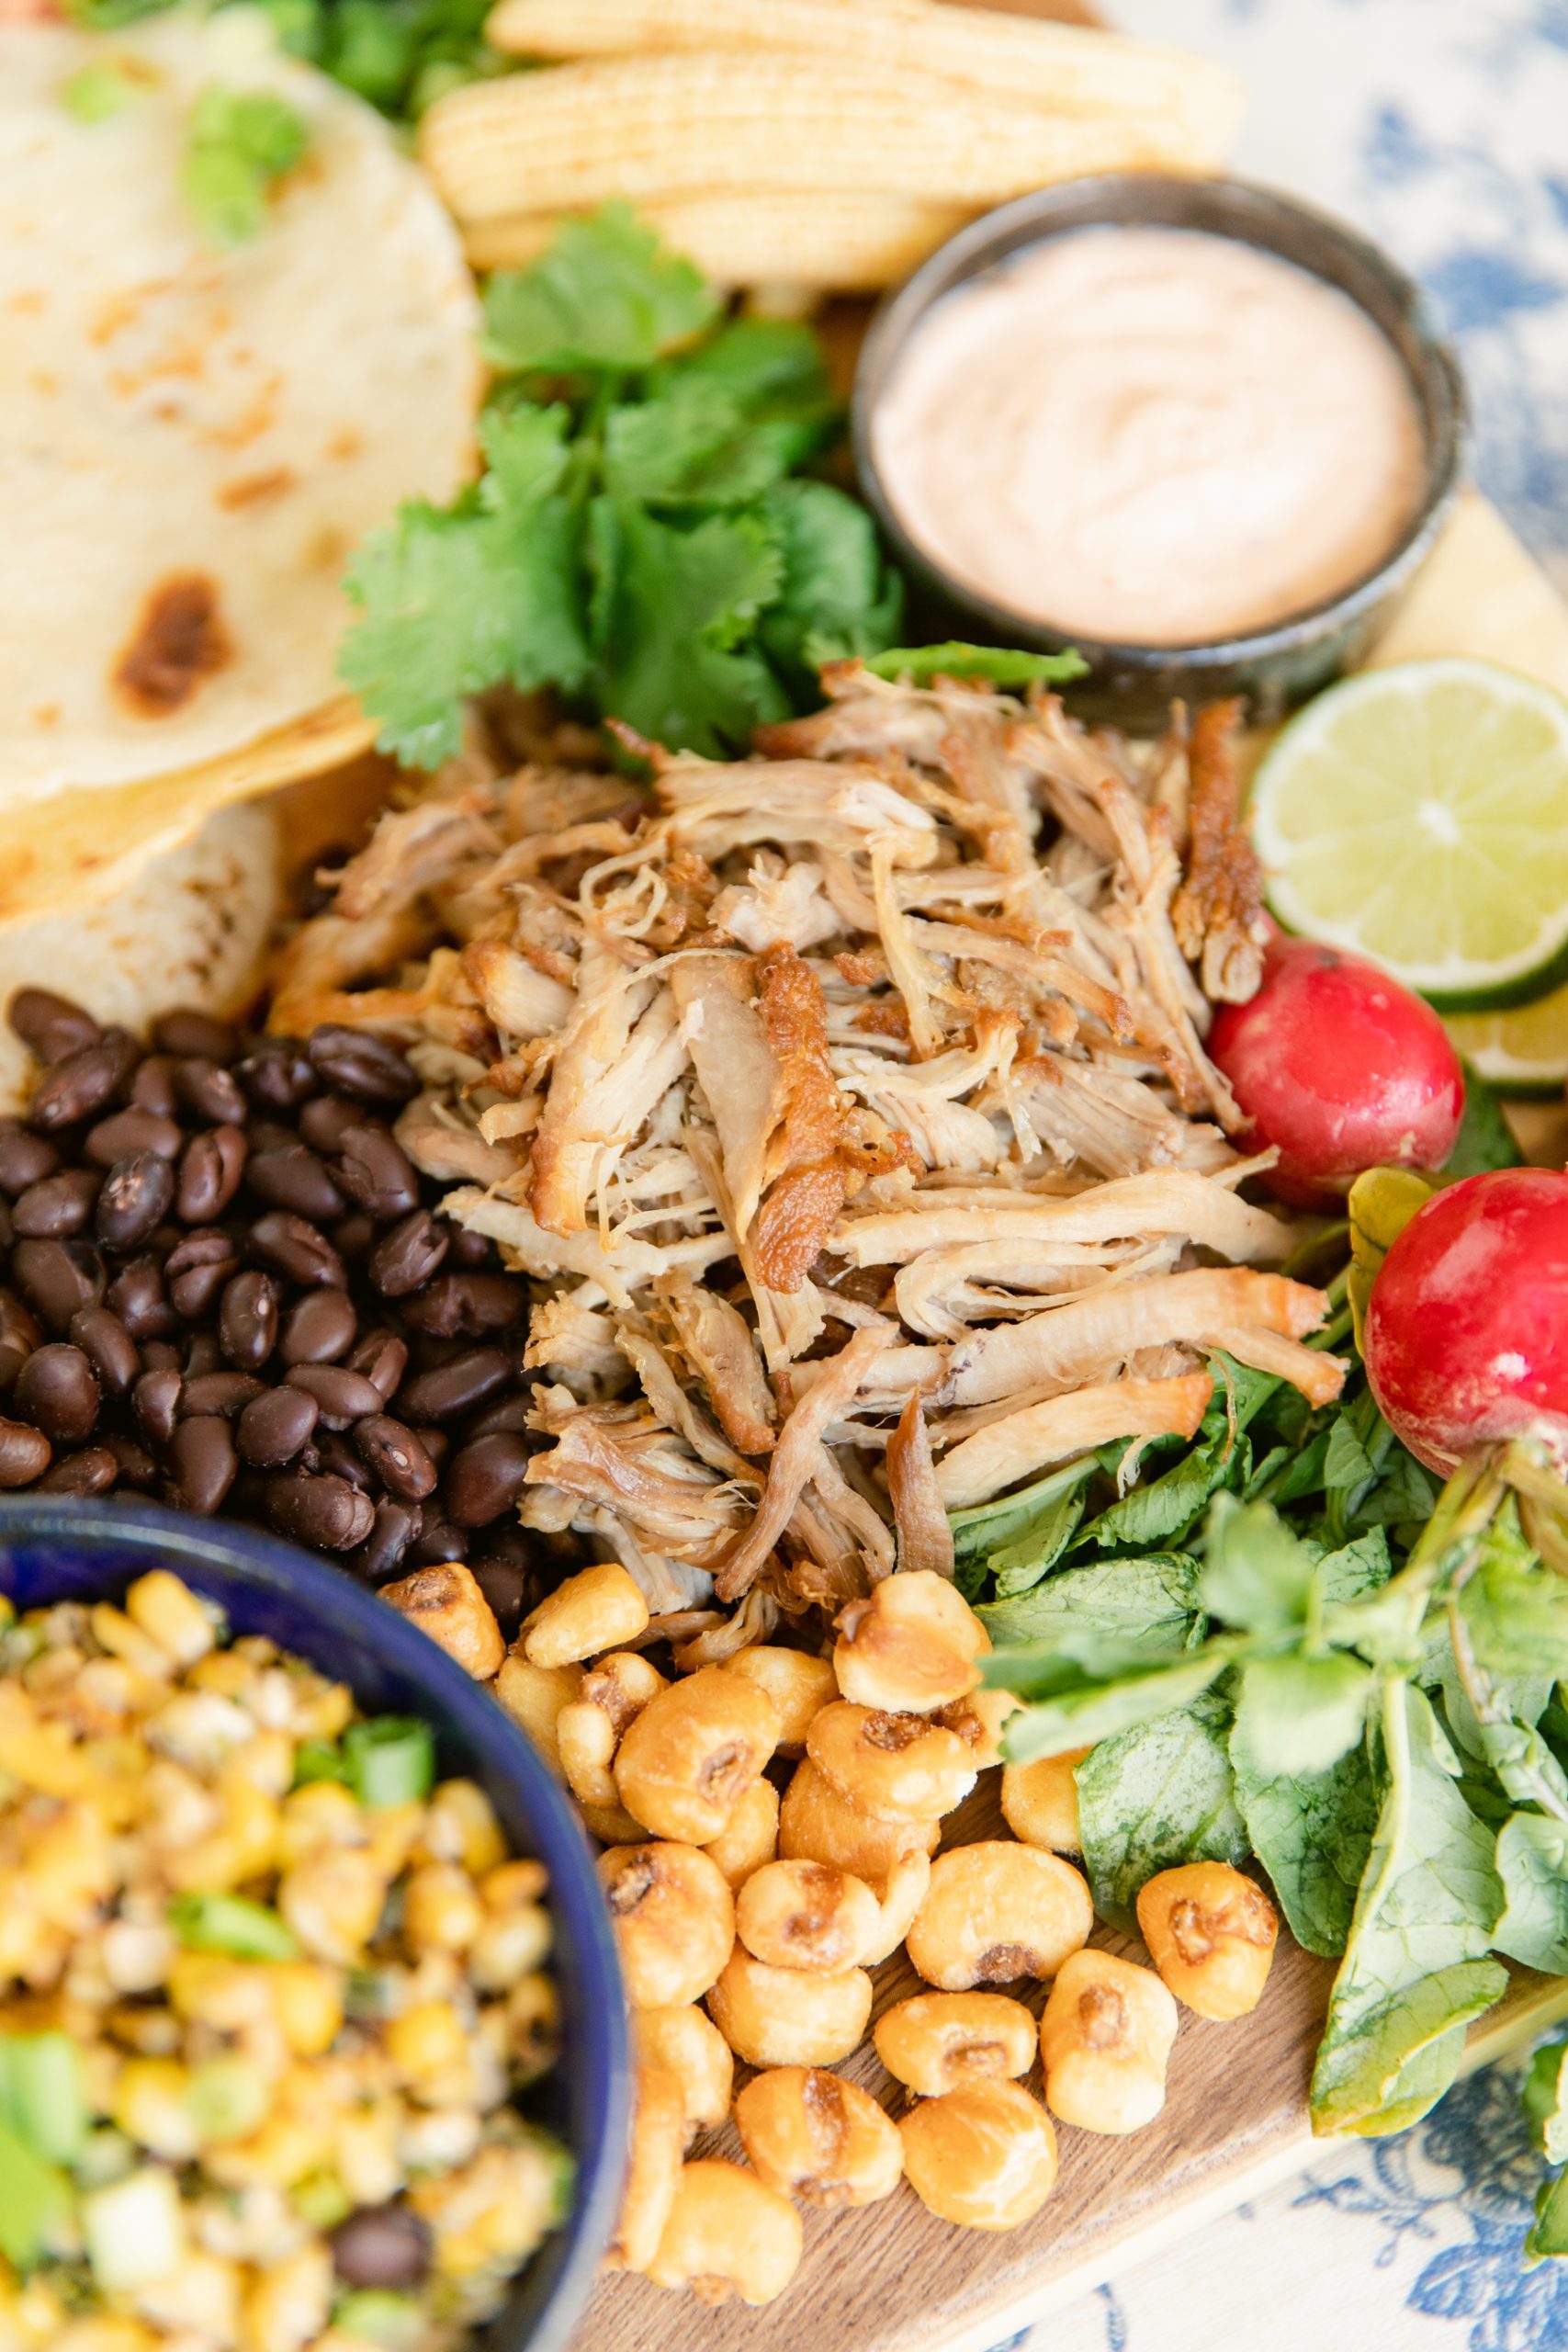
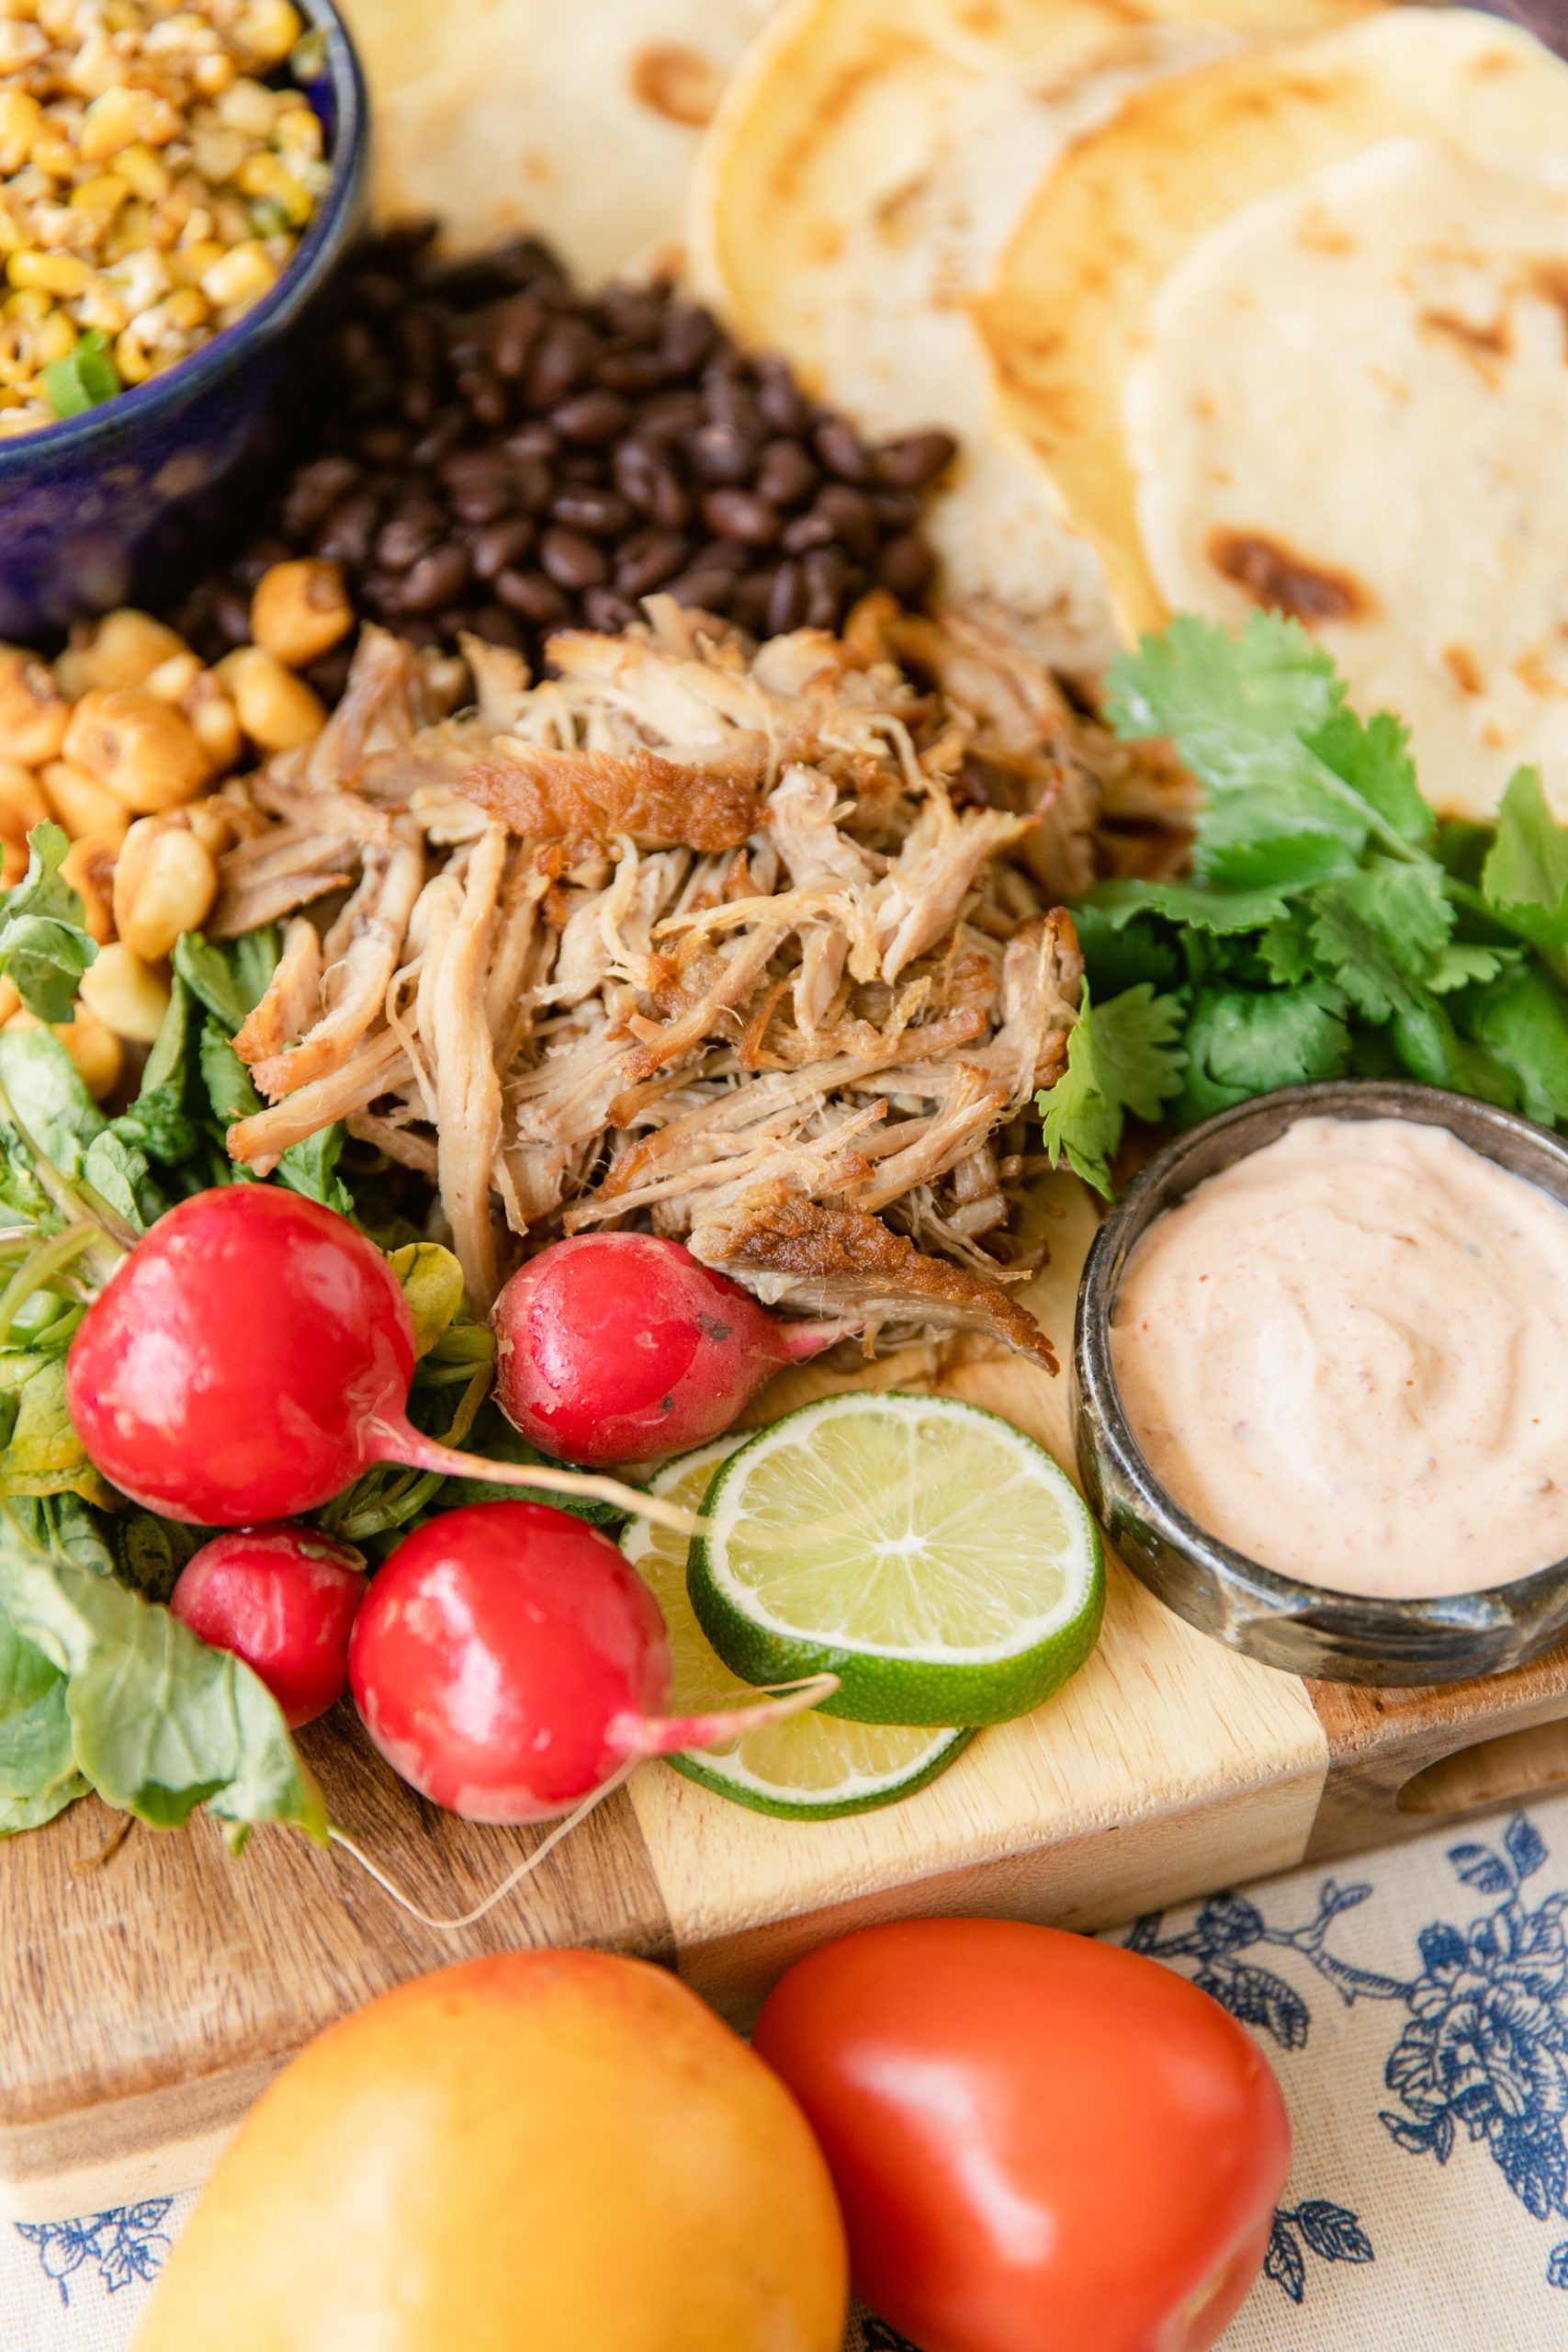
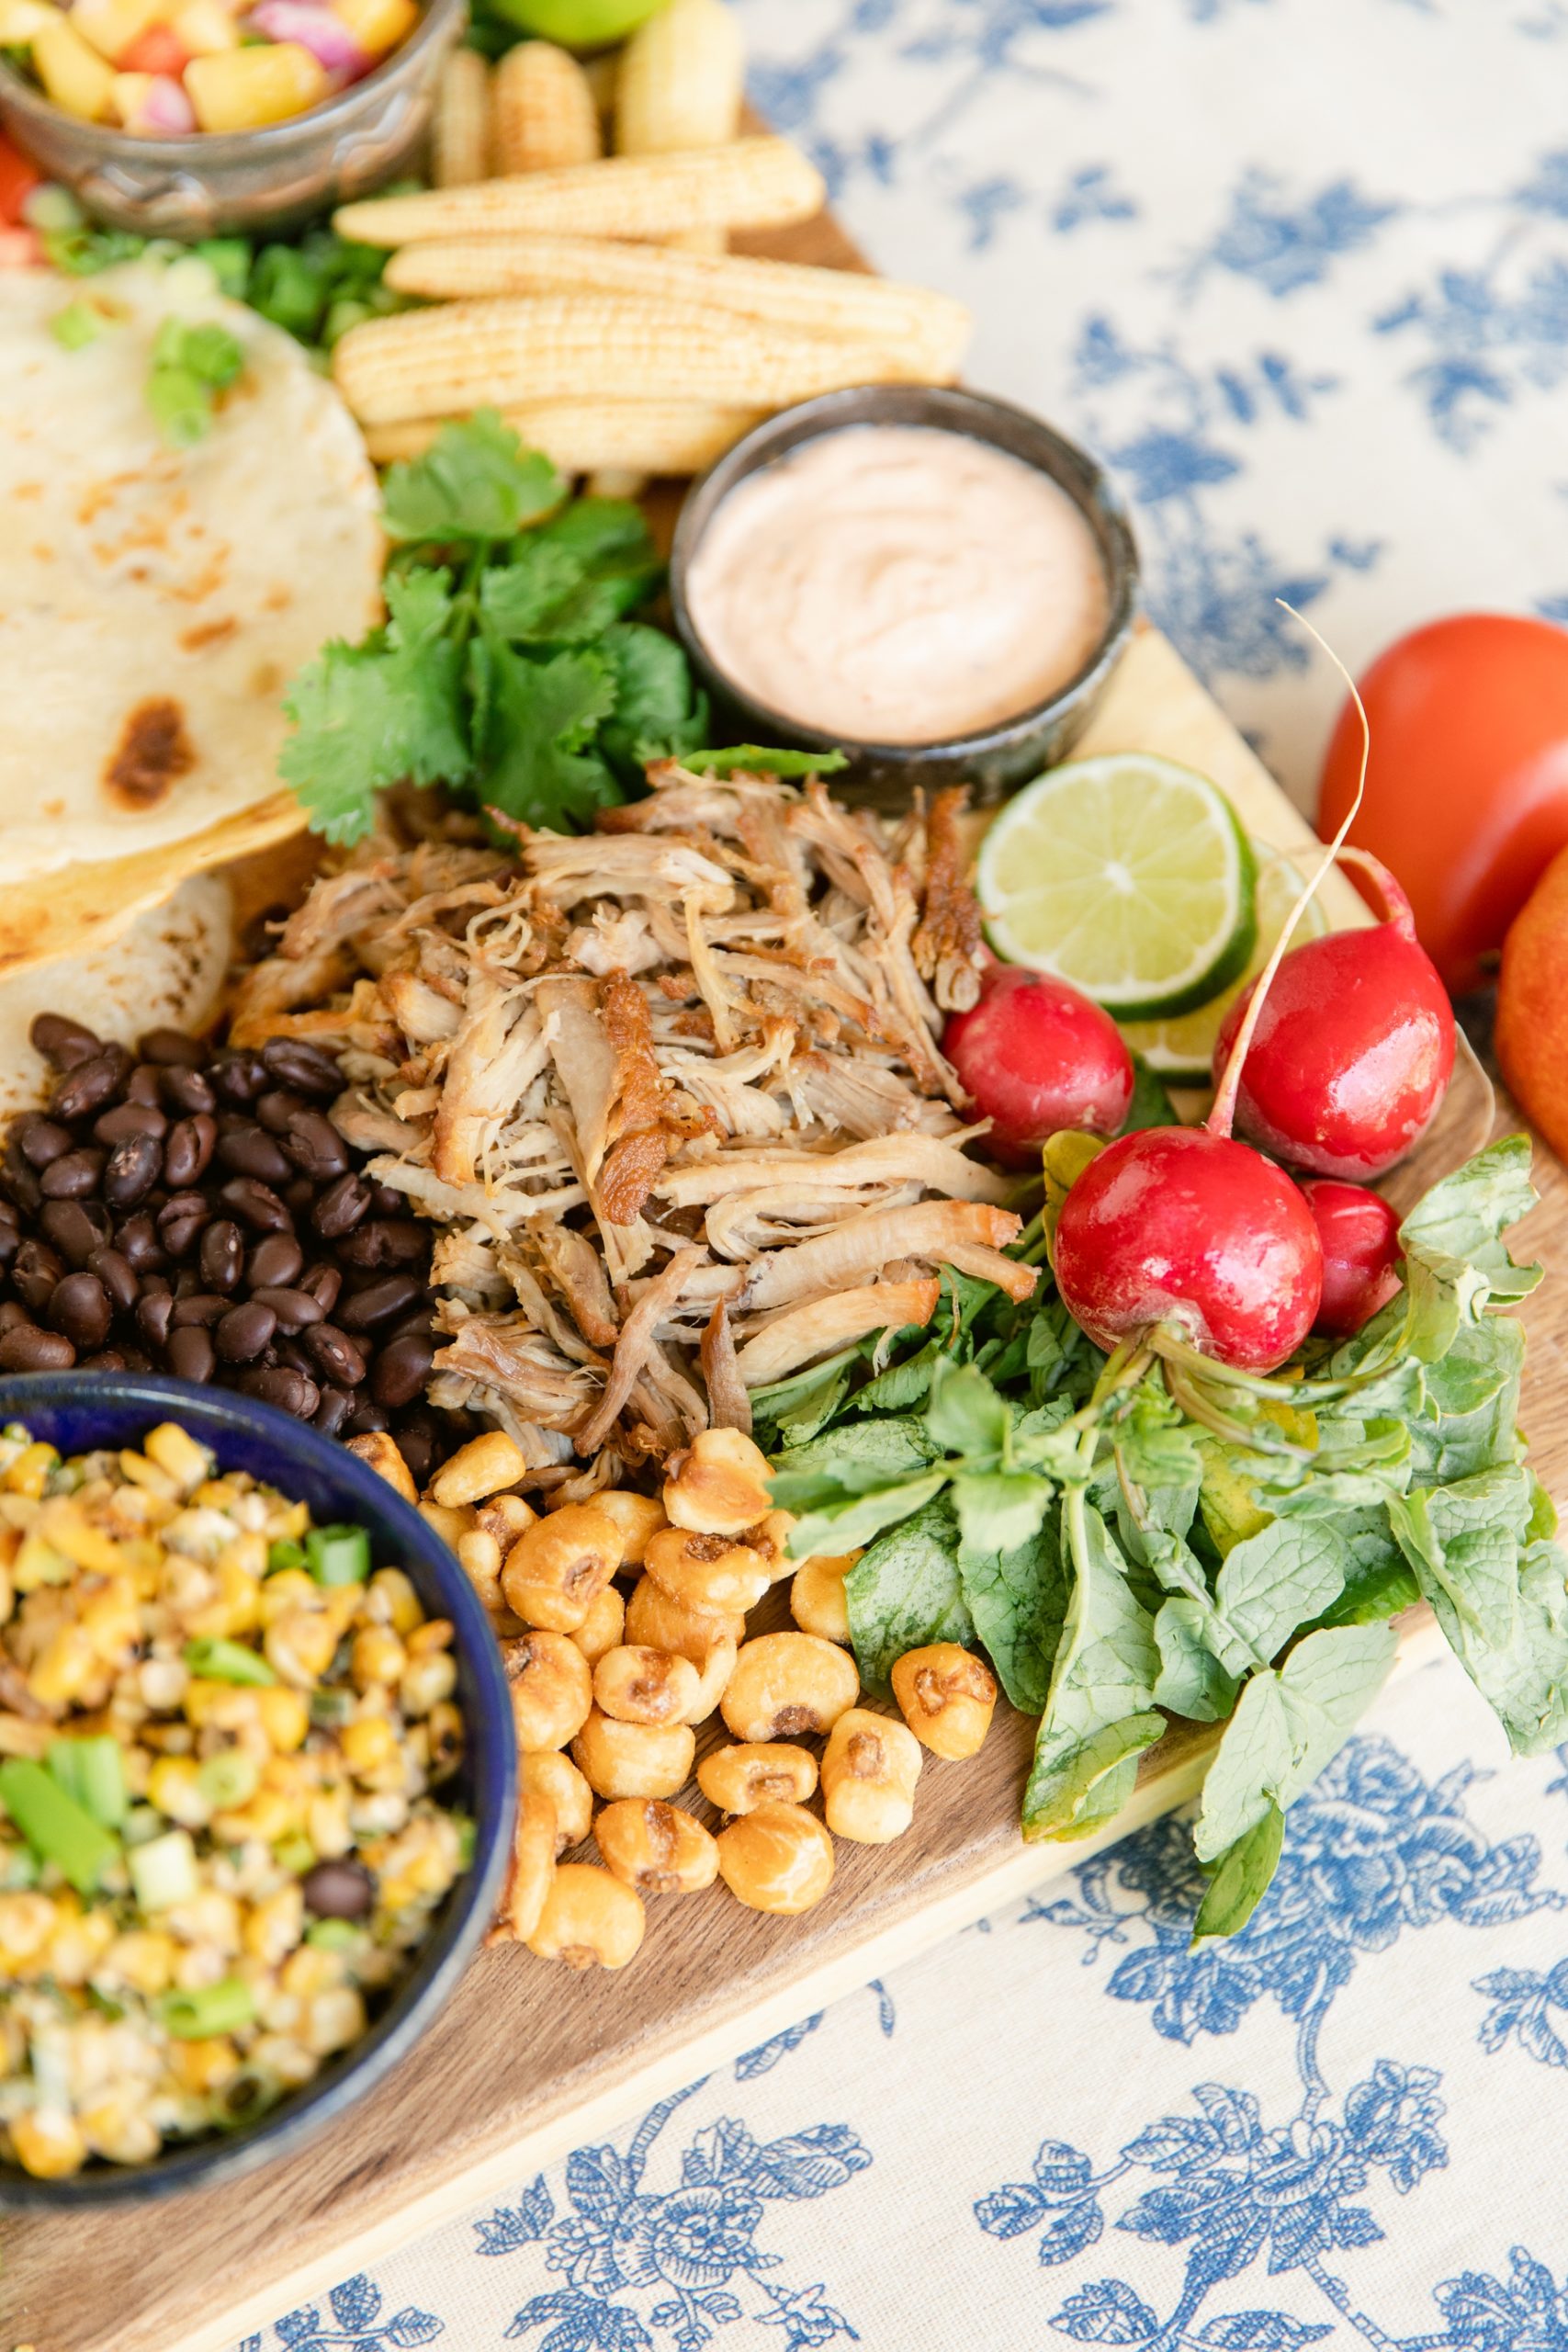
We started with two great taco recipes, Carne Asada Tacos and Carnitas Tacos. We chose these because they can be made in advance and easily reheated or kept warm in the oven. Plus, they are still amazing even if they aren’t super hot.
Making the taco fillings in advance is crucial. It’s why I stayed away from fish, although shrimp would probably work here also. You are going to want to make plenty of Mexican toppings and sides, many of which call for things like avocado that need to be served immediately, so get the big stuff finished first. I made both of these the day before and the only problem I had was snacking on the carnitas and depleting my supply. Bad Jen.
The Tortilla Recipe
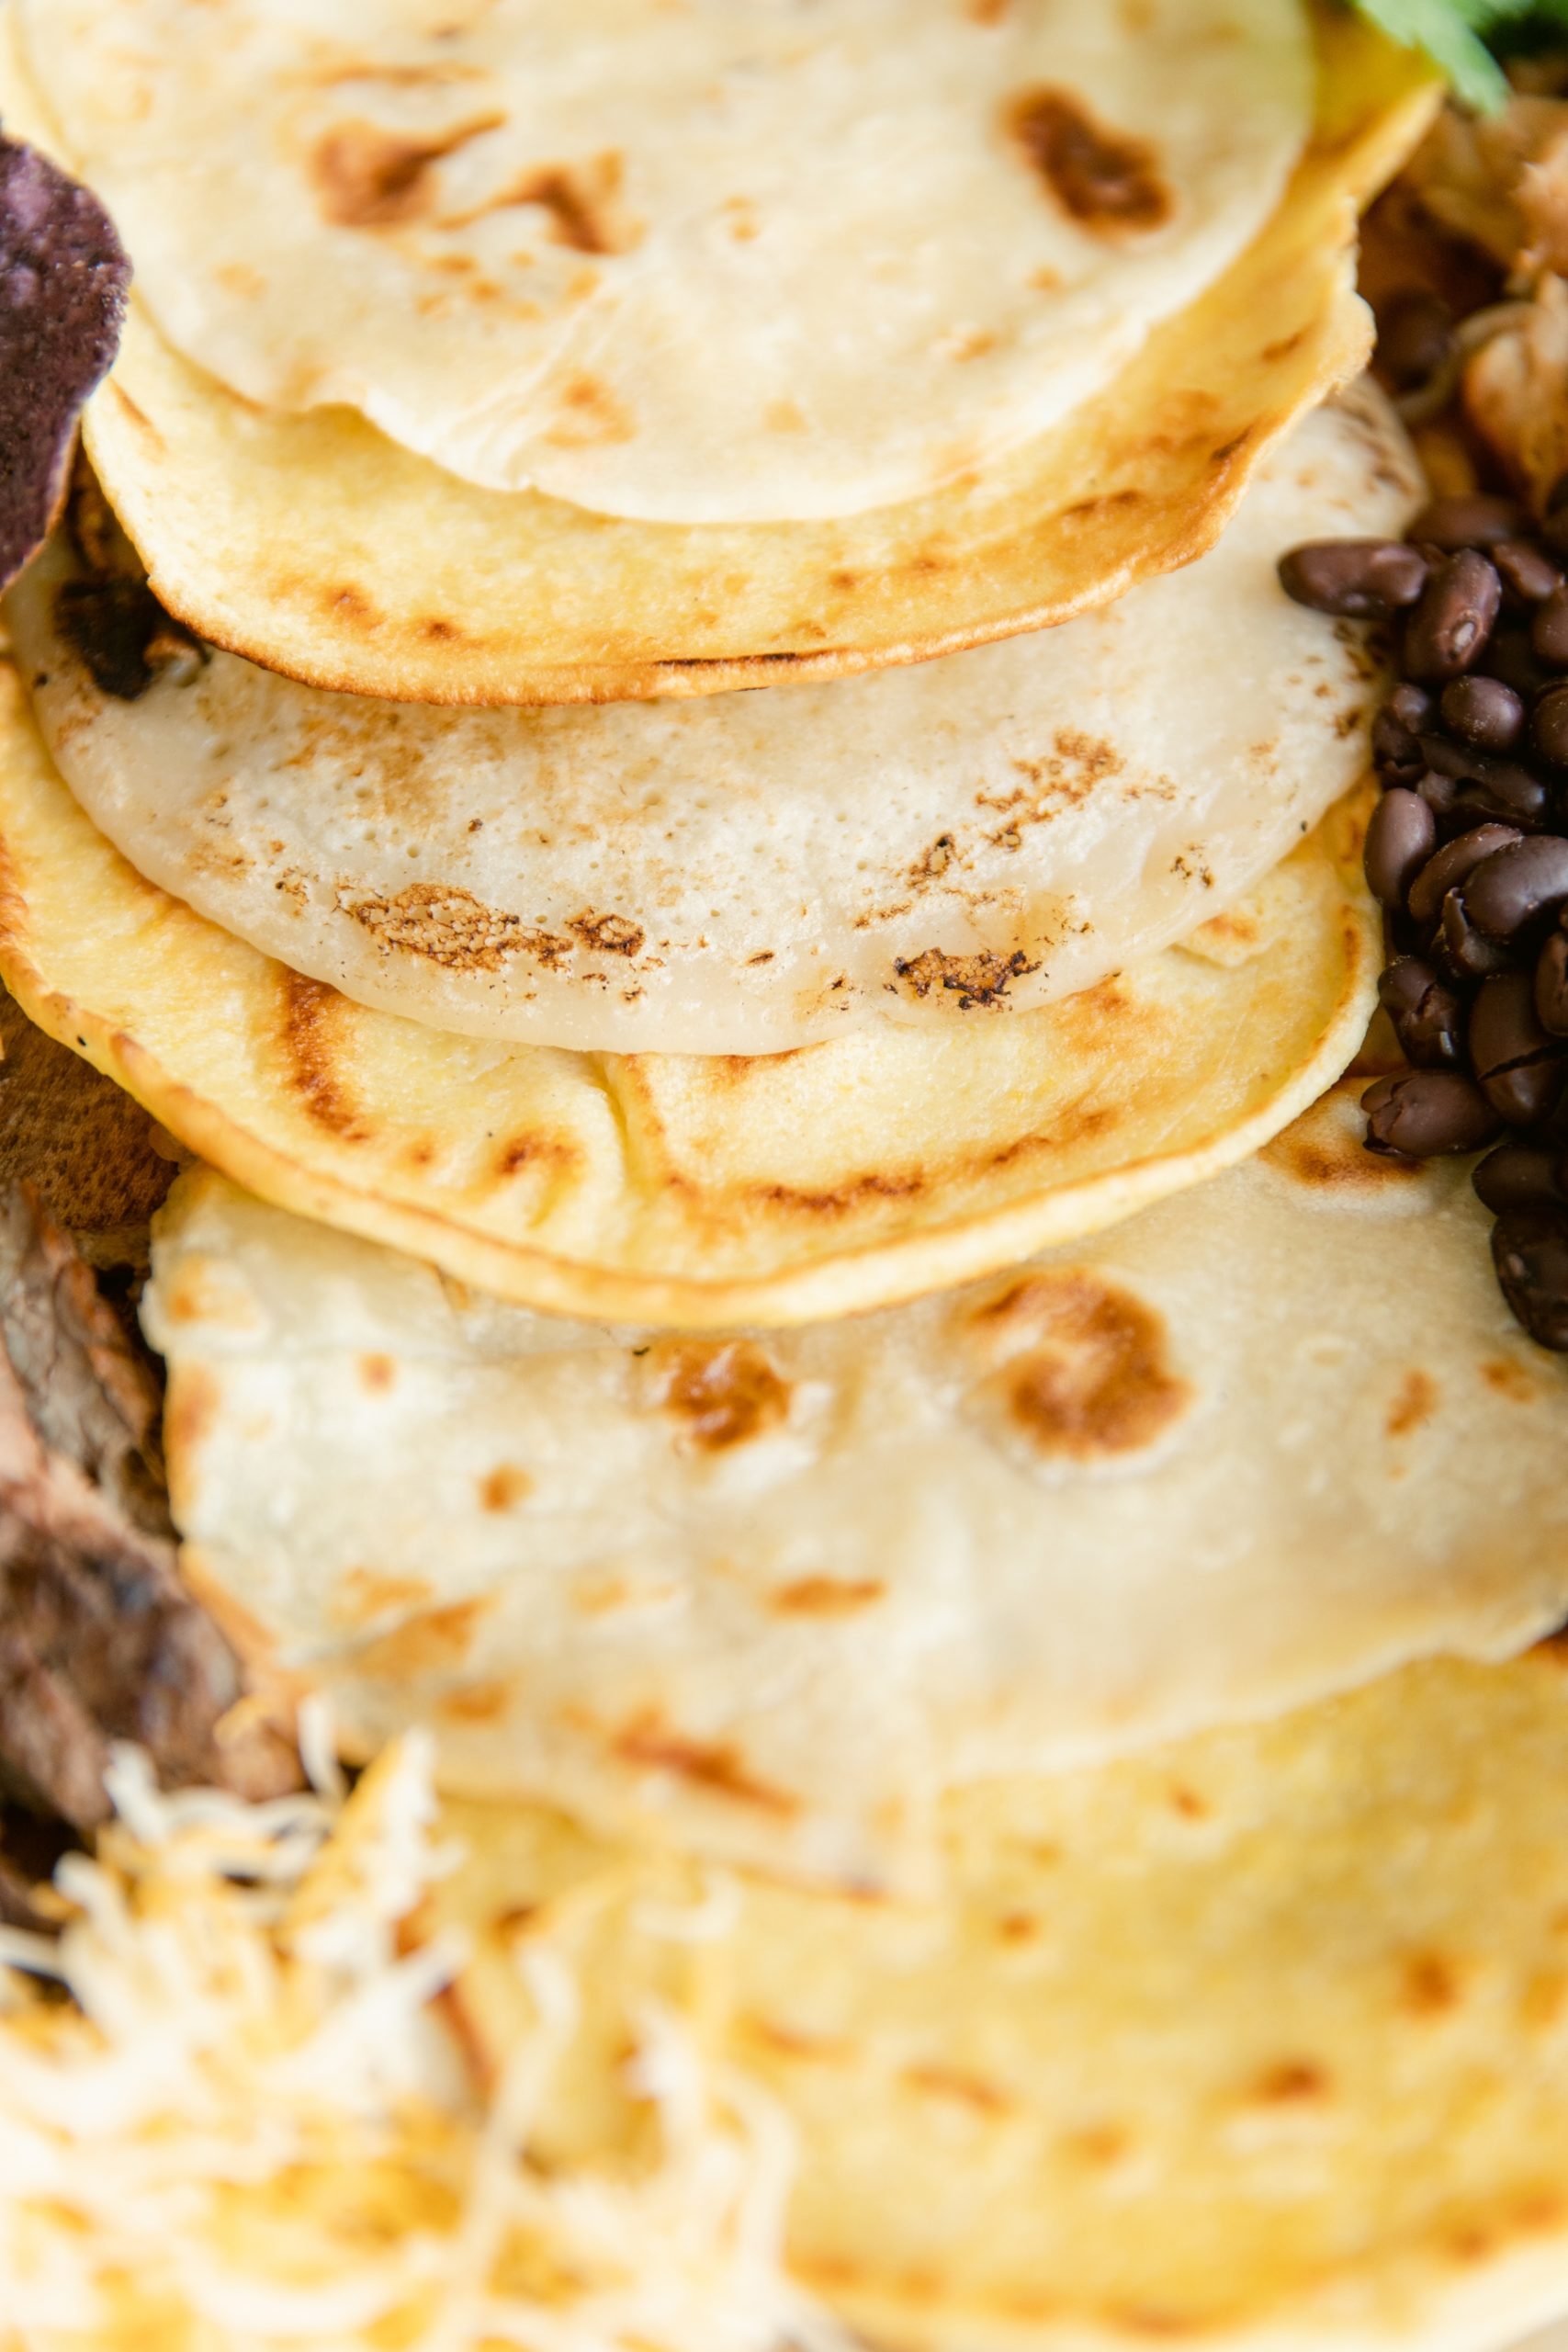
I’m not going to get into too much detail here about my homemade tortilla ordeal. However, I can assure you that I have worked out all of the kinks in my recipe, so that you can avoid all the pitfalls I found along the way. There were some dark moments folks. Many foul words were yelled and a spatula may have been dramatically thrown in the trash, but let’s just breeze right past that and get to more of the good stuff. You can find the updated recipe for homemade mix and pour tortillas here.
Salsas and More
All tacos need toppings, even if it’s just a sprinkle of cilantro or squeeze of lime, and obviously we included our fan favorites. I use the term fan generously here. Liz’s husband and several of our friends have expressed their appreciation and requested we make them again.
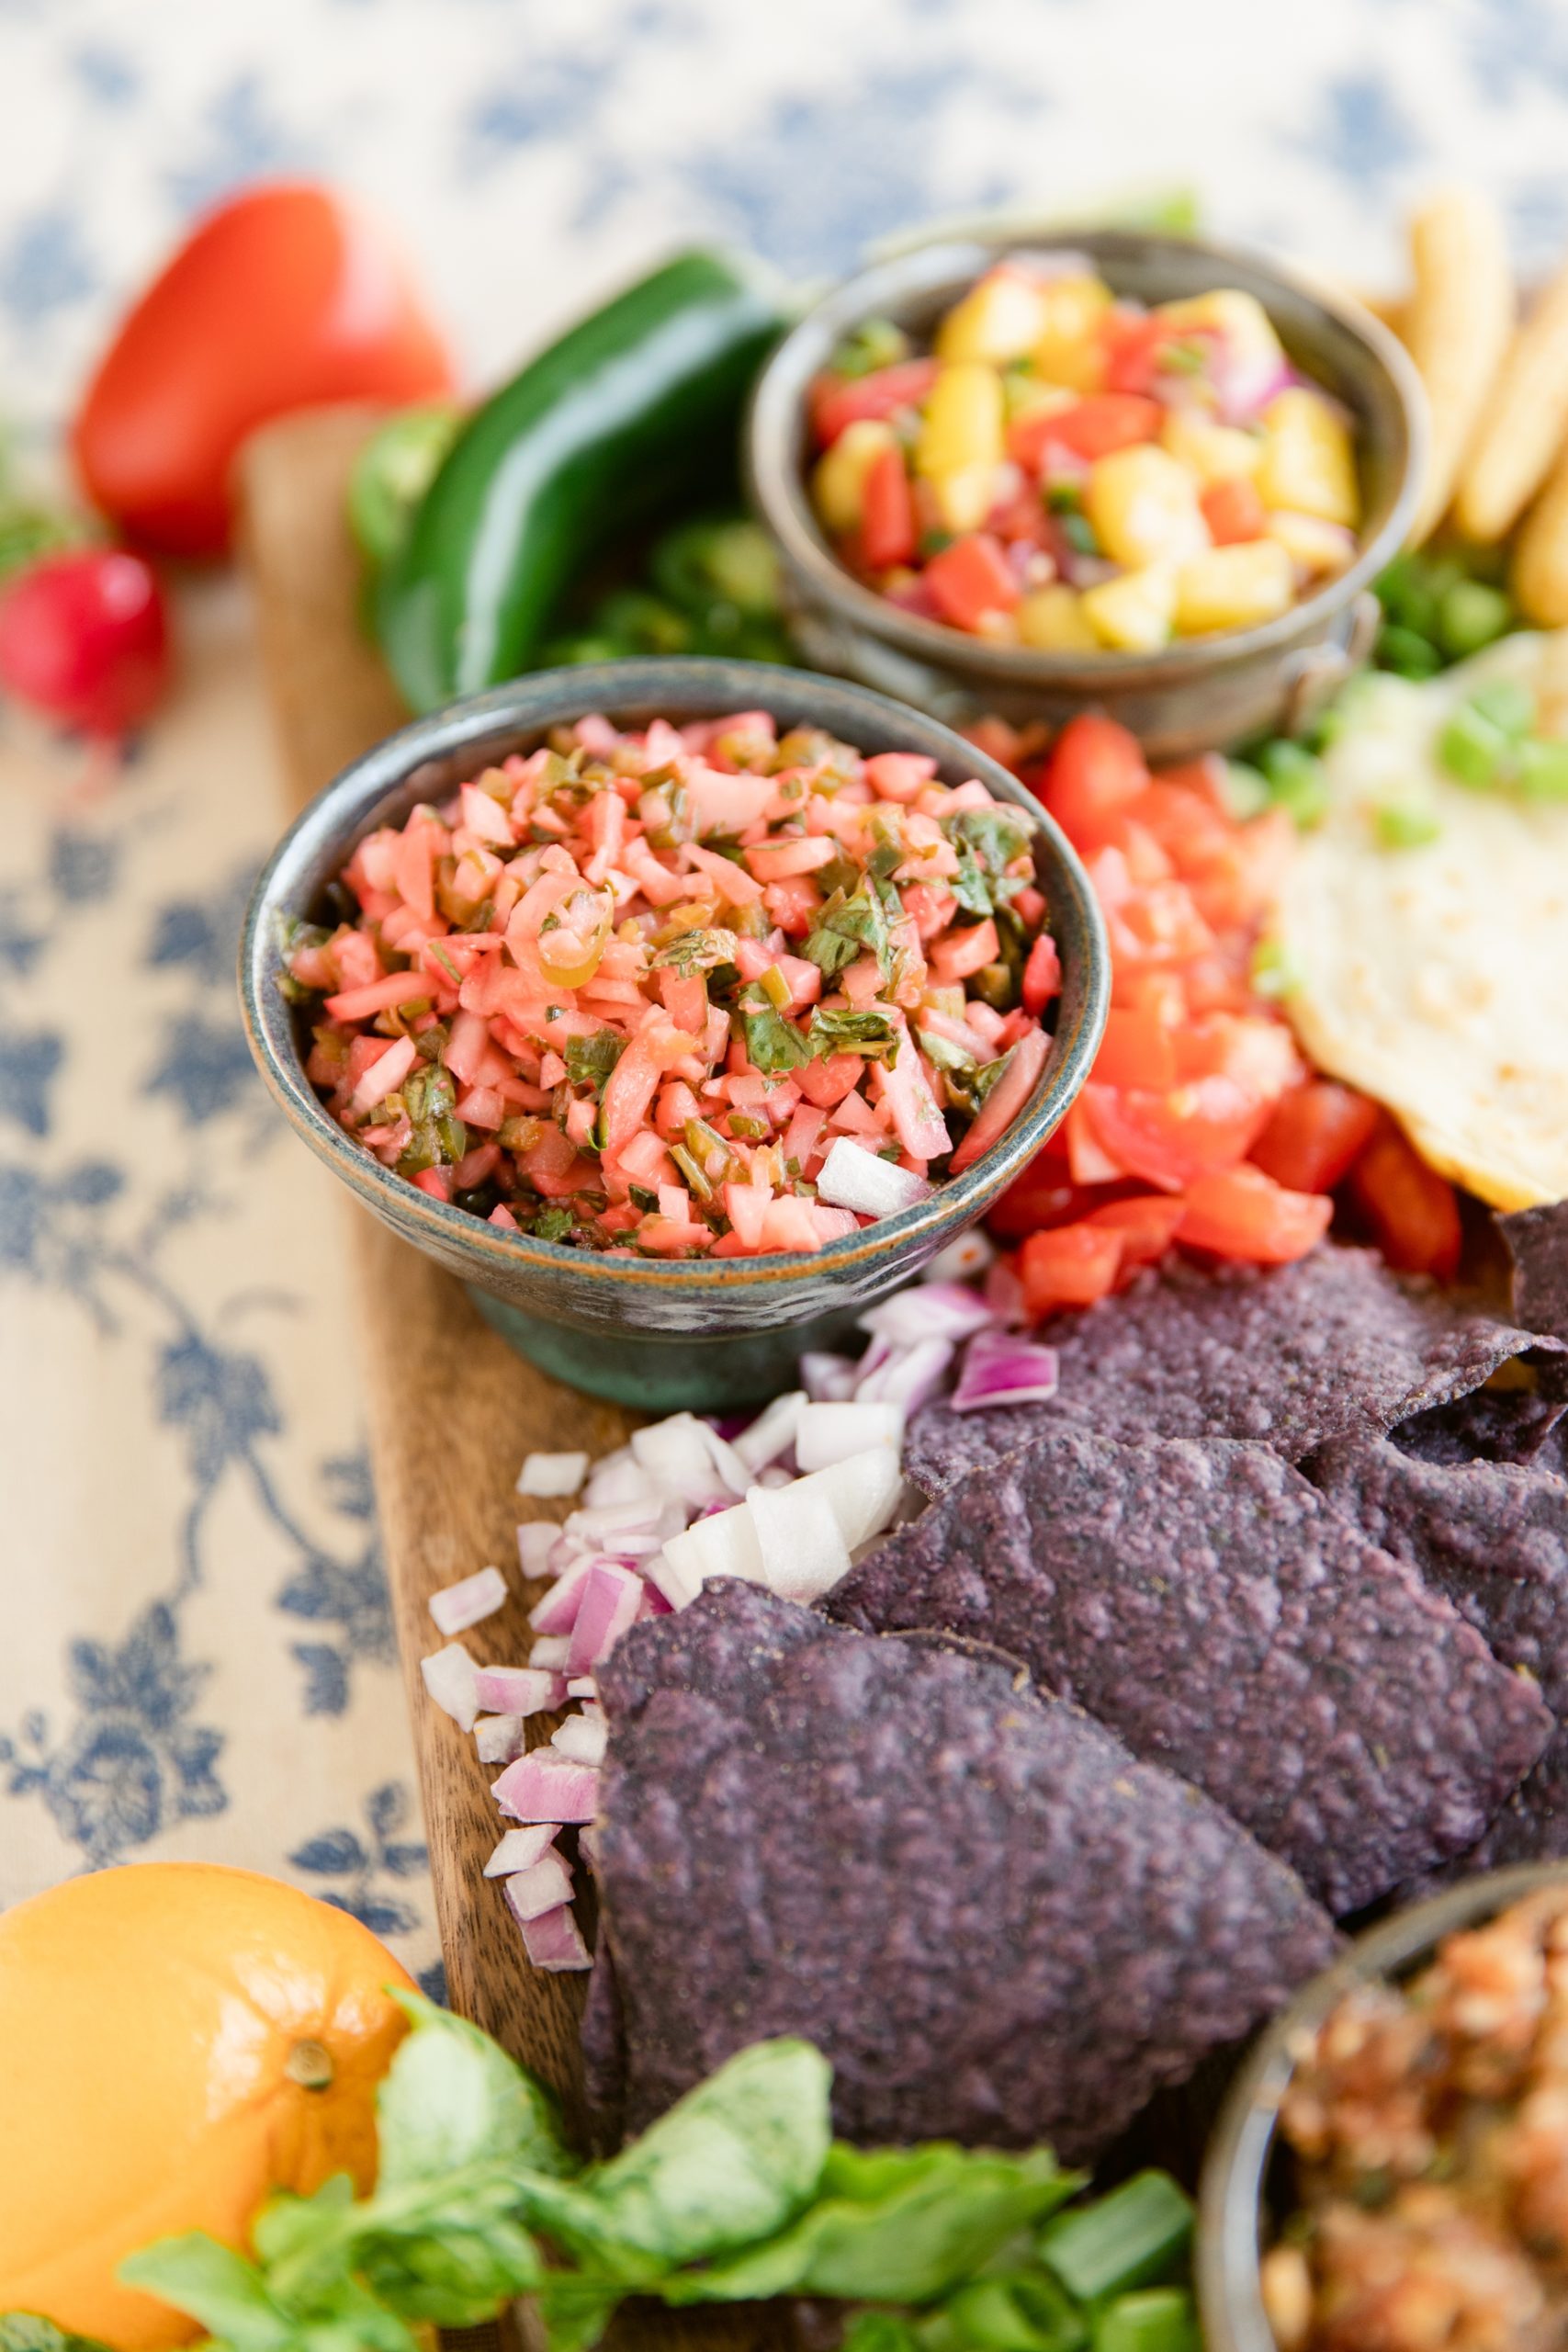
The first recipe is Radish Cilantro Salsa. Radishes are a really underutilized vegetable in my opinion. They are crunchy, take on flavor beautifully and are fuchsia. What’s not to love? This particular recipe is a really fun version of a more traditional pico de gallo and once you try it, you may never use anything else ever again.
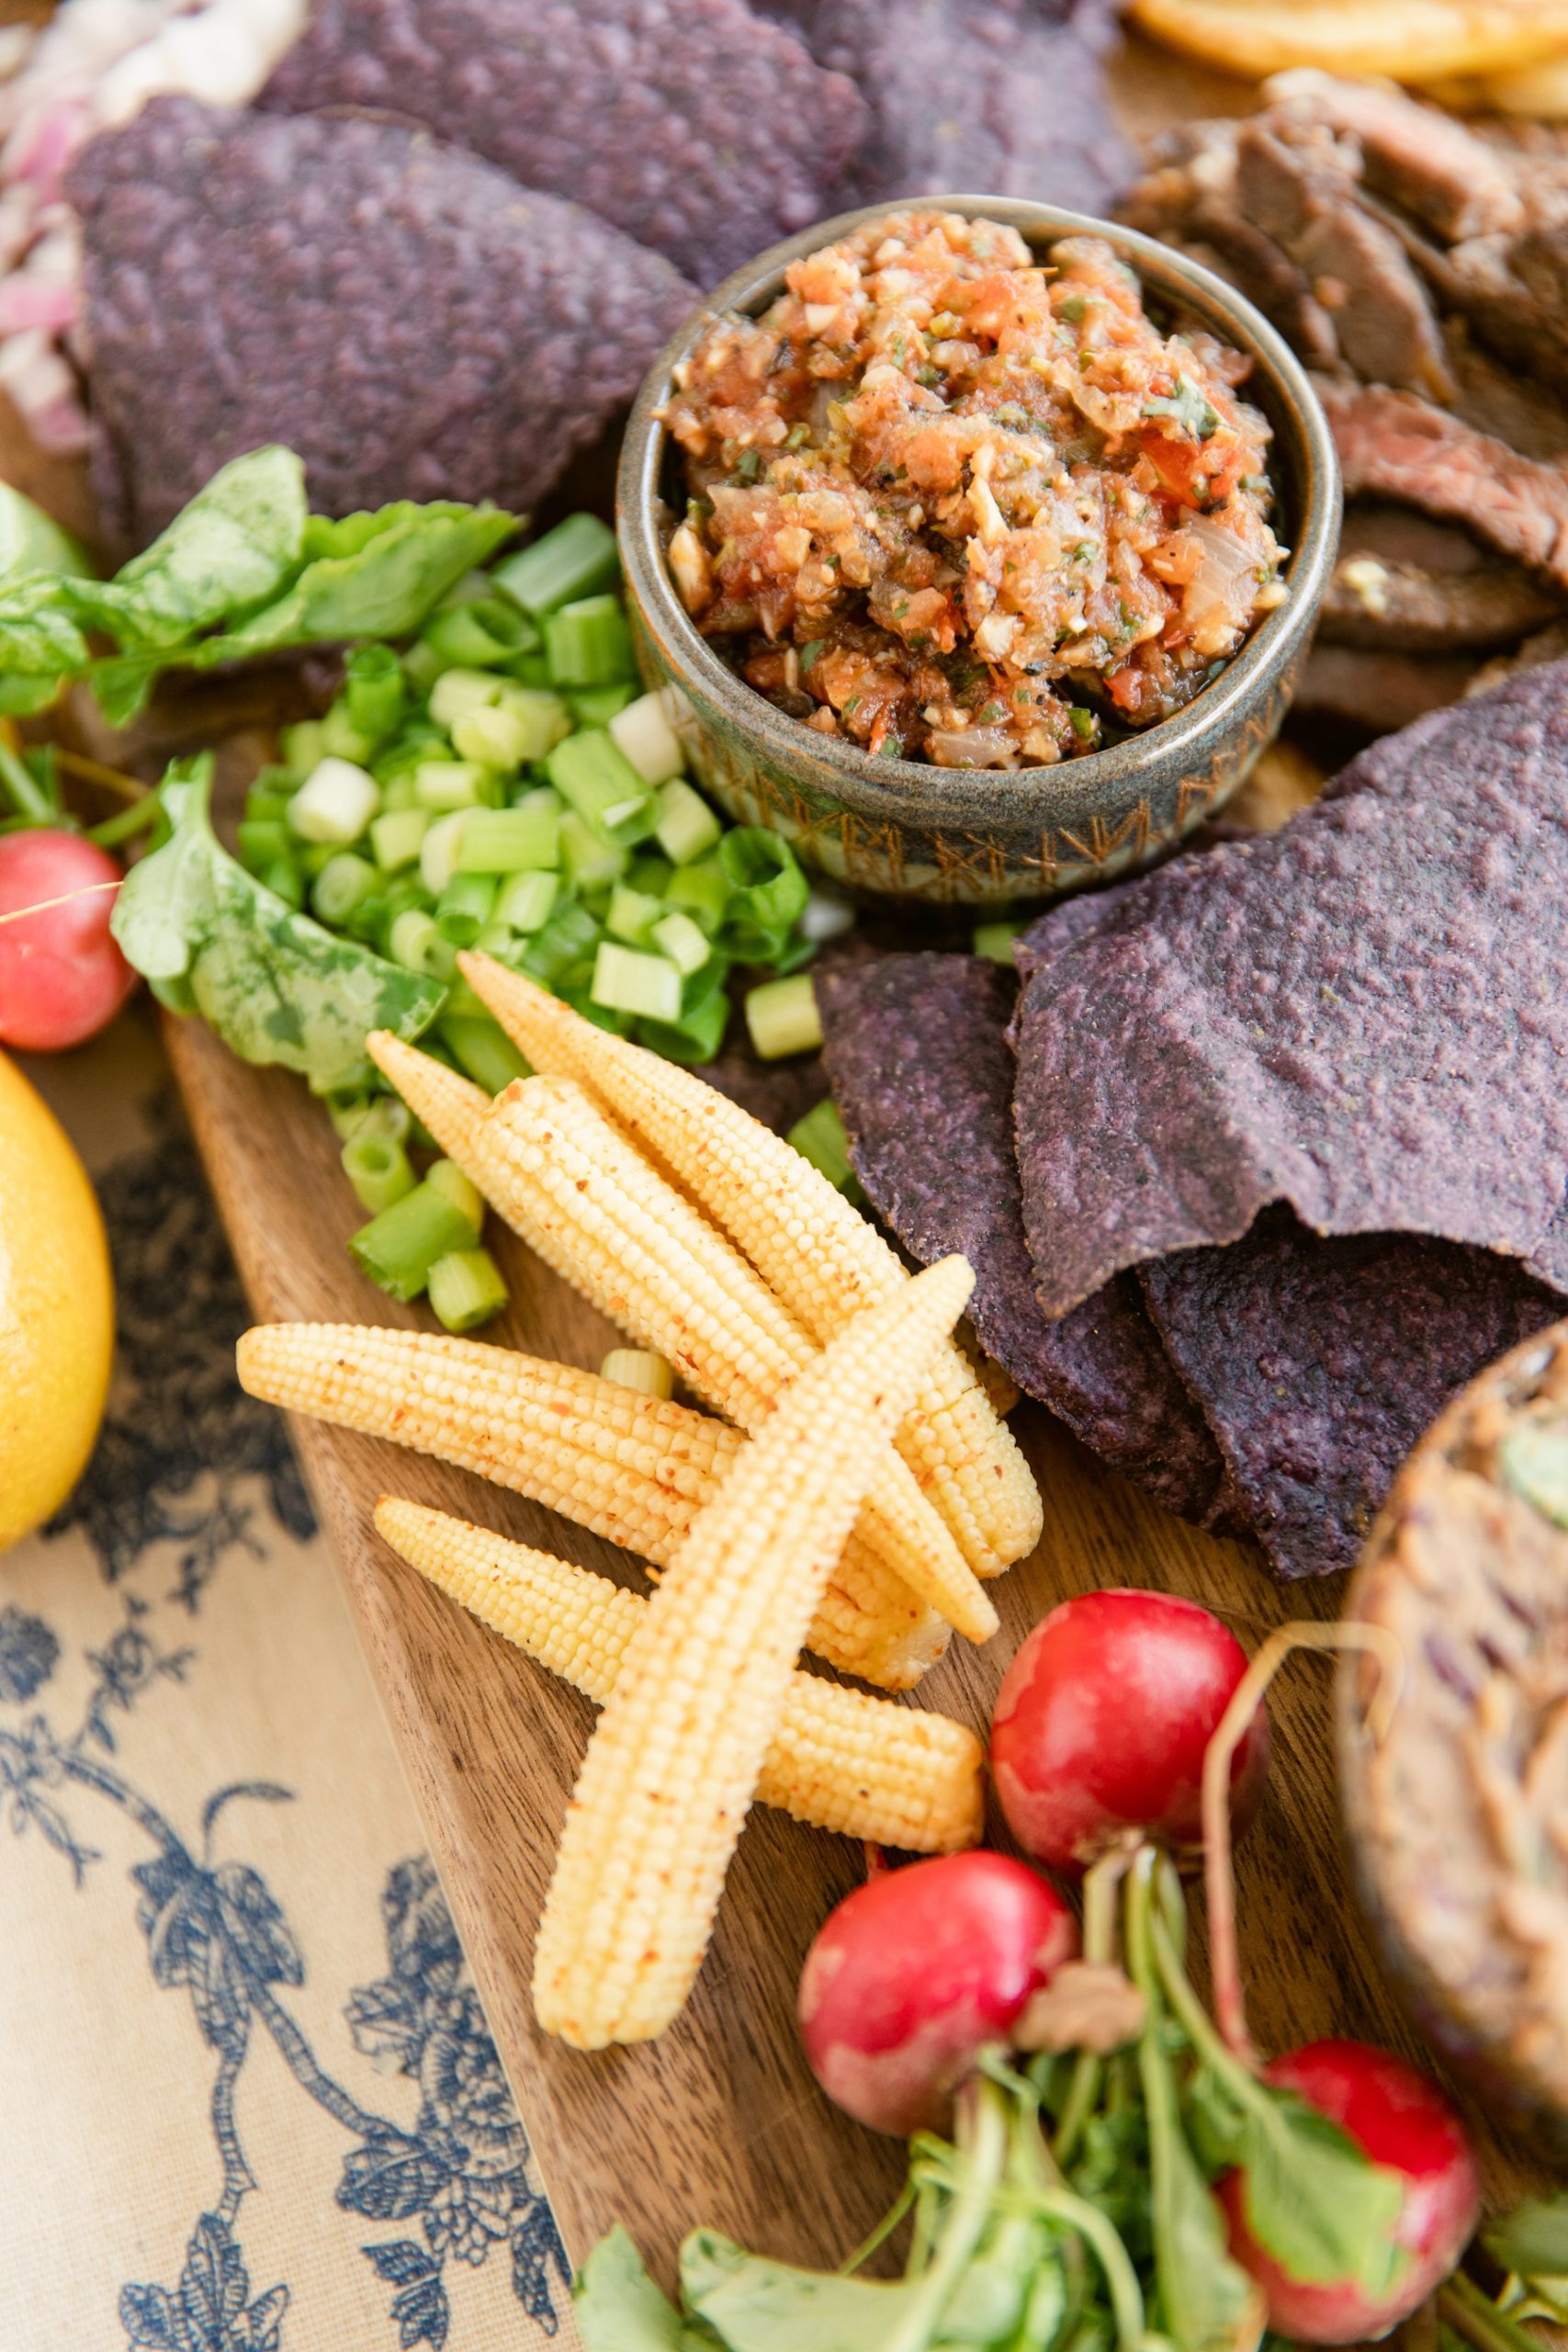
The second is Roasted Tomato Salsa. Again, this is a really tasty spin on traditional salsa. Plus the word roasted makes it sound fancy, so your guests will be impressed. Both of these salsas keep well in the fridge and should at minimum be made a few hours in advance so all the flavors meld.
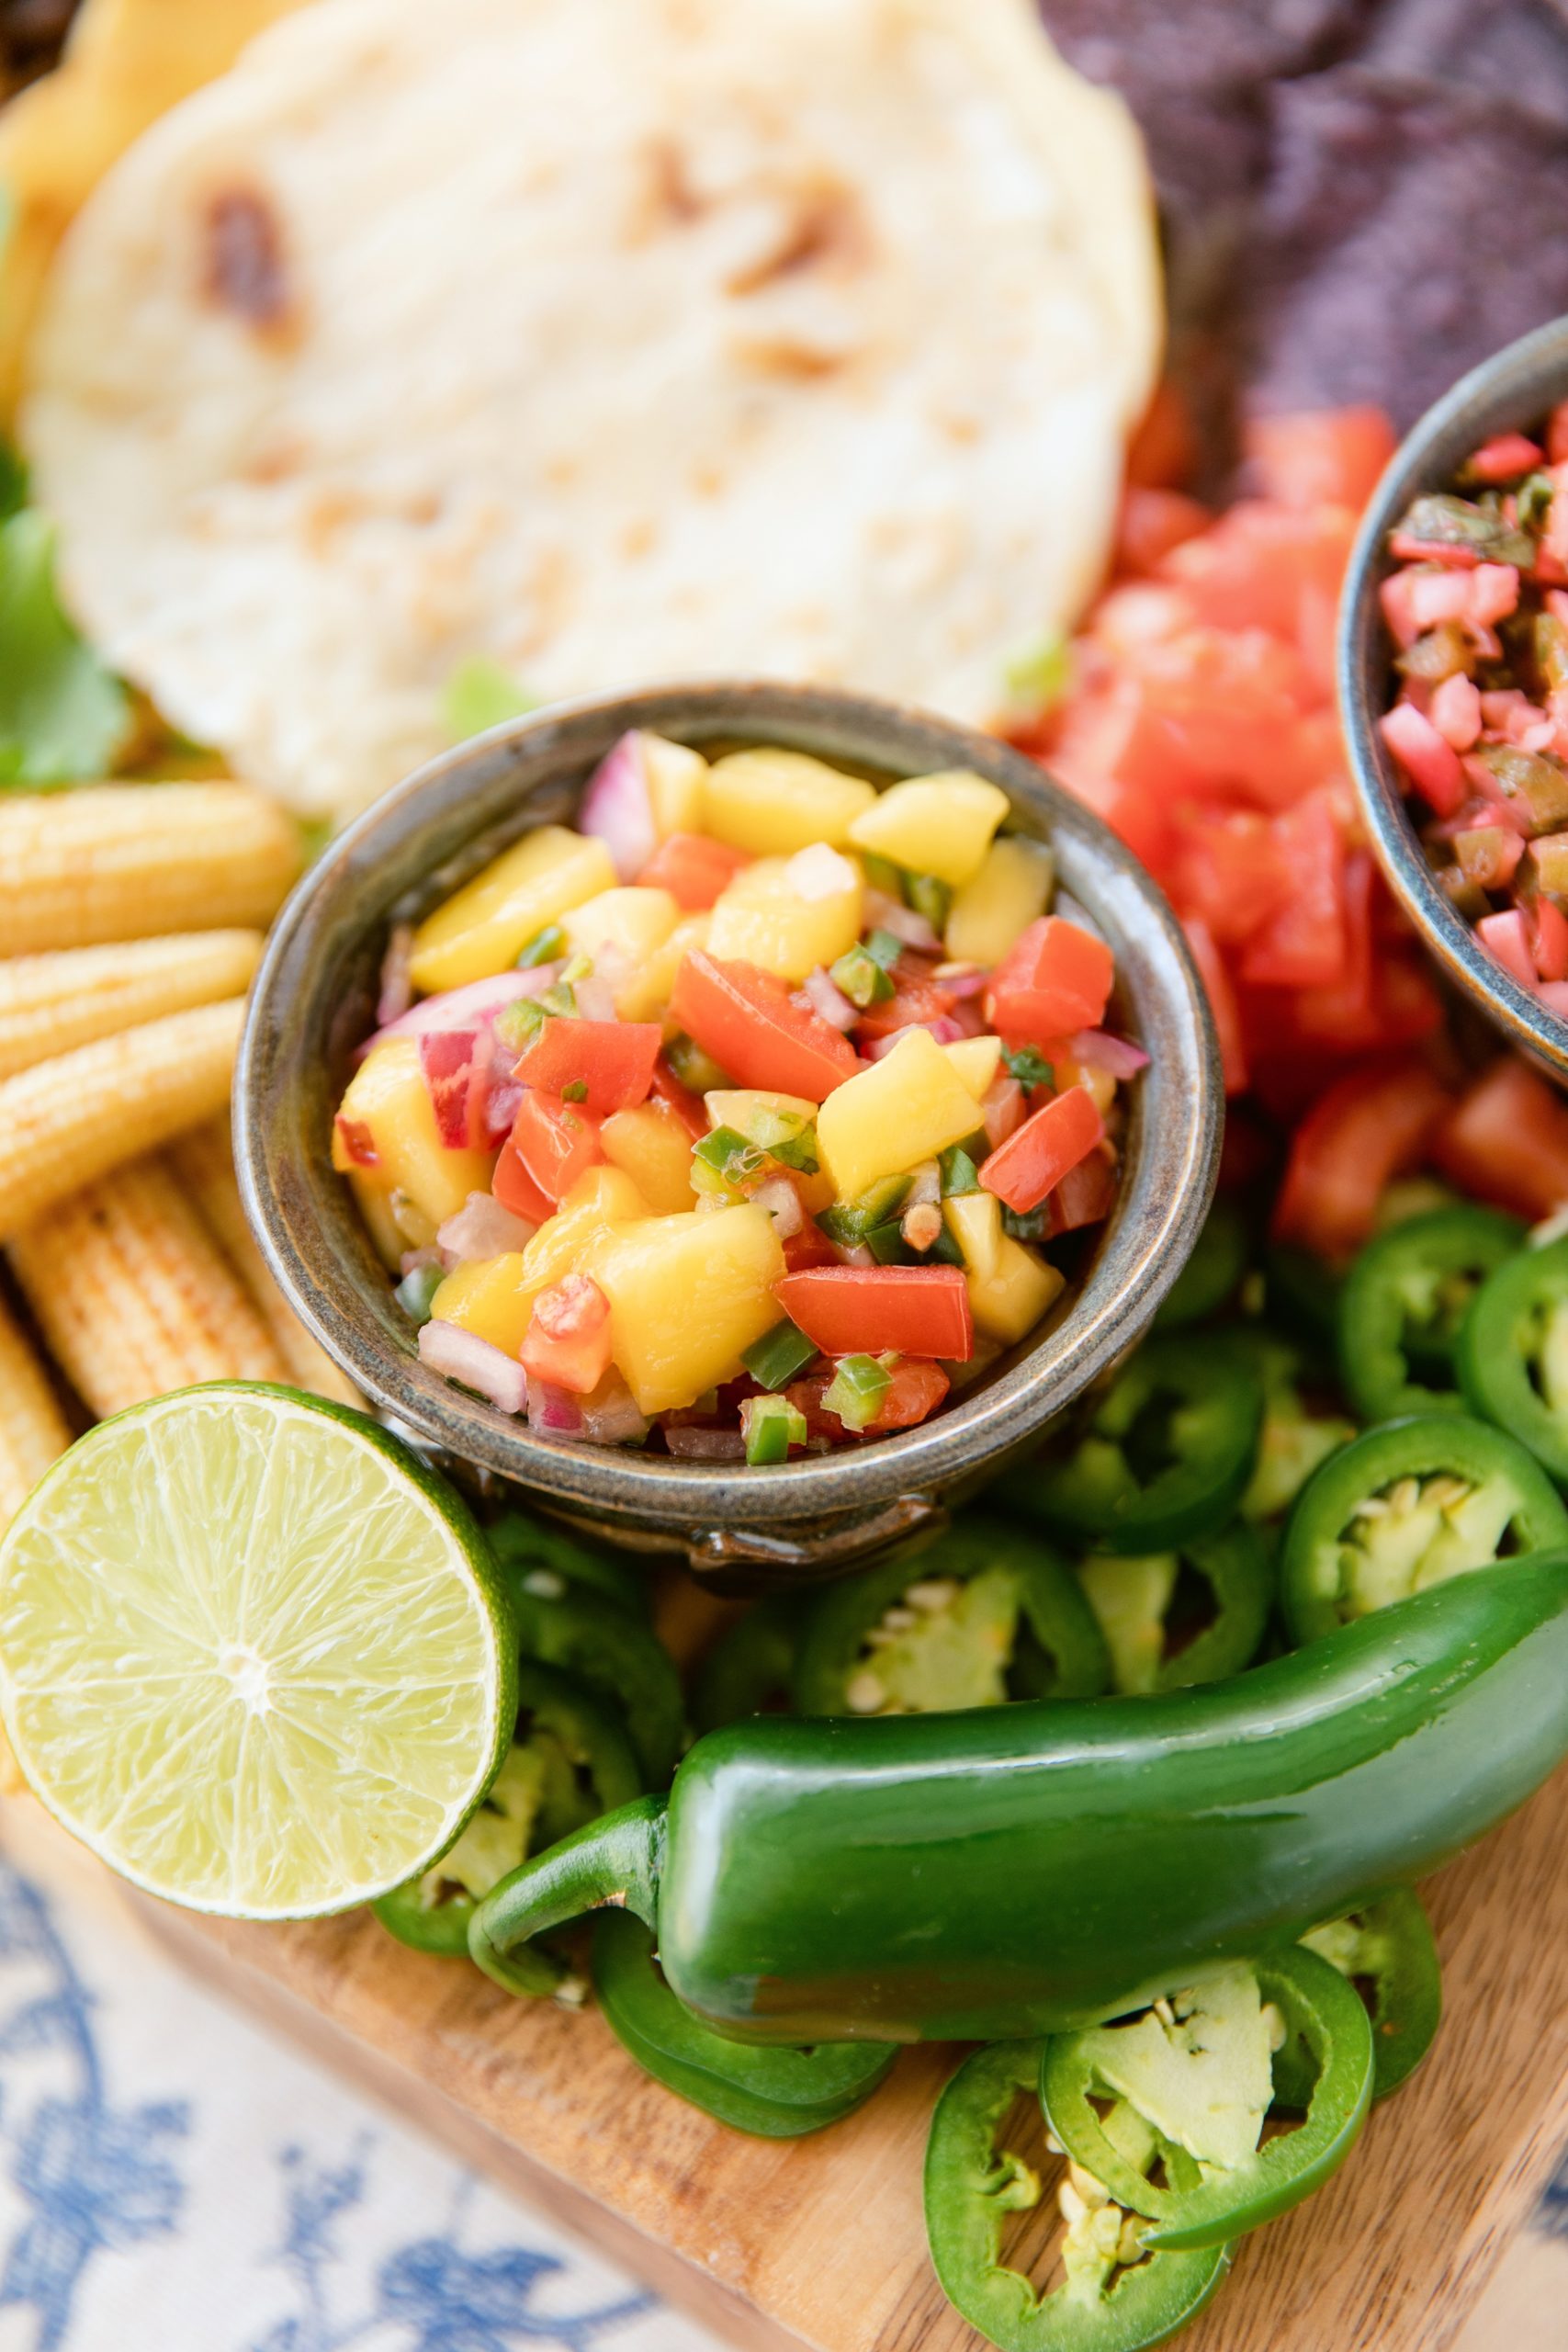
Cinco de Mayo is at the start of mango season, so clearly you can’t go wrong with mangoes as an ingredient. Mango Jalapeño Salsa is perfect on the carnitas, but just as good on a plain old tortilla chip or your index finger when Liz isn’t looking.
Finally, we whipped up some Mexican crema. This is one of the easiest things to make and really does taste better than plain old sour cream. It takes like 5 minutes. Just do it.
Our Favorite Mexican Sides
We stuck to our favorite tried and true Mexican sides – street corn, guacamole, and refried beans. Although we made the beans from scratch, we decided they weren’t any more impressive than those out of a can, so save the time and just get your favorite brand.
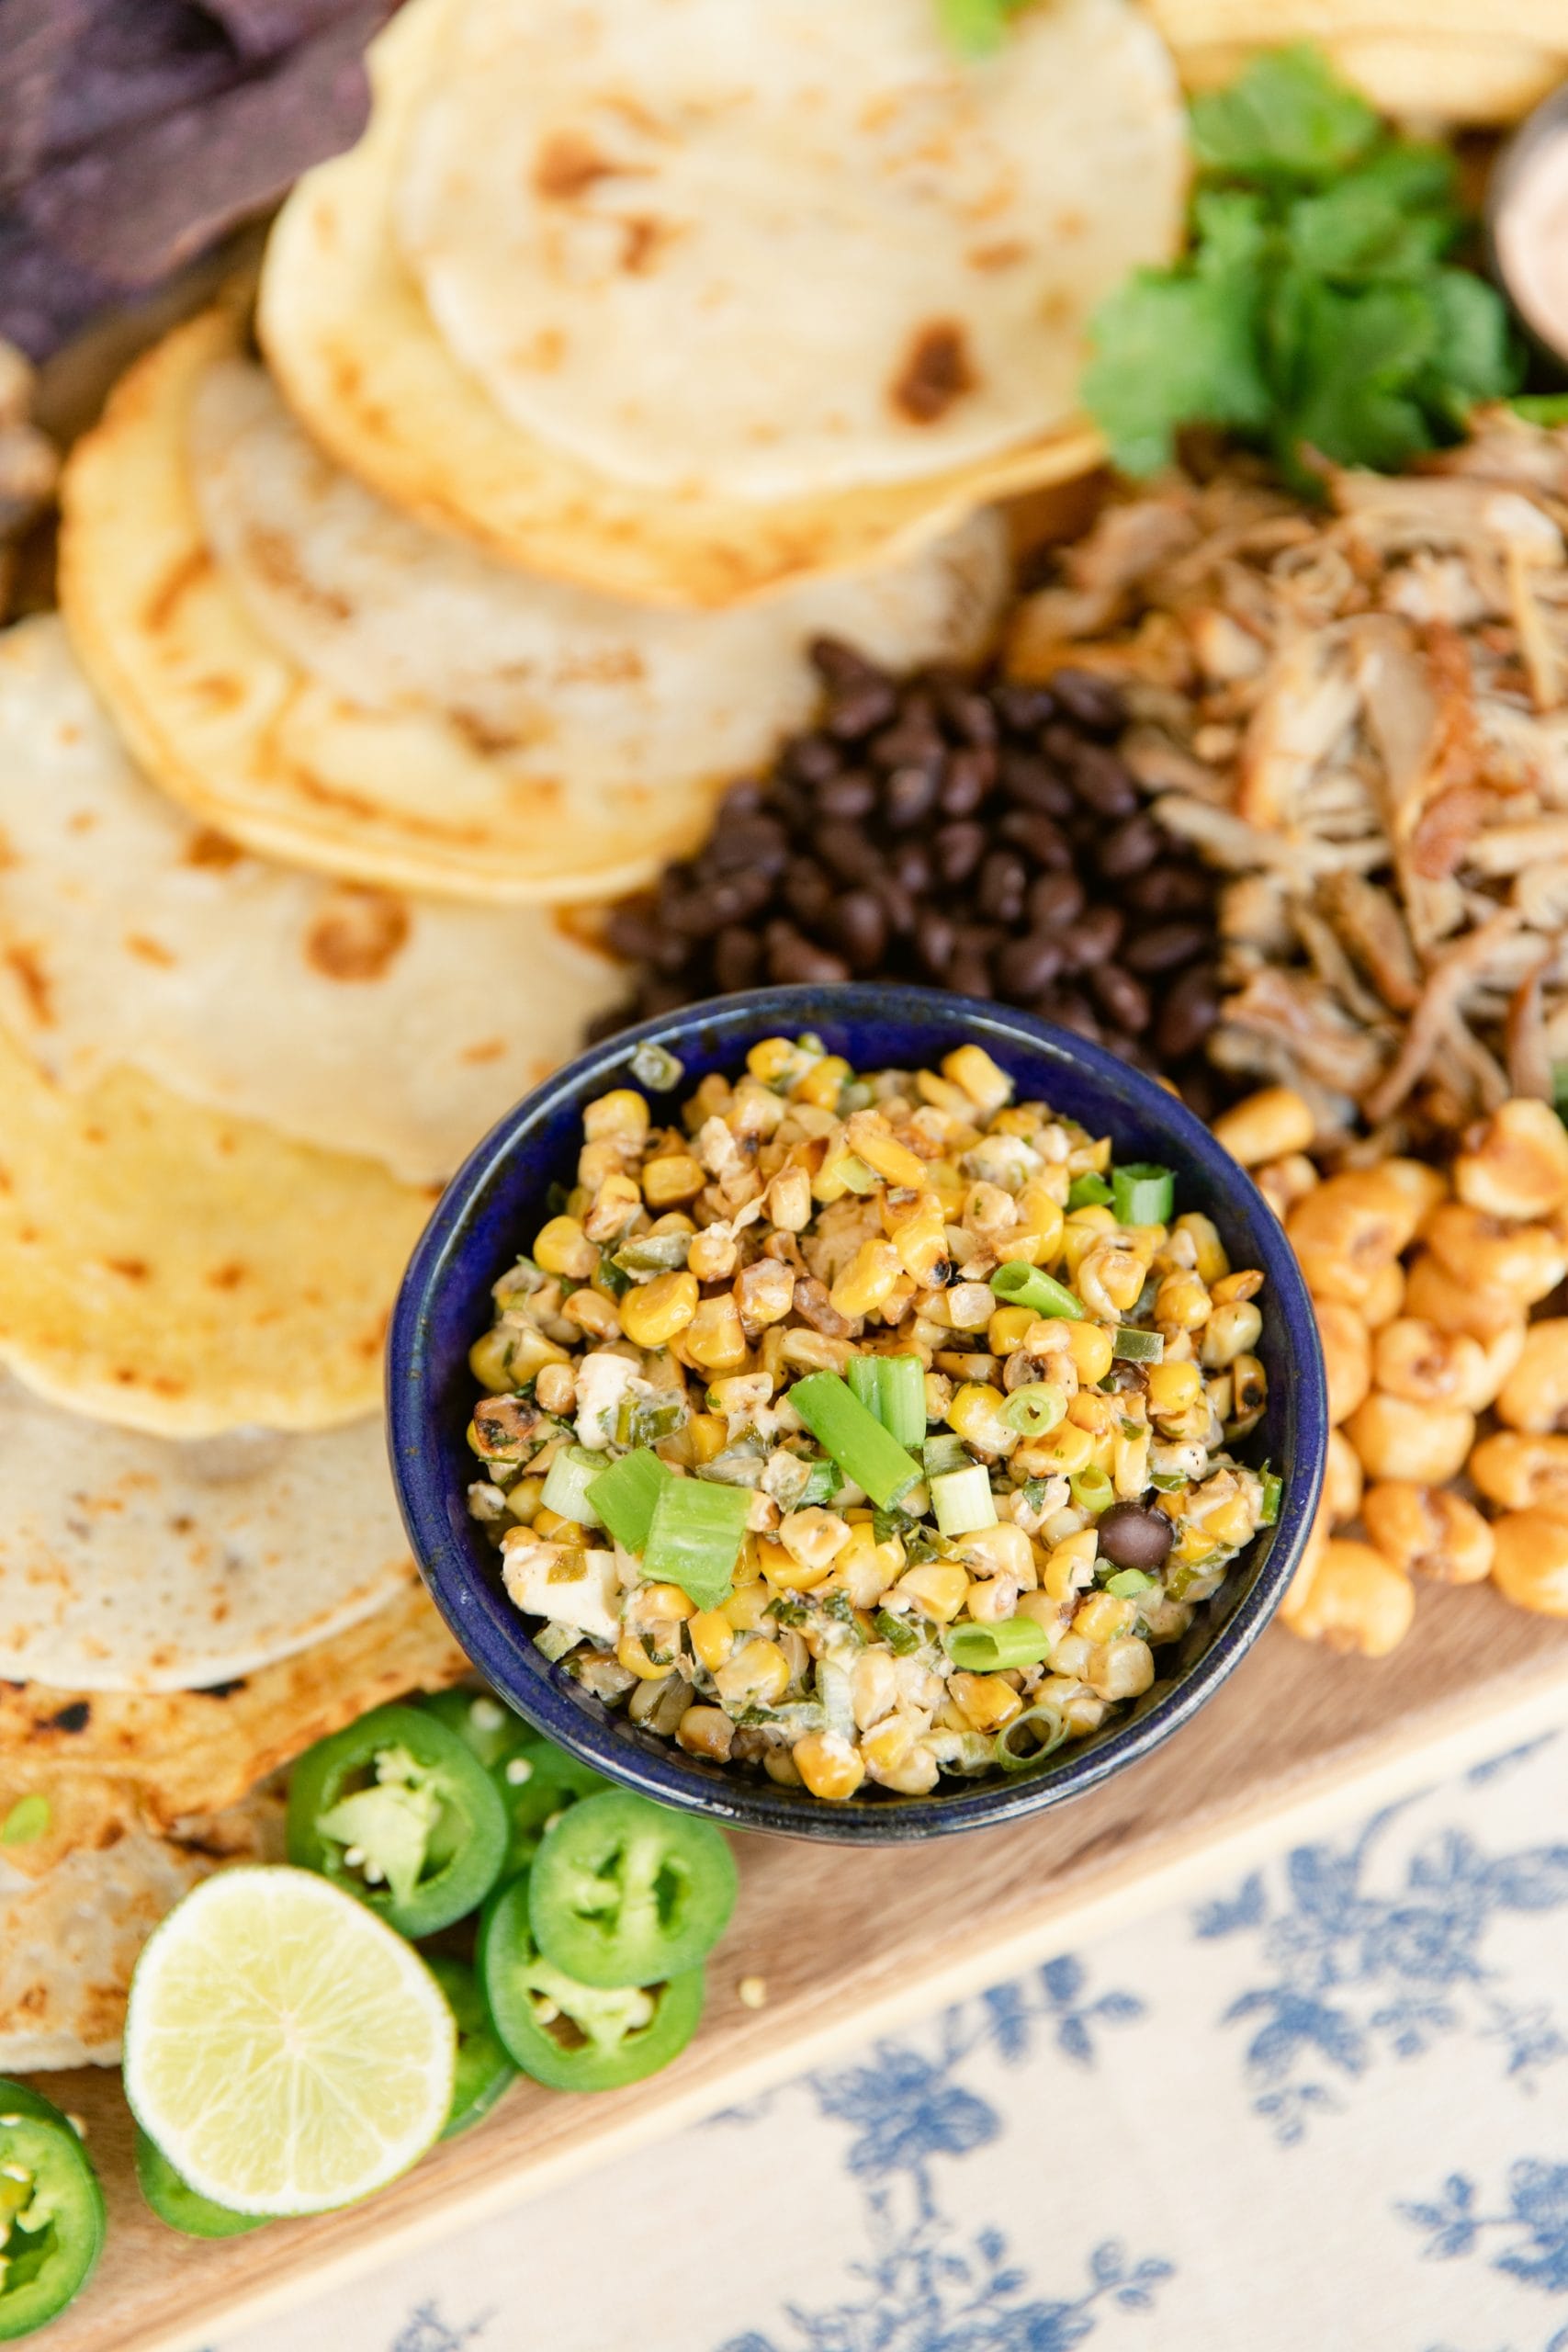
The Mexican Street Corn Salad is one of Liz’s favorites, and mine now as well. More traditional street corn is served on the cob, but this recipe makes it possible to scoop it up on chips. Chips make everything better. Therefore, one must logically conclude that this is a superior recipe.
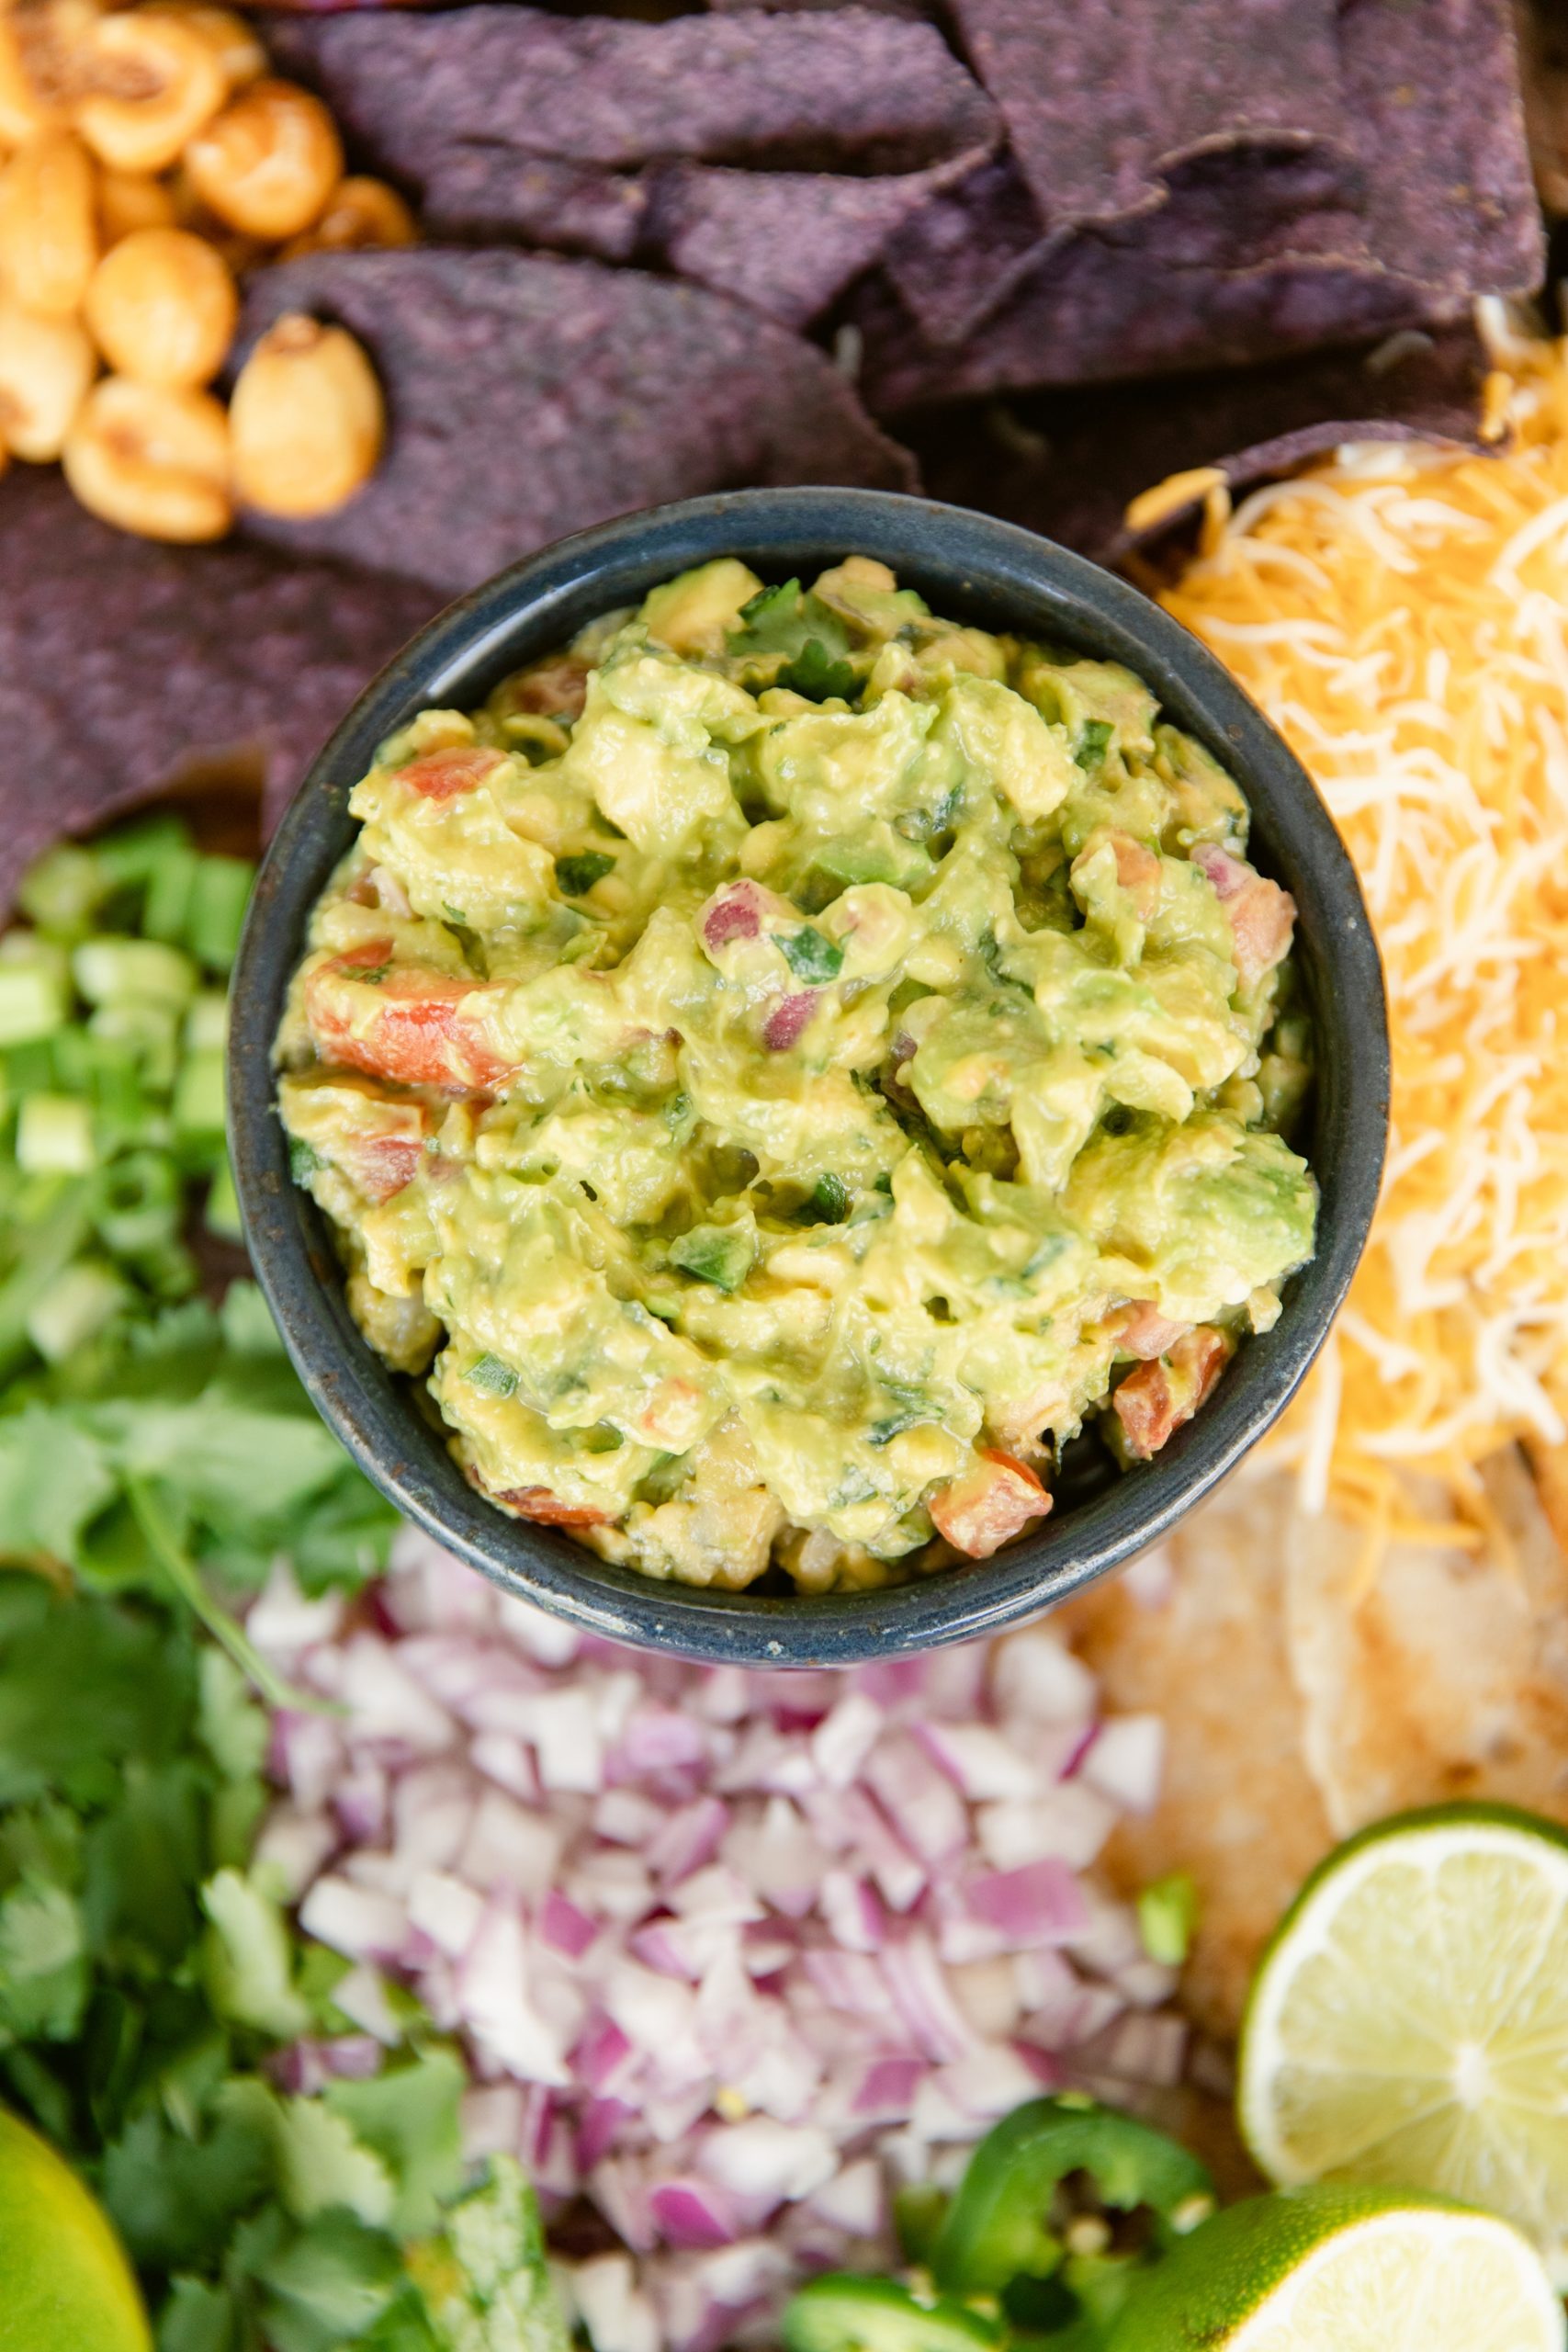
The Guacamole is a combination of a few recipes. When comparing ours, we realized they were mostly the same, but I always insist on using red onions. To be fair, it wasn’t like Liz really cared, she’s one of those grab whatever you have and use it types, but I’m pretty fervent on this point. Red onions are better, period.
Keep It Weird
You’ll notice we also have a few weird things on our board to keep it interesting. This is Liz shopping at her best. She cannot leave a store without random wacky shit. For example, the tiny corn is actually Asian baby corn that she found at Trader Joe’s. We tossed it with melted butter and Aleppo pepper to make it work with the rest of our flavors.
She also picked up some Spanish corn nuts or Quicos from Whole Foods. These are kind of addictive, so make sure you buy extra to keep your board stocked.
Assembling Your Board
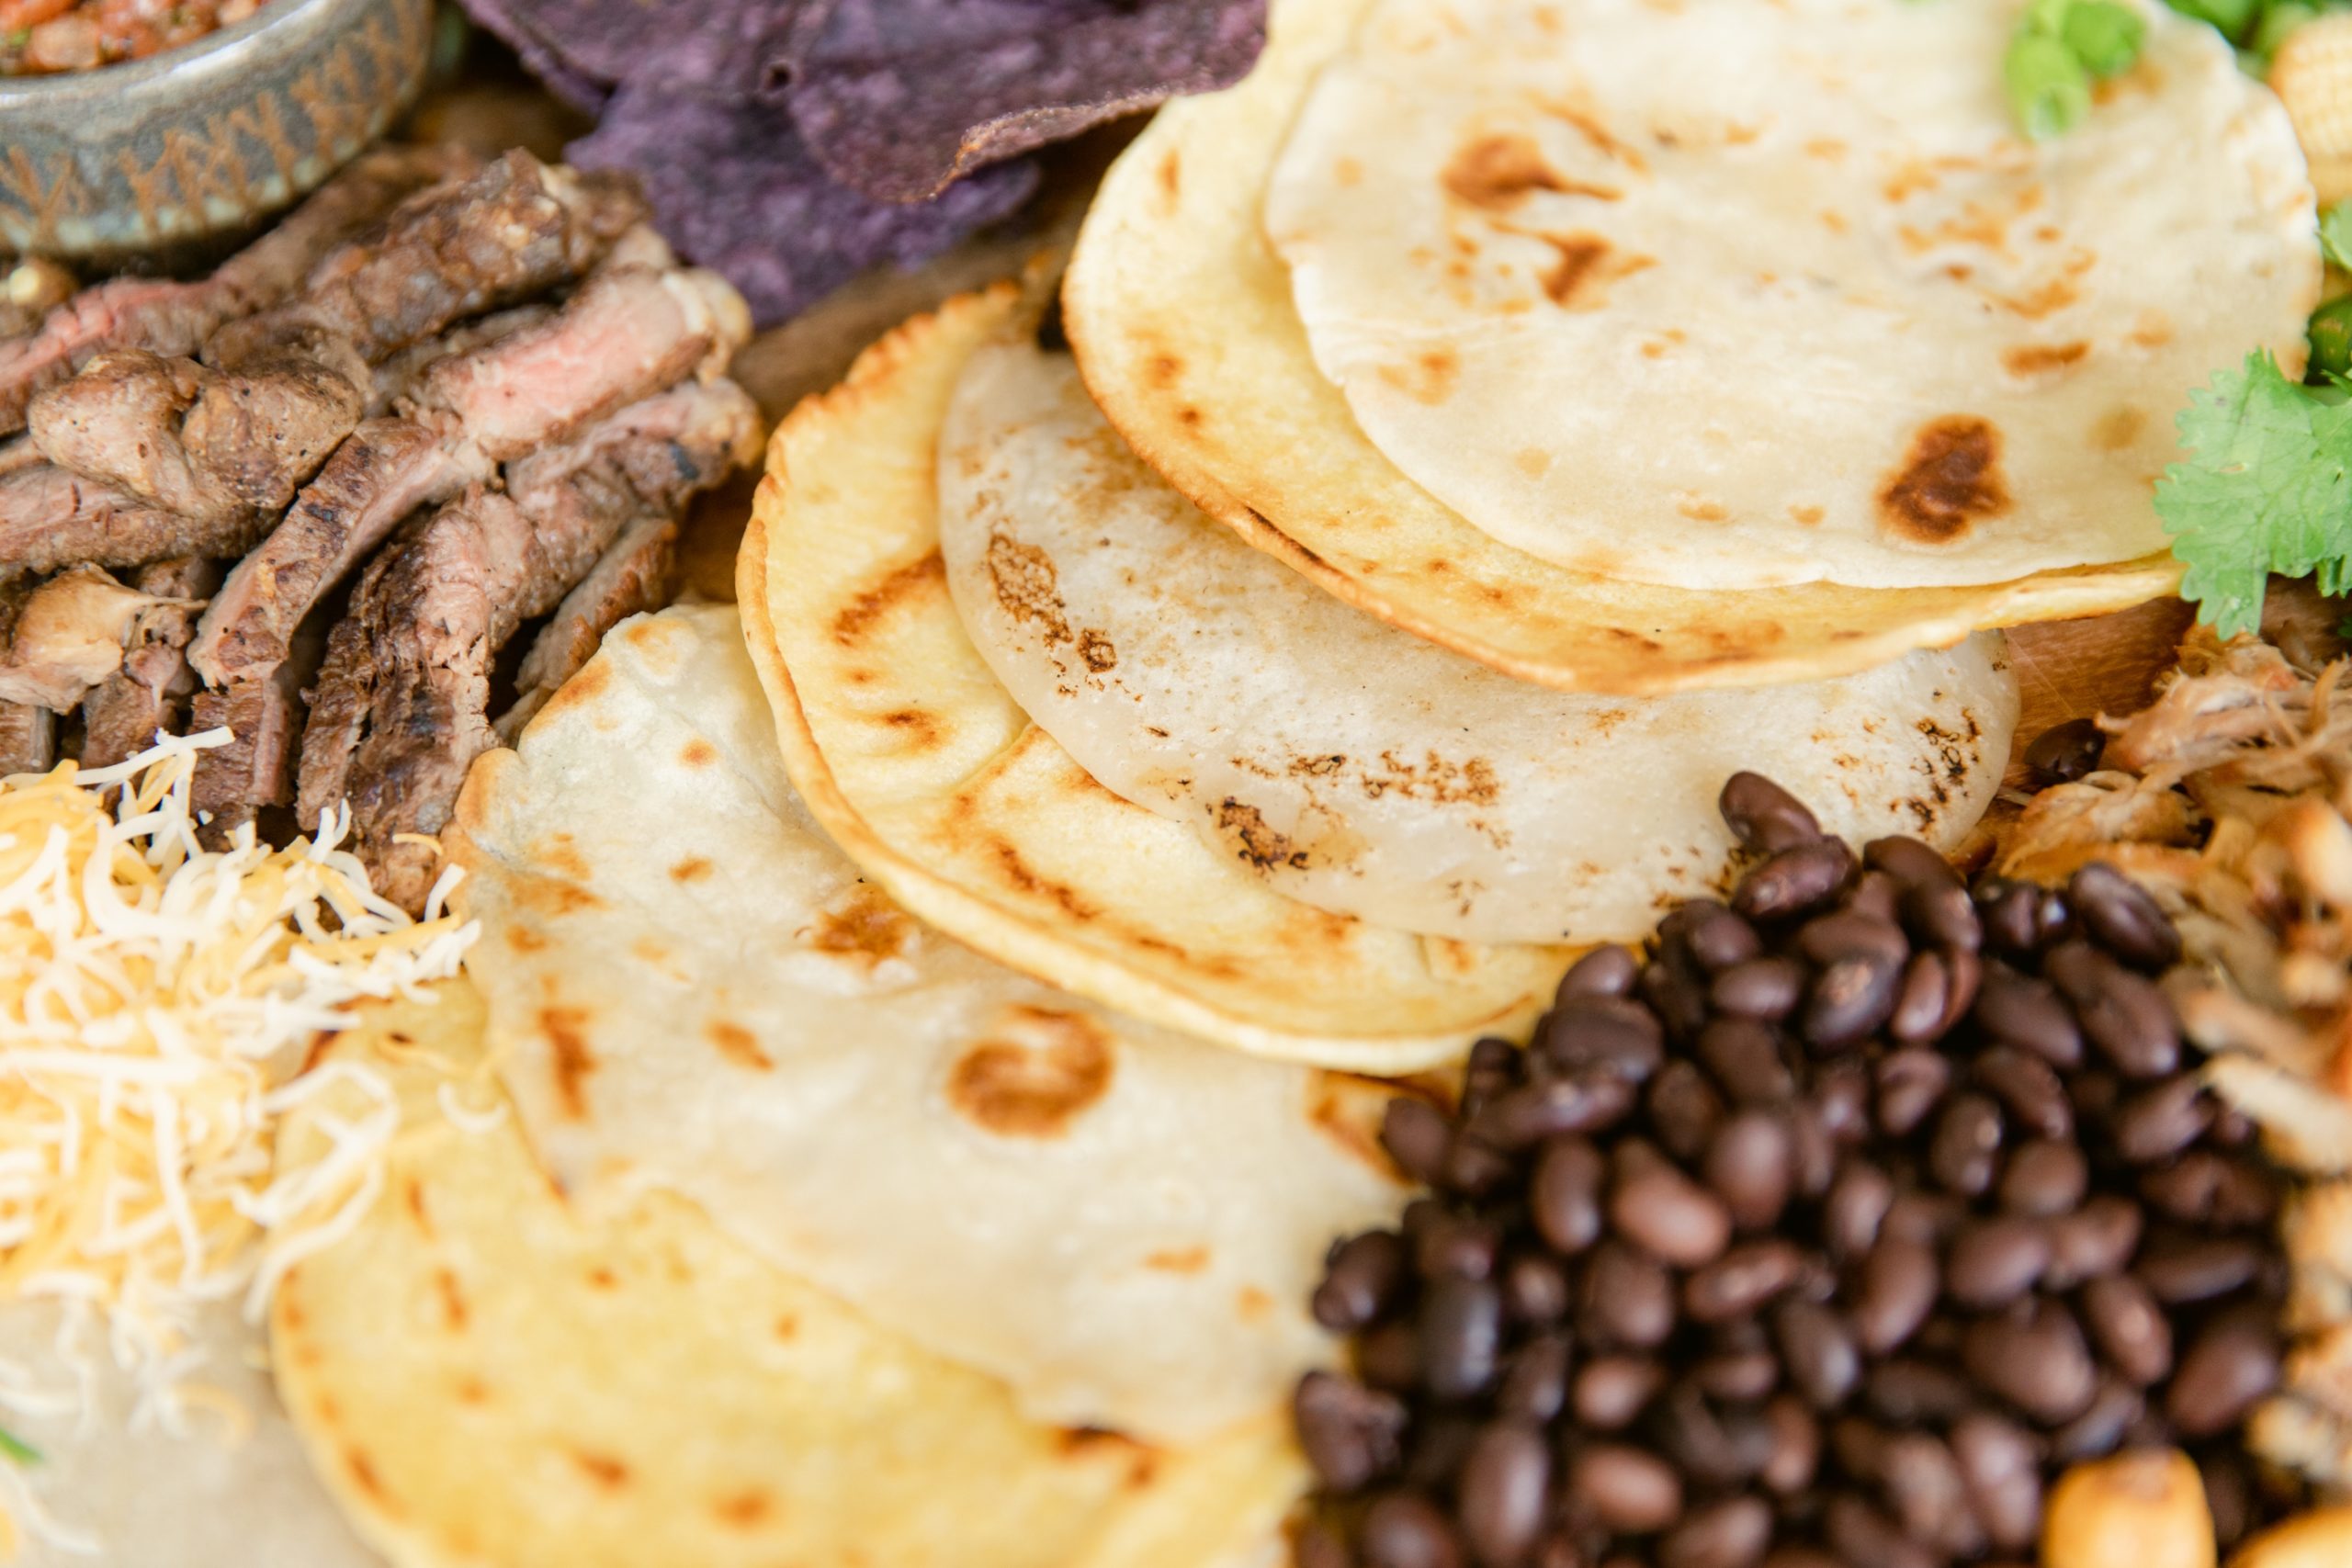
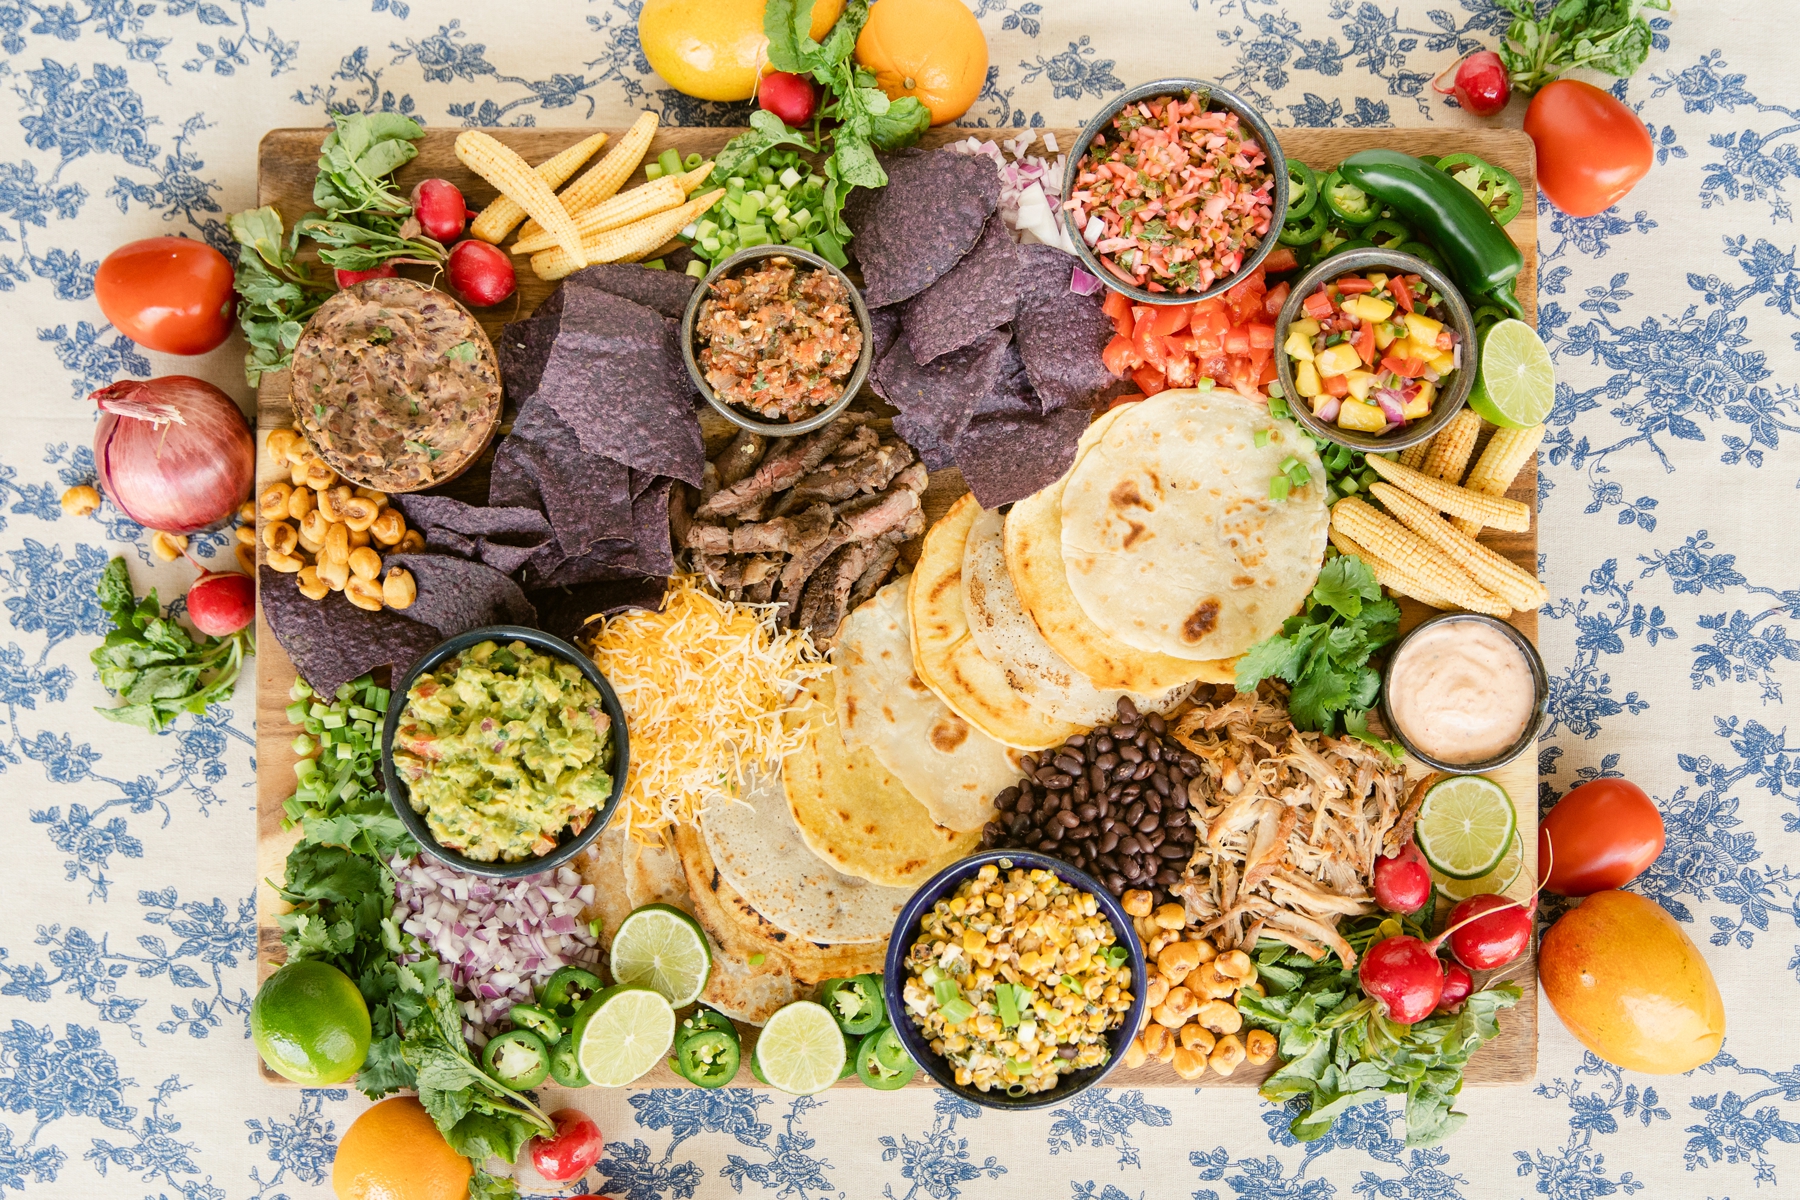
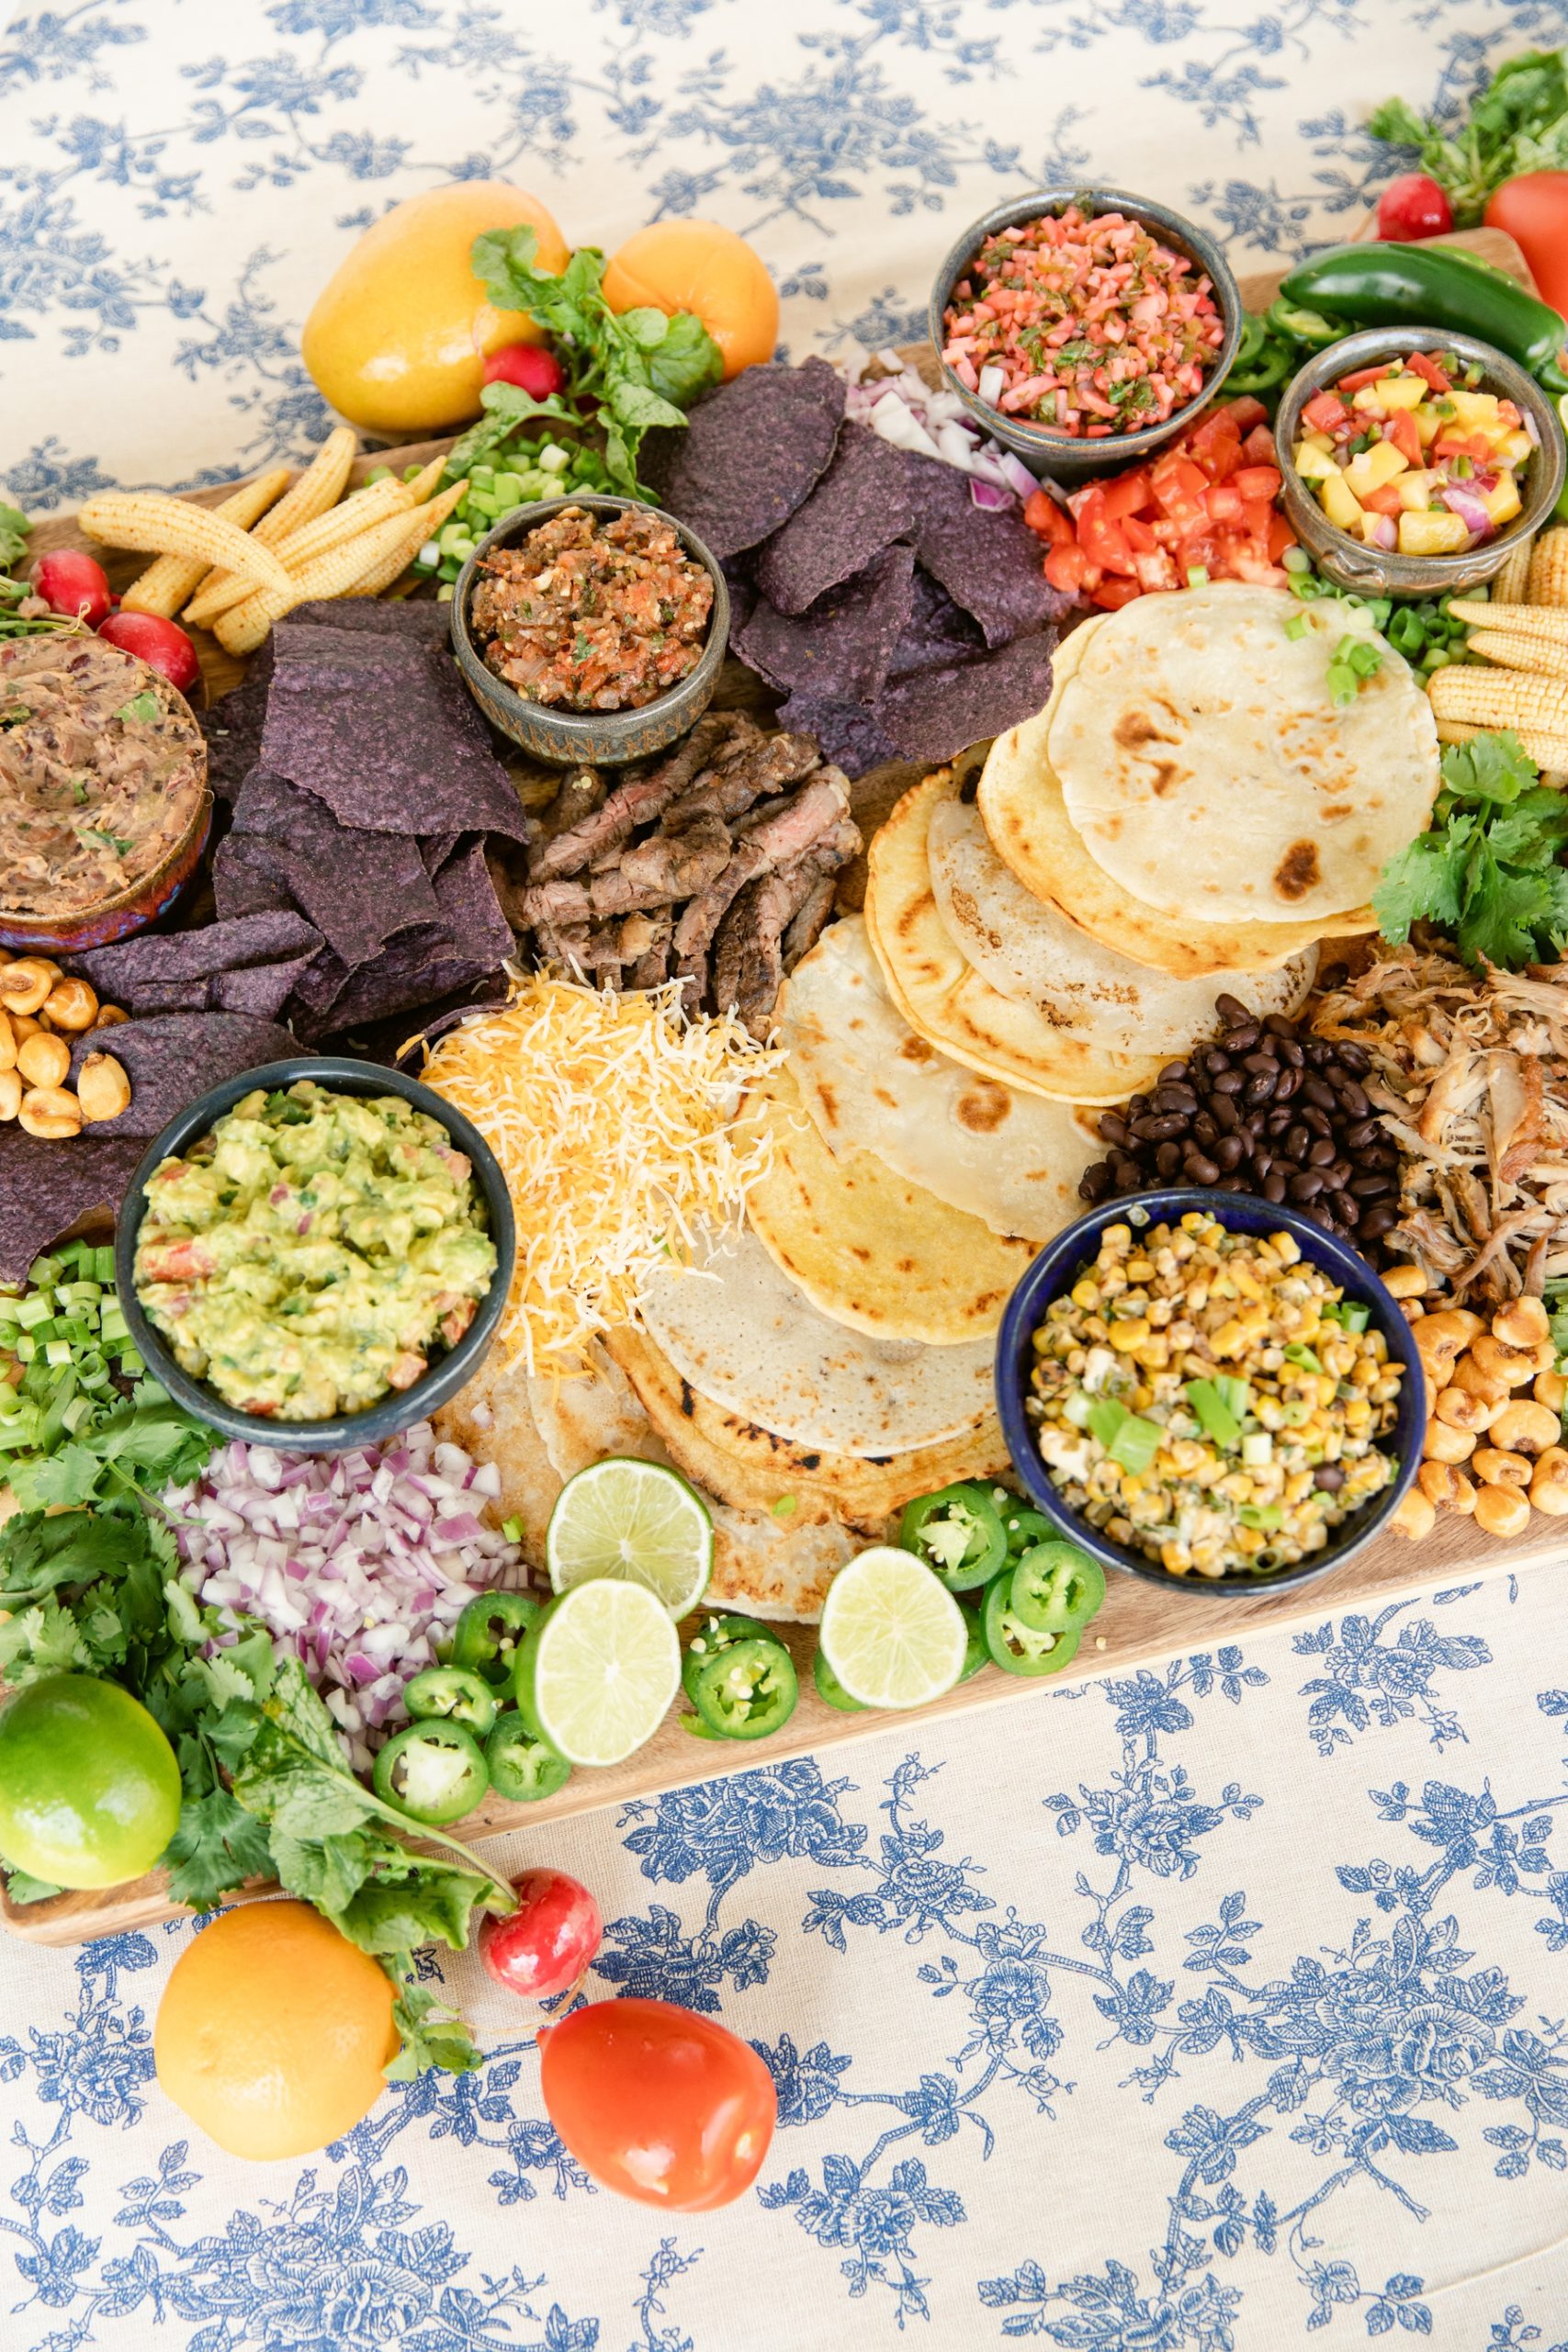
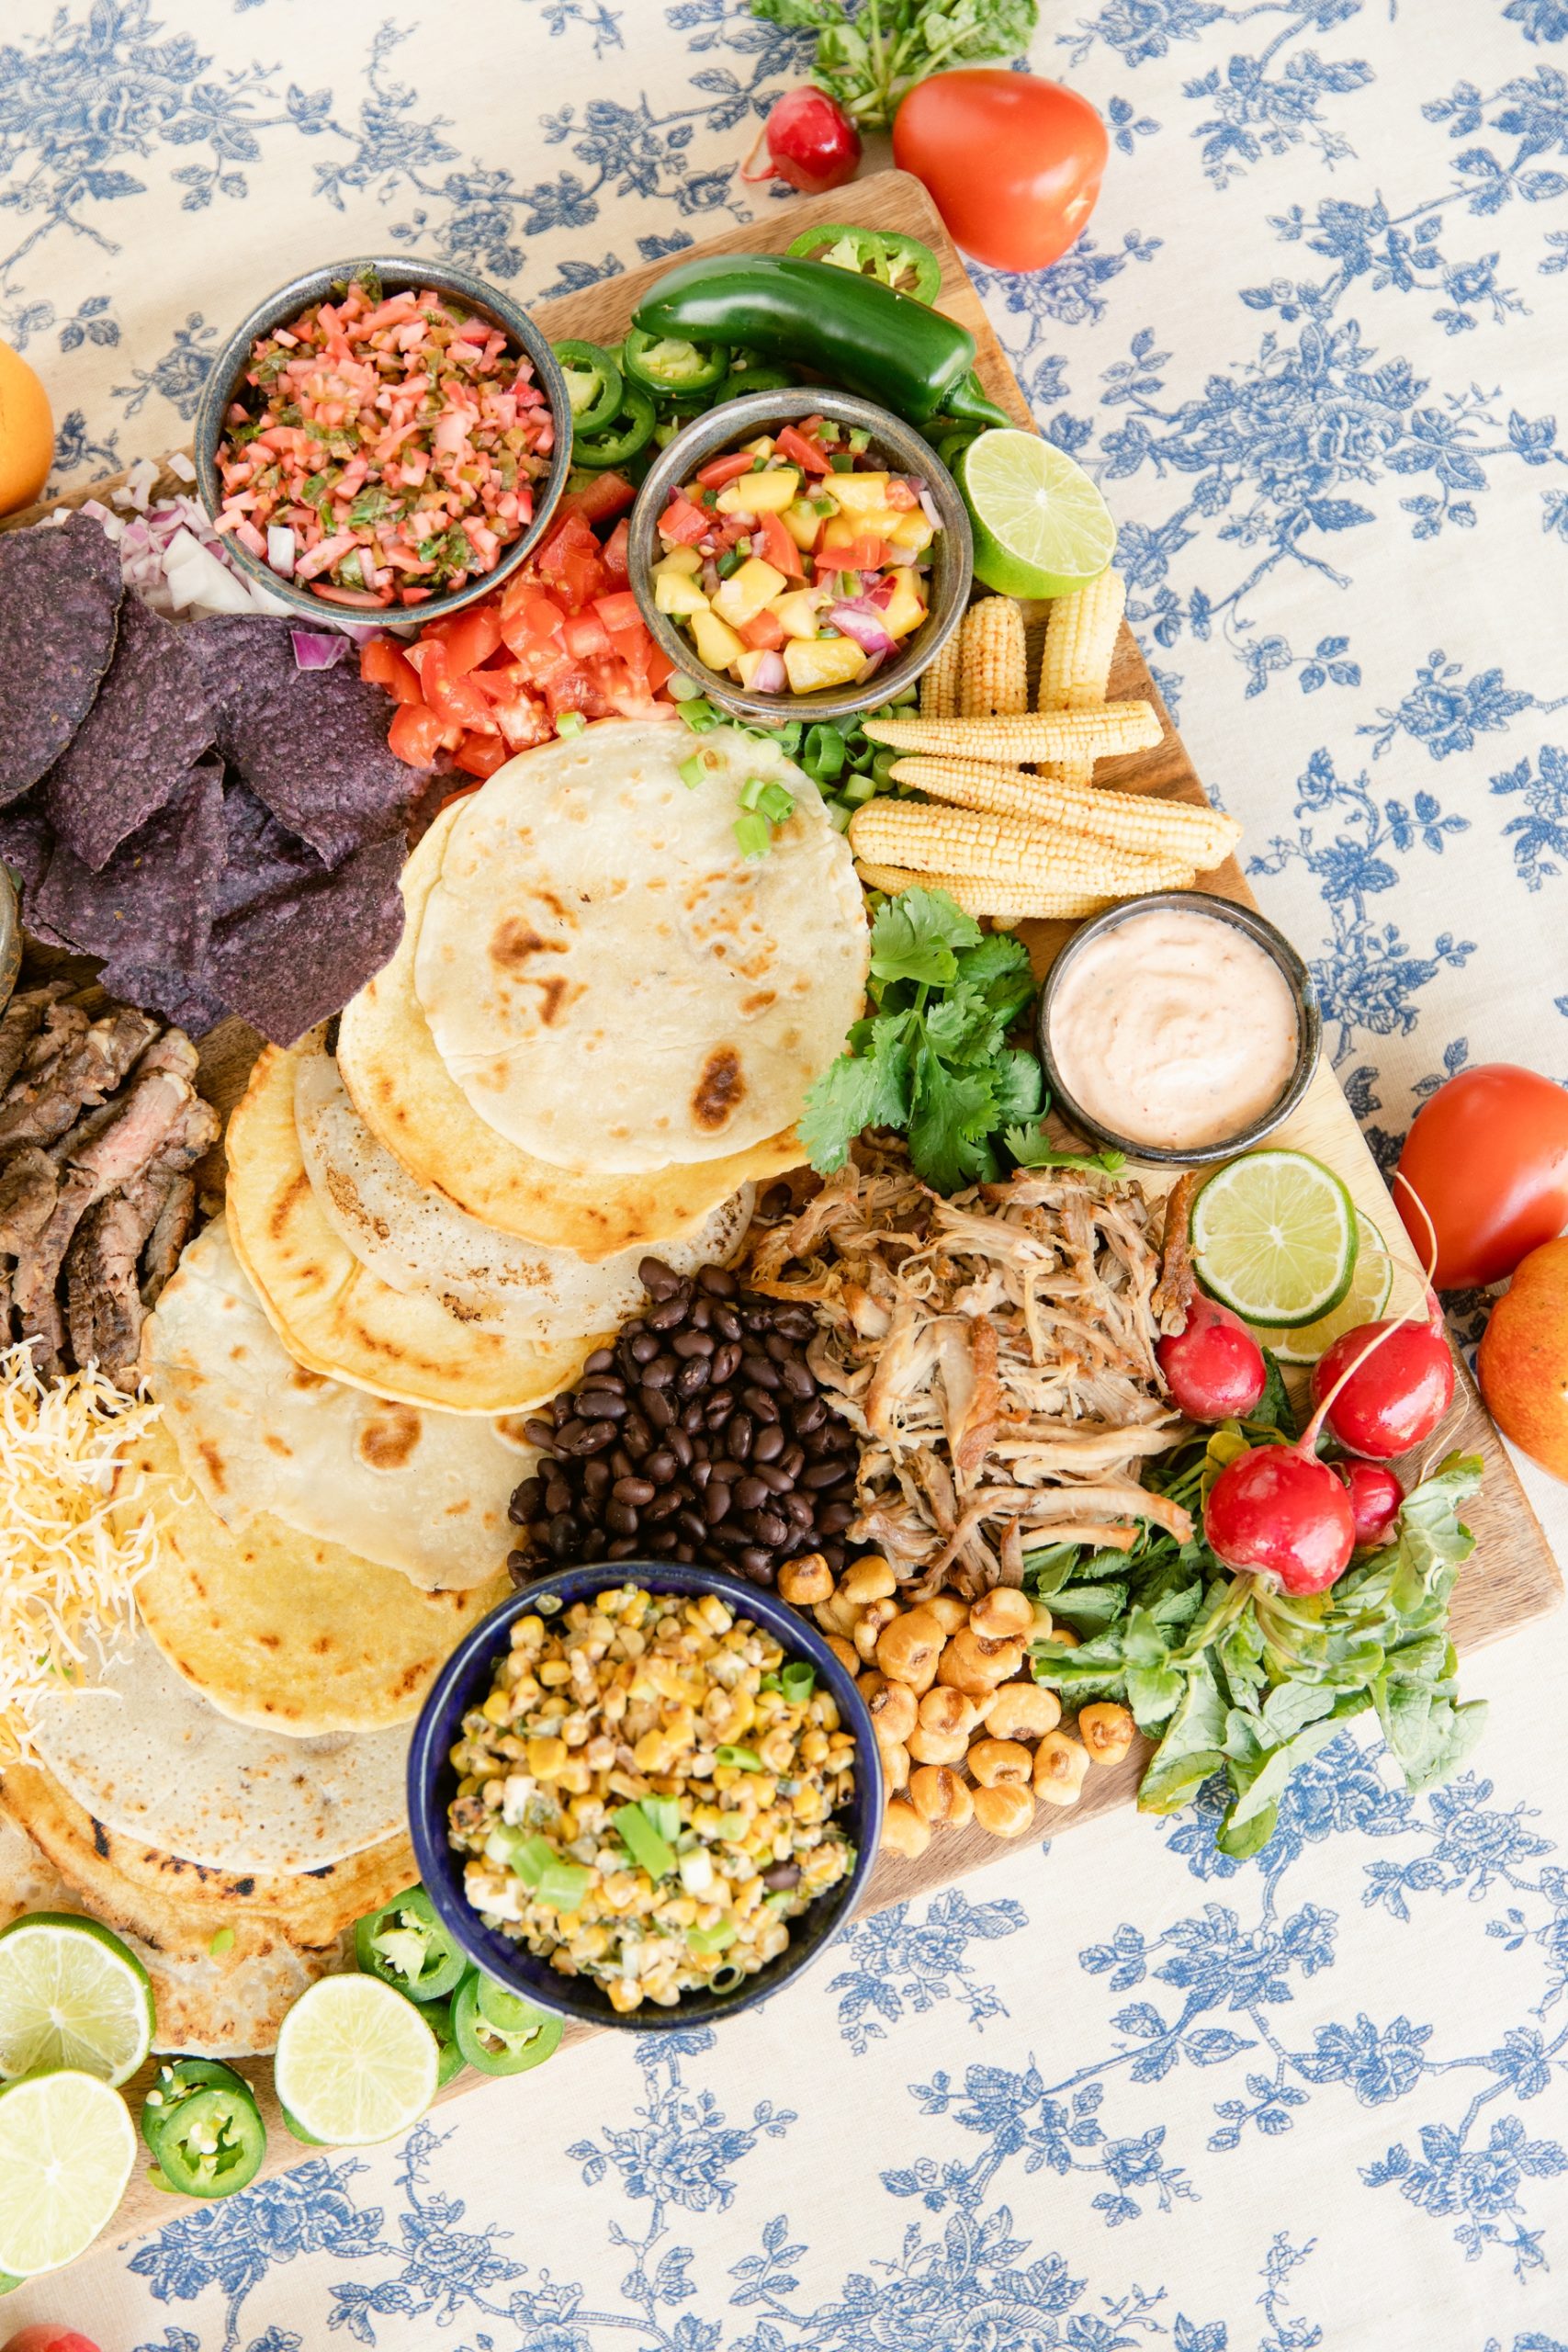
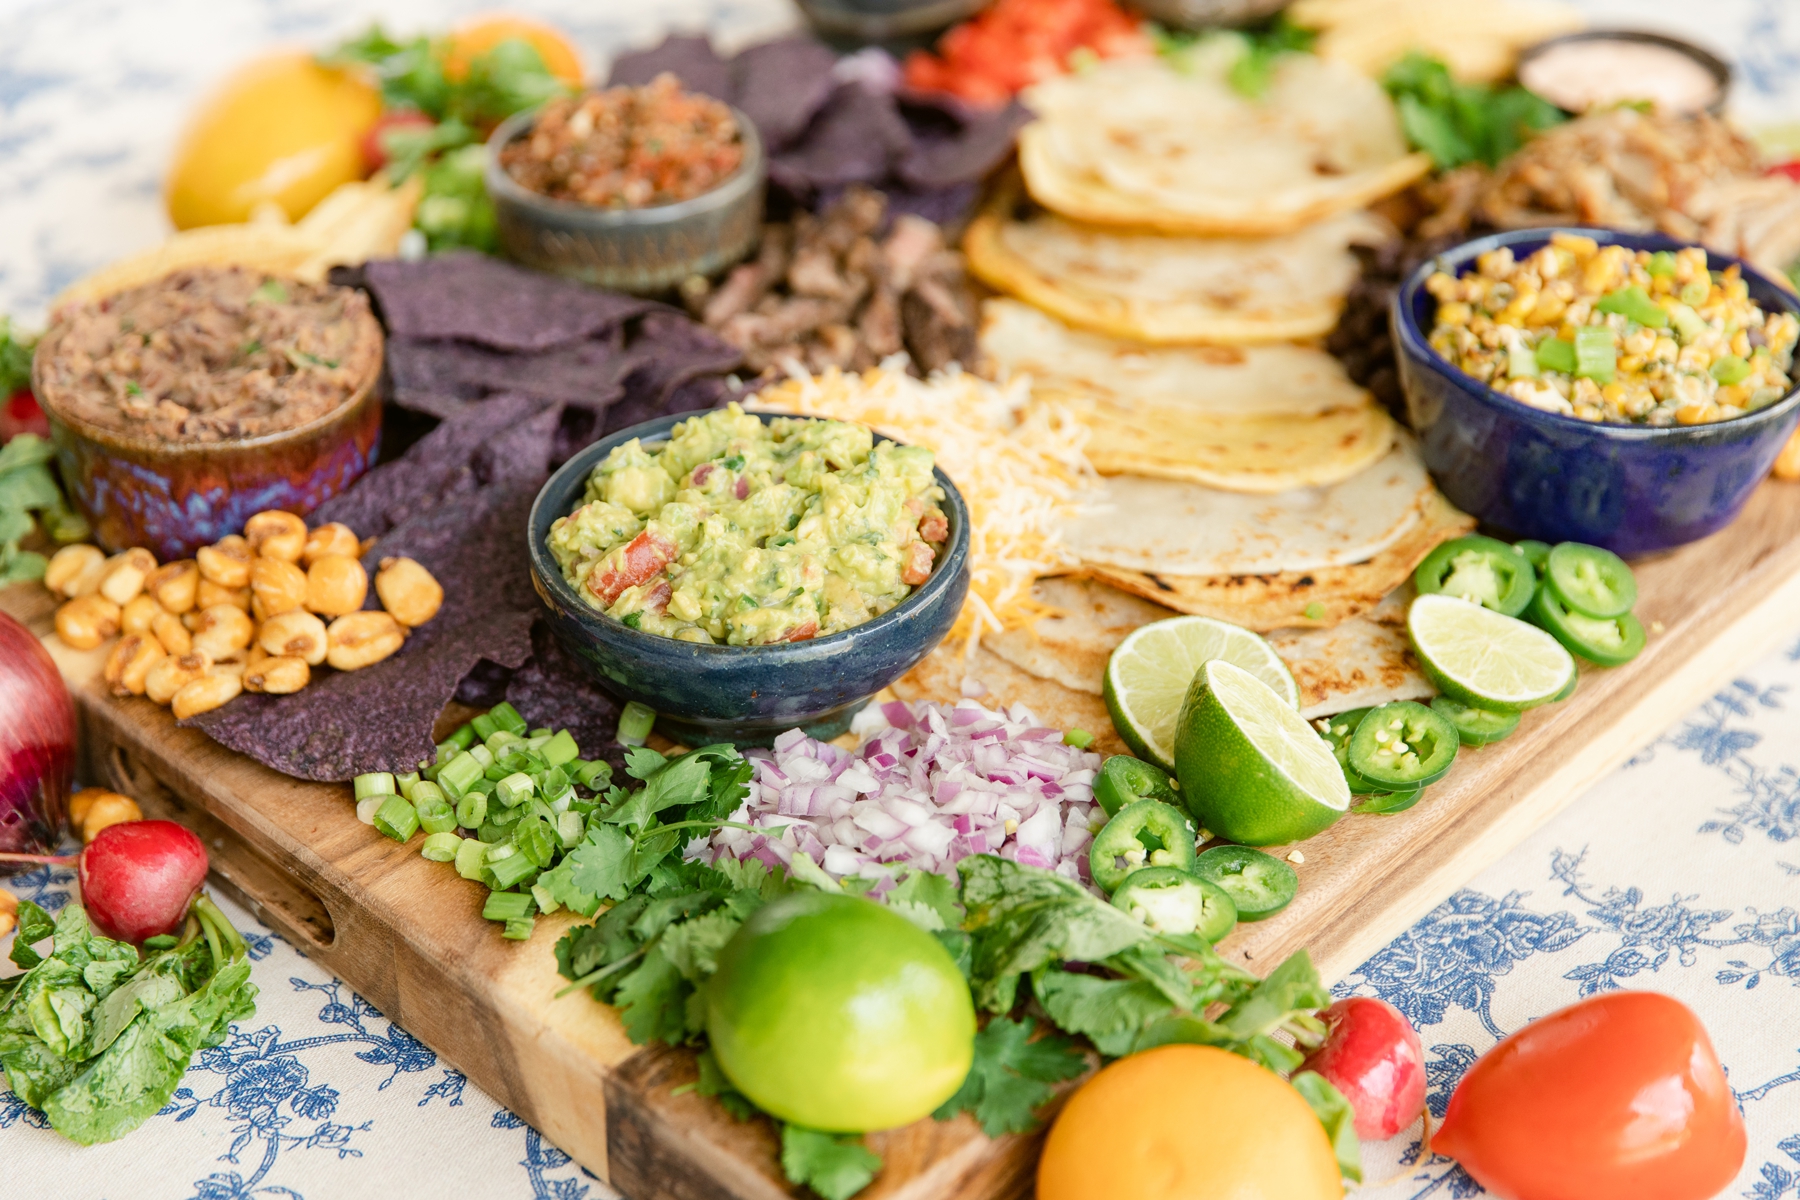
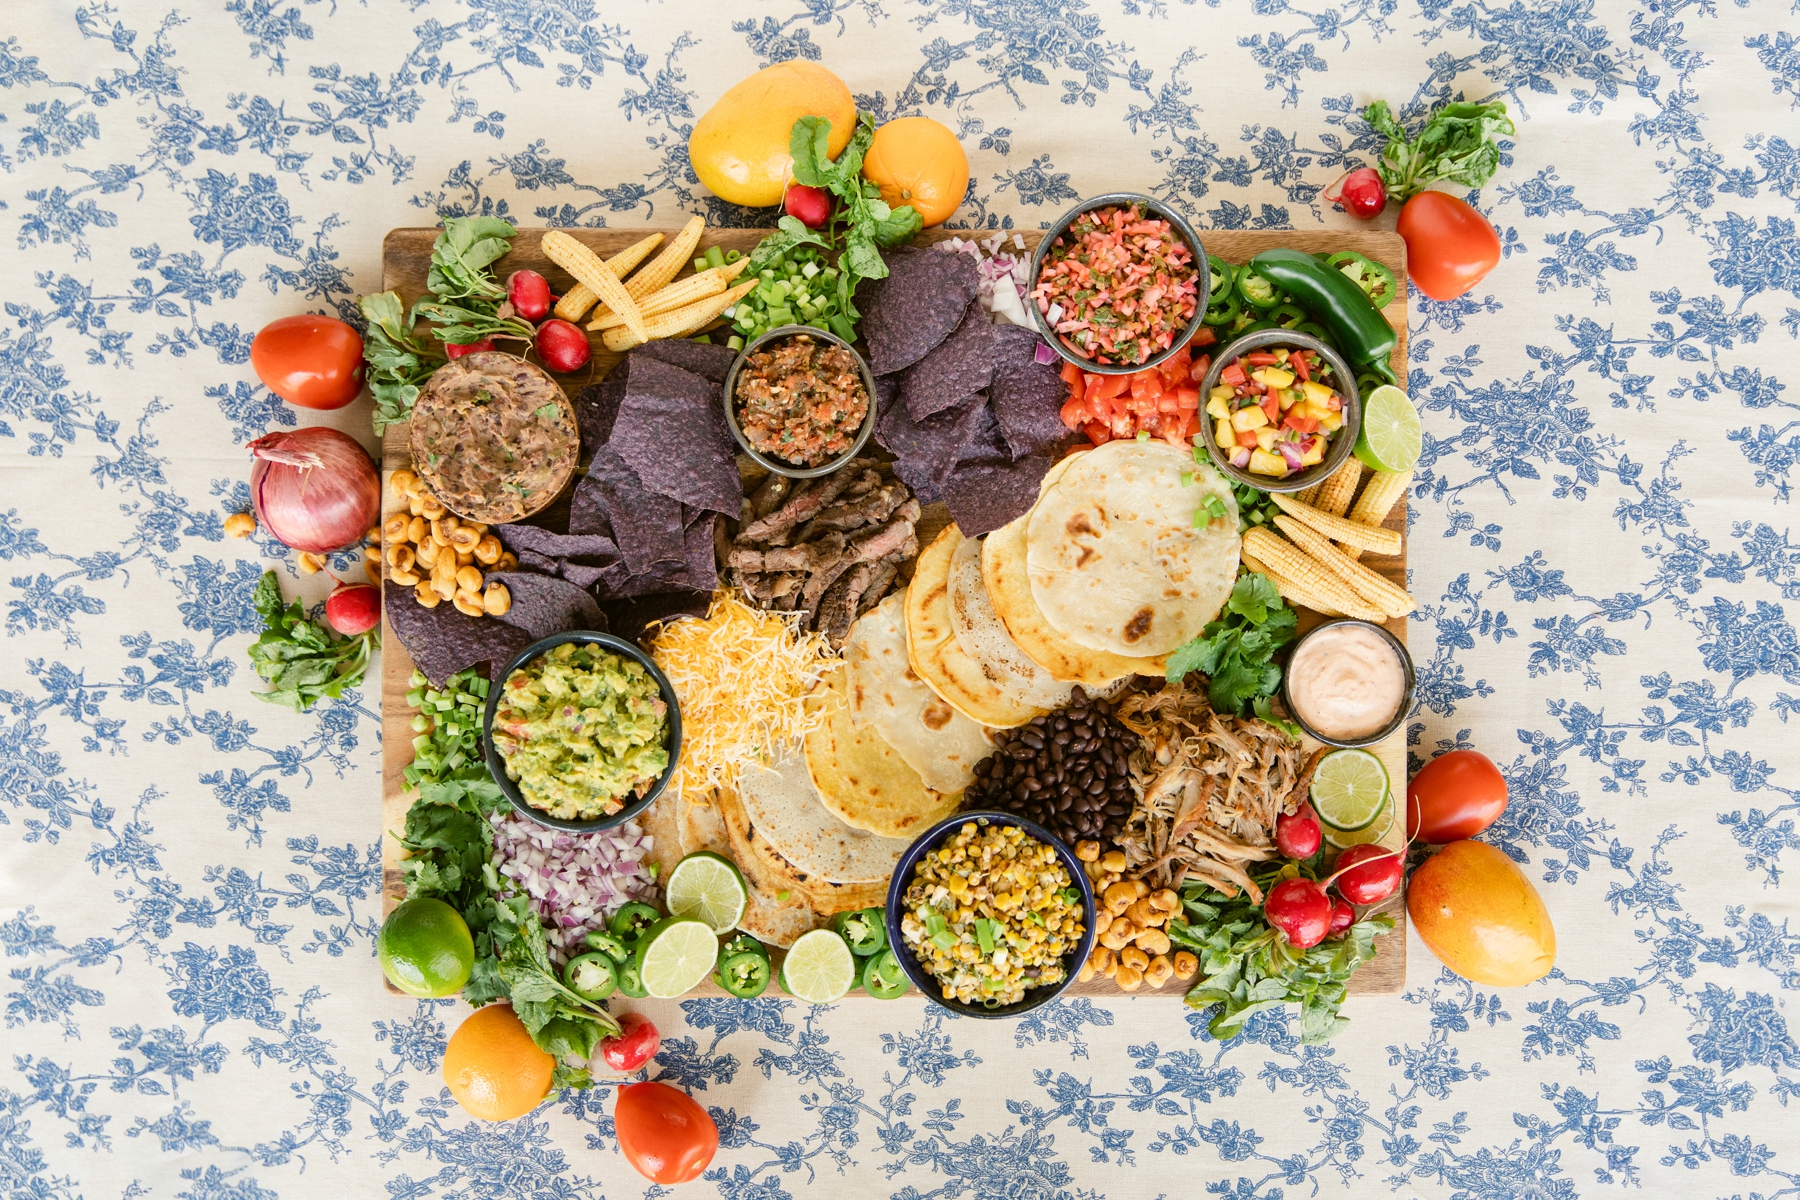
As I said earlier, good artists borrow, great artists steal so print this out, and use it as a guide. Let’s start with the first layer. We used a 24” x 18” Boos Maple Cutting Board as the base. We laid down our tortillas first and then flanked them with our meats. We used small, clay bowls to hold each of our sides and toppings and spread them around the board.
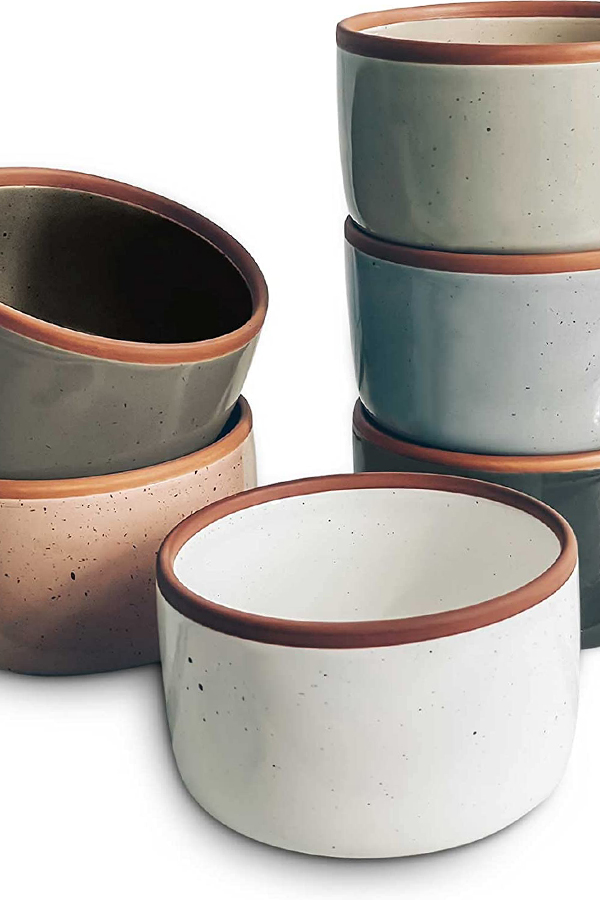
These particular bowls were actually made by Liz at her clay class, but you don’t necessarily need your own potter’s wheel to achieve the effect. There are tons of options out there like these Ceramic Ramekins from Amazon. Just find things you like or use small appetizer bowls you already have. Your guests will be more focused on the fillings, so don’t sweat this one.
Once the bowls are placed, you can start filling in the gaps. We put out plenty of tortilla chips and cheese so that guests could make fun nachos if they preferred.
We also bought extra ingredients for our sides and salsas and used them either whole or chopped. They are meant to be used as stand alone toppings, so make sure you wash them just as you would any other fruit or veg.
It really didn’t take very long. Without a plan, we put this charcuterie board together in 20 minutes – a whopping 5 minutes before we went live on Studio STL. We might have cut it a bit close. Regardless, the point is this. Once everything is cooked, putting it all together is easier than you might think. Just think in terms of abundance. More is definitely better in this instance. So go big or go home!
Salud!
Jen
P.S. You should serve this taco charcuterie board with some amazing Modern Margaritas. Lucky for you, I have the recipe for that also.


Recent Comments